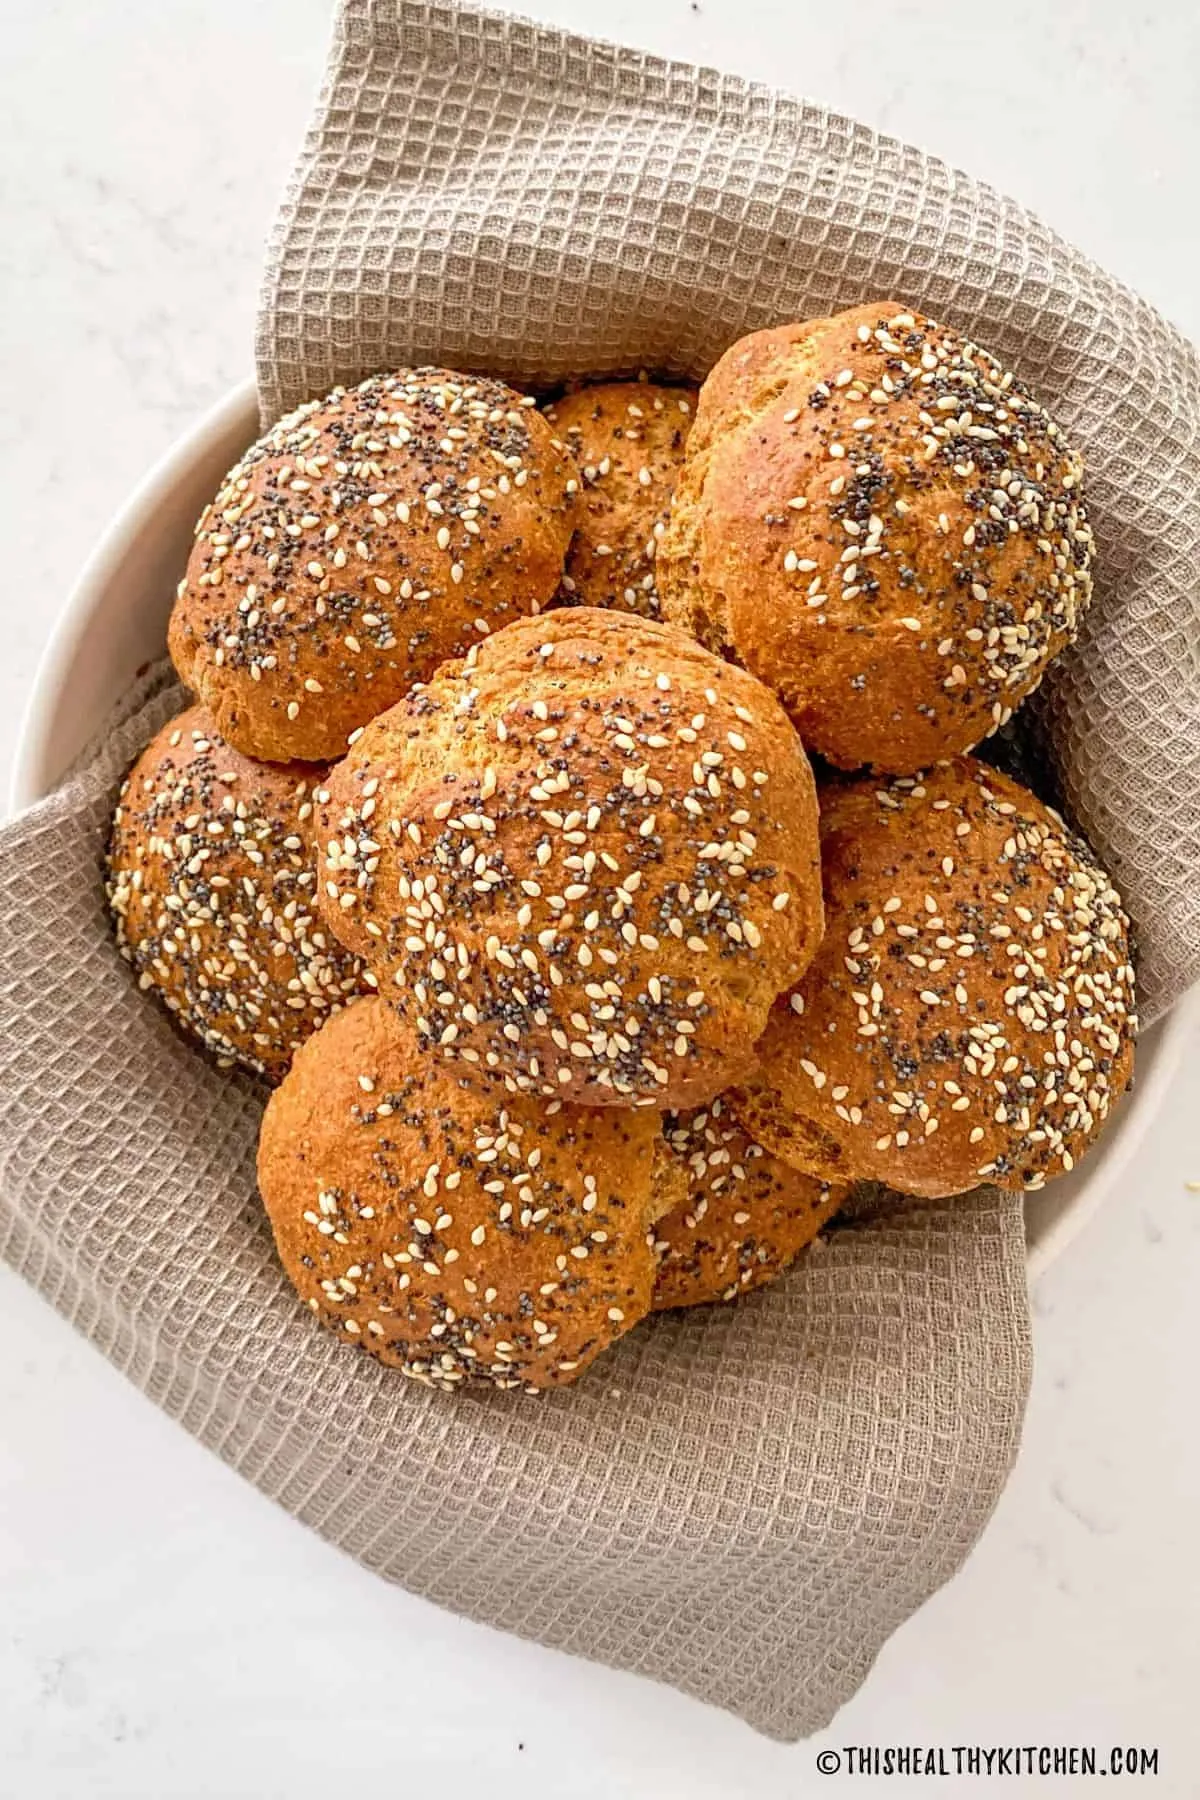
Are you ready to elevate your burger game with a homemade touch? Dive into the world of baking with these delicious Whole Wheat Hamburger Buns, inspired by the beloved Chick-fil-A multigrain bun! Not only are they wholesome and packed with flavor, but they also offer a delightful chewiness that will have your taste buds singing. Imagine sinking your teeth into a juicy burger nestled between soft, freshly baked buns—it's a culinary experience you won't want to miss! Whether you're planning a family cookout or a cozy dinner at home, these buns will make your meal unforgettable. Ready to impress your guests and satisfy your cravings? Let’s get baking!
Prep Time: 1 hrs
Cook Time: 15 mins
Total Time: 1 hrs 15 mins
Cuisine: American
Serves: 12 buns
Ingredients
- 3 cups whole wheat flour
- 1 cup all-purpose flour
- 1/4 cup honey
- 1 tablespoon active dry yeast
- 1 teaspoon salt
- 1/4 cup vegetable oil
- 1 cup warm water
- 1 egg, beaten (for egg wash)
Instructions
- In a large mixing bowl, combine 3 cups of whole wheat flour, 1 cup of all-purpose flour, and 1 teaspoon of salt. Mix well to ensure the salt is evenly distributed throughout the flour.
- In a separate small bowl, dissolve 1 tablespoon of active dry yeast in 1 cup of warm water (about 110°F or 43°C). Allow the mixture to sit for about 5-10 minutes until it becomes frothy, indicating that the yeast is activated.
- Add 1/4 cup of honey and 1/4 cup of vegetable oil to the yeast mixture. Stir gently to combine the ingredients.
- Gradually pour the wet ingredients into the flour mixture while stirring with a wooden spoon or spatula. Mix until a shaggy dough begins to form.
- Transfer the dough onto a lightly floured surface and knead for about 8-10 minutes until it becomes smooth and elastic. If the dough is too sticky, you can add a little more whole wheat flour as needed.
- Form the kneaded dough into a ball and place it in a lightly greased bowl. Cover the bowl with a clean kitchen towel or plastic wrap and let it rise in a warm place for about 30-45 minutes or until it has doubled in size.
- Once the dough has risen, punch it down to release the air. Turn it out onto a floured surface and divide it into 12 equal pieces.
- Shape each piece into a round ball by tucking the edges under to create a smooth top. Place the shaped buns onto a baking sheet lined with parchment paper, leaving enough space between each bun for expansion.
- Cover the buns with a kitchen towel and let them rise again for about 20-30 minutes until they puff up slightly.
- Preheat your oven to 375°F (190°C) during the last 10 minutes of the second rise.
- Once the buns have risen, gently brush the tops with the beaten egg to give them a nice golden color when baked.
- Bake the buns in the preheated oven for 15 minutes or until they are golden brown and sound hollow when tapped on the bottom.
- Remove the buns from the oven and let them cool on a wire rack. Once cooled, they are ready to be sliced and used for your favorite burgers or sandwiches.
Tips
- Measure Ingredients Accurately: For the best results, use a kitchen scale to measure your flour and other ingredients. This ensures consistency in your dough texture.
- Activate Your Yeast: Make sure your water is warm but not hot—about 110°F (43°C) is ideal. If the water is too hot, it can kill the yeast, preventing your buns from rising properly.
- Knead Thoroughly: Kneading the dough for 8-10 minutes is crucial for developing gluten, which gives the buns their structure. Don’t rush this step!
- Warm Rising Environment: If your kitchen is cool, create a warm environment for the dough to rise by placing it in an oven that’s turned off but slightly warmed or near a sunny window.
- Don’t Skip the Second Rise: Allowing the shaped buns to rise again is key to achieving that light and airy texture. Patience pays off!
- Egg Wash for Shine: Brushing the buns with a beaten egg before baking not only gives them a beautiful golden color but also adds a slight sheen that makes them look bakery-fresh.
- Cool Before Slicing: Let the buns cool completely on a wire rack before slicing to prevent them from becoming gummy. This will help maintain their perfect texture.Enjoy your baking adventure and savor every bite of your homemade buns!
Nutrition Facts
Calories: 180kcal
Carbohydrates: 30g
Protein: 5g
Fat: 6g
Saturated Fat: 1g
Cholesterol: 15mg