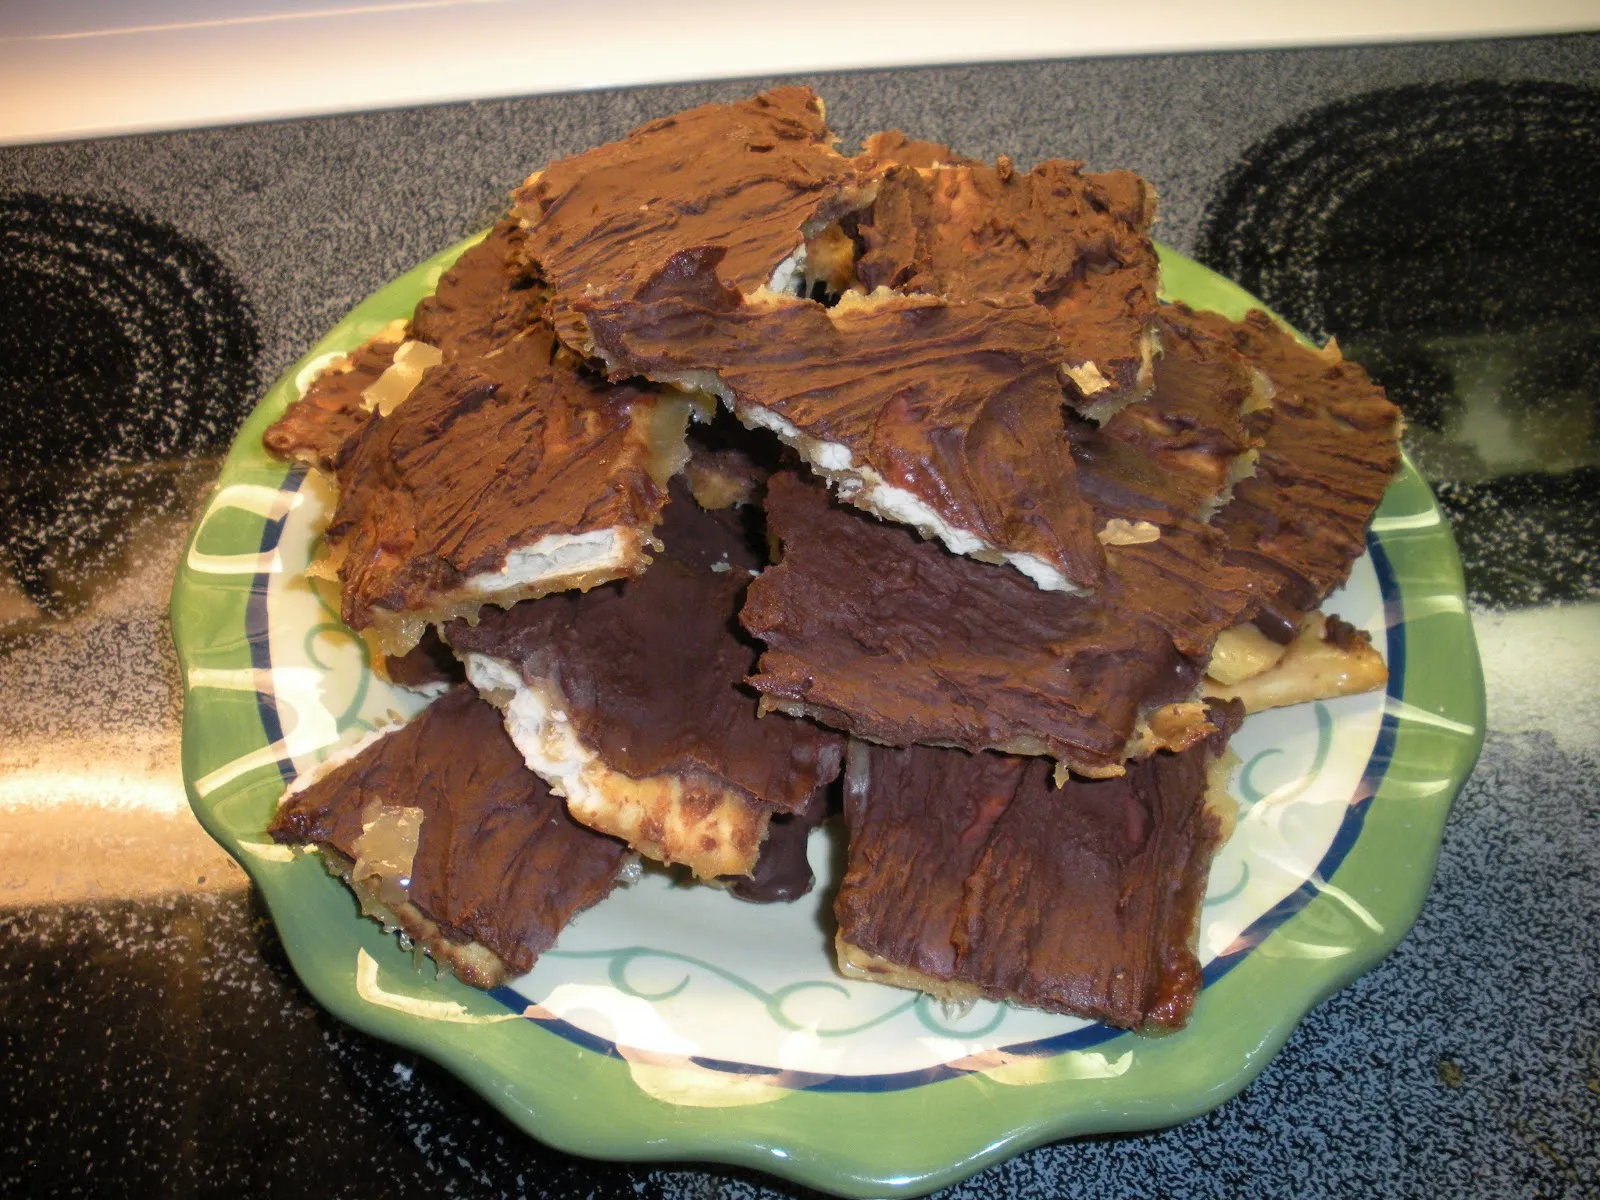
Get ready to experience a mind-blowing dessert that will make your taste buds dance with joy! Trisha Yearwood's Sweet and Saltines are the ultimate crowd-pleasing treat that perfectly balances sweet, salty, and crunchy in every single bite. Imagine transforming ordinary saltine crackers into a decadent dessert that looks like you spent hours in the kitchen - but takes just 25 minutes to create! Whether you're hosting a party, looking for a quick dessert, or craving something irresistibly delicious, these Sweet and Saltines are about to become your new obsession.
Prep Time: 10 mins
Cook Time: 15 mins
Total Time: 25 mins
Cuisine: American
Serves: 24 servings
Ingredients
- 1 sleeve saltine crackers
- 1 cup unsalted butter
- 1 cup brown sugar
- 2 cups chocolate chips
- 1 cup chopped nuts (optional)
Instructions
- Preheat your oven to 350°F (175°C). This will ensure that your Sweet and Saltines bake evenly and develop a delicious caramel flavor.
- Line a baking sheet with aluminum foil or parchment paper for easy cleanup. Make sure to leave some overhang on the sides to help lift the finished product out later.
- Arrange the saltine crackers in a single layer on the prepared baking sheet. You can lay them out in rows, covering the entire surface of the sheet.
- In a medium saucepan, melt the unsalted butter and brown sugar together over medium heat. Stir continuously until the mixture comes to a boil. Allow it to boil for about 3 minutes without stirring. This will create a rich caramel sauce.
- Once the caramel has boiled, remove it from the heat and immediately pour it over the arranged saltine crackers. Use a spatula to gently spread the caramel evenly across the crackers, ensuring that they are well coated.
- Place the baking sheet in the preheated oven and bake for 5-7 minutes, or until the caramel is bubbly and the edges of the crackers start to brown slightly.
- While the crackers are baking, measure out the chocolate chips. Once the baking time is up, remove the baking sheet from the oven and immediately sprinkle the chocolate chips over the hot caramel-covered crackers.
- Allow the chocolate chips to sit for a couple of minutes to soften. Then, using a spatula or the back of a spoon, gently spread the melted chocolate evenly over the caramel layer.
- If desired, sprinkle the chopped nuts over the melted chocolate for added crunch and flavor.
- Let the Sweet and Saltines cool at room temperature for about 10-15 minutes, or until the chocolate has set. You can also place the baking sheet in the refrigerator to speed up the cooling process.
- Once cooled, lift the Sweet and Saltines out of the baking sheet using the overhanging foil or parchment paper. Cut or break them into squares or rectangles for serving.
- Enjoy your Sweet and Saltines as a delightful treat for gatherings or as a sweet snack at home!
Tips
- Use high-quality ingredients: Fresh butter and good chocolate make a significant difference in the final taste.
- Watch the caramel carefully: When boiling butter and brown sugar, ensure you don't burn the mixture. Stir continuously and remove from heat after 3 minutes.
- Spread evenly: When pouring caramel and spreading chocolate, use a spatula to ensure uniform coverage of the crackers.
- Cooling matters: Allow enough time for the chocolate to set completely. Refrigeration can help speed up this process.
- Storage tip: These Sweet and Saltines can be stored in an airtight container at room temperature for up to a week, making them perfect for advance preparation.
- Customize your toppings: While nuts are optional, you can experiment with different toppings like sea salt, crushed candy canes, or coconut flakes.
- Use a rimmed baking sheet to prevent any caramel overflow and make handling easier.
Nutrition Facts
Calories: 190kcal
Carbohydrates: 18g
Protein: 2g
Fat: 13g
Saturated Fat: 7g
Cholesterol: 25mg