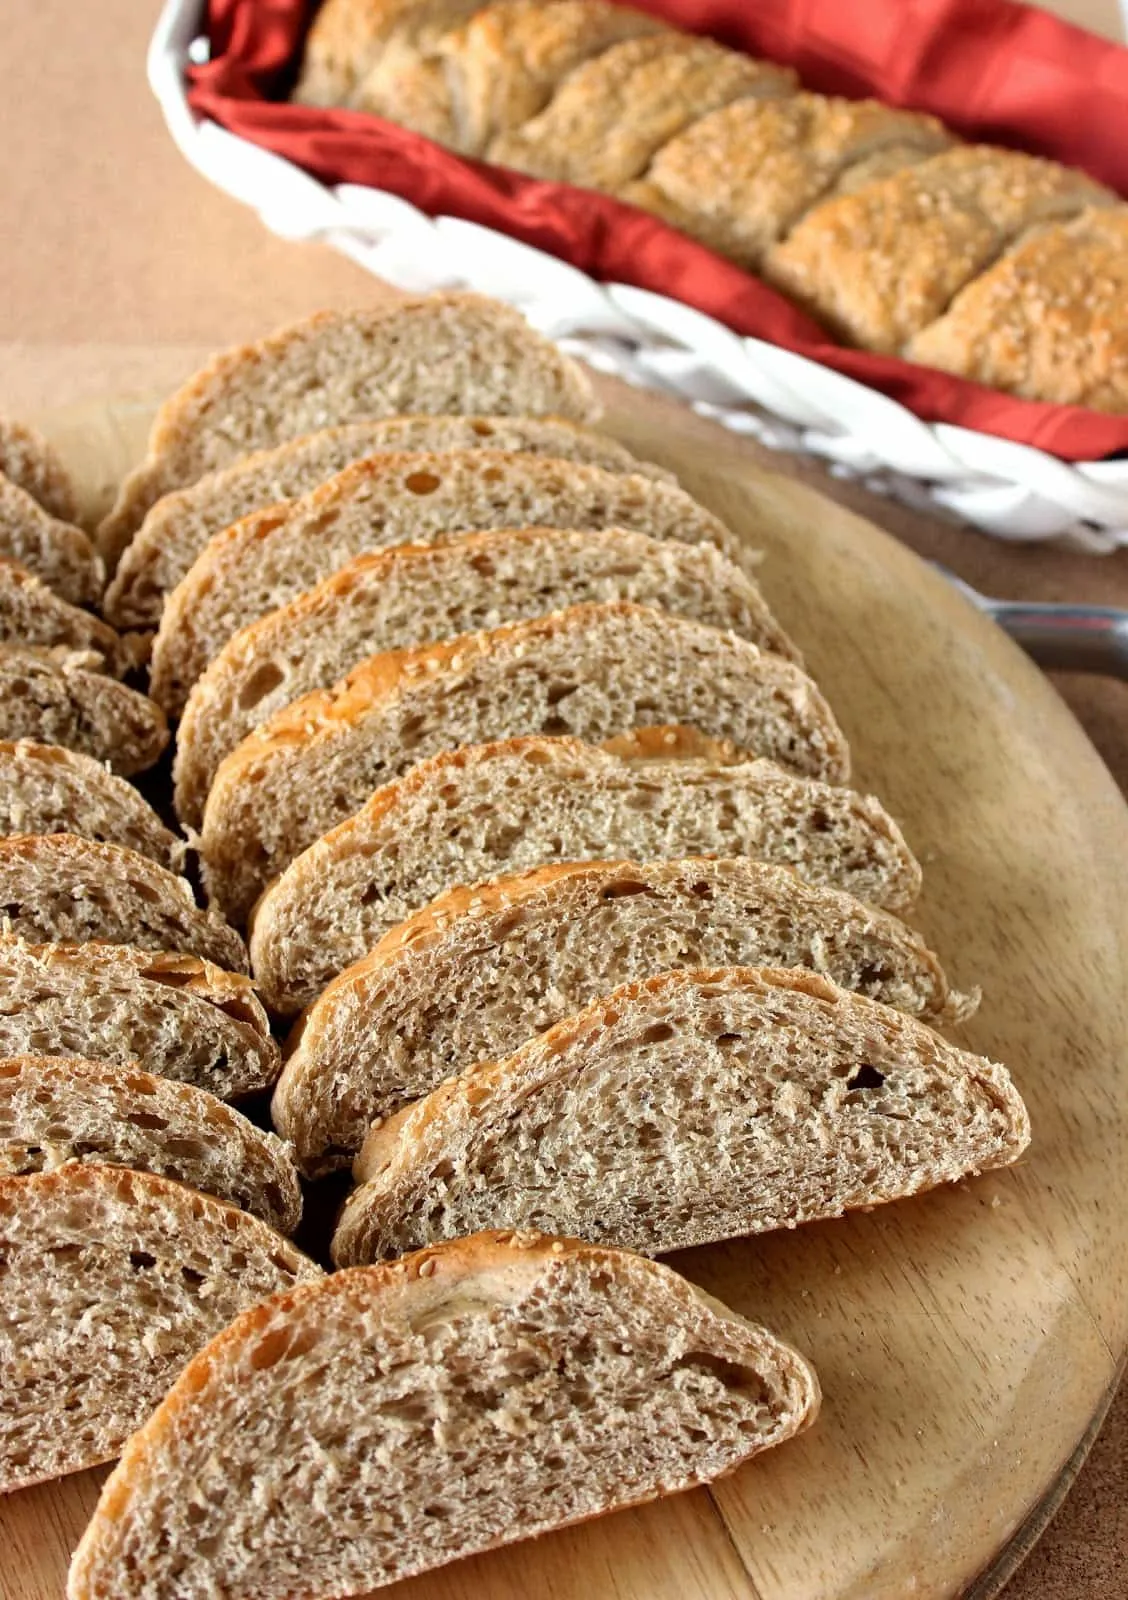
Imagine the aroma of freshly baked bread wafting through your kitchen, inviting everyone to gather around the table. Our Transitional Whole Wheat French Bread recipe is not just a culinary delight; it’s a wholesome journey from your oven to your heart. With its perfect blend of whole wheat and all-purpose flour, this bread strikes the ideal balance between nutrition and traditional French flavor. Whether you're a seasoned baker or a curious novice, this recipe promises to elevate your bread-making game. Ready to impress your family and friends with your baking skills? Let’s dive into the art of crafting these delightful loaves!
Prep Time: 20 mins
Cook Time: 30 mins
Total Time: 50 mins
Cuisine: French
Serves: 2 loaves
Ingredients
- 3 cups whole wheat flour
- 2 cups all-purpose flour
- 1 1/2 cups warm water
- 1 packet (2 1/4 teaspoons) active dry yeast
- 1 tablespoon sugar
- 1 tablespoon salt
Instructions
- In a small bowl, combine warm water (around 110°F), sugar, and active dry yeast. Let the mixture sit for 5-10 minutes until it becomes foamy and activated, indicating the yeast is alive and ready.
- In a large mixing bowl, combine whole wheat flour and all-purpose flour. Create a well in the center of the flour mixture.
- Pour the activated yeast mixture into the flour well. Add salt and begin mixing with a wooden spoon or your hands until a shaggy dough forms.
- Transfer the dough onto a lightly floured surface and knead for 10-12 minutes. The dough should become smooth, elastic, and slightly tacky but not sticky.
- Place the kneaded dough in a lightly oiled bowl, cover with a clean kitchen towel or plastic wrap, and let rise in a warm, draft-free area for about 1 hour or until the dough doubles in size.
- After the first rise, punch down the dough to release air bubbles. Divide the dough into two equal portions.
- Shape each portion into a long, slender loaf resembling traditional French bread. Place the loaves on a baking sheet lined with parchment paper.
- Cover the loaves and let them rise again for 30-45 minutes until they look puffy and have increased in size.
- Preheat the oven to 425°F (220°C). Optional: Make diagonal slashes across the top of each loaf with a sharp knife to allow for expansion.
- Bake the loaves for 25-30 minutes, or until they turn golden brown and sound hollow when tapped on the bottom.
- Remove from the oven and let cool on a wire rack for at least 30 minutes before slicing to allow the internal structure to set.
Tips
- Activate Your Yeast: Ensure your water is warm but not too hot (about 110°F) to prevent killing the yeast. A foamy mixture after 5-10 minutes indicates it's ready to go!
- Kneading Technique: When kneading the dough, use the heel of your hand to push it away from you, then fold it back over itself. This technique helps develop gluten for a better texture.
- Perfect Rising Conditions: For the best rise, find a warm, draft-free spot in your kitchen. You can even preheat your oven to the lowest setting for a minute, turn it off, and let the dough rise inside.
- Shaping the Loaves: When shaping your loaves, try to create tension on the surface of the dough by pulling it towards you. This helps achieve a nice, crusty exterior.
- Scoring for Expansion: Making diagonal slashes on top of the loaves before baking not only adds an artisan touch but also allows the bread to expand beautifully in the oven.
- Cooling is Key: Resist the temptation to slice into your bread right away! Letting it cool for at least 30 minutes helps set the internal structure for perfect slices.
- Experiment with Flavors: Feel free to add herbs, garlic, or even seeds to the dough for a unique twist that suits your taste!
Nutrition Facts
Calories: 100kcal
Carbohydrates: 20g
Protein: 3g
Fat: 1g
Saturated Fat: 0g
Cholesterol: 0mg