Are you ready to elevate your chicken game to gourmet levels without spending hours in the kitchen? Discover the secret to achieving perfectly tender and juicy chicken breasts with our "Perfect Instant Pot Chicken Breast Using Sous Vide" recipe! This foolproof method combines the magic of sous vide cooking with the convenience of your Instant Pot, ensuring that every bite is bursting with flavor. Whether you're a busy professional or a culinary enthusiast, this recipe is designed to impress and satisfy. Dive in to learn how to create a restaurant-quality dish right at home—your taste buds will thank you!
Prep Time: 10 mins
Cook Time: 1 hrs
Total Time: 1 hrs 10 mins
Cuisine: American
Serves: 4 servings
Ingredients
- 2 boneless, skinless chicken breasts
- Salt, to taste
- Pepper, to taste
- 1 tablespoon olive oil
- 1 teaspoon garlic powder
- 1 teaspoon onion powder
Instructions
- Start by preparing your chicken breasts. If they are uneven in thickness, consider pounding them gently with a meat mallet to ensure even cooking. This will help them cook uniformly in the sous vide process.
- Season the chicken breasts generously with salt and pepper on both sides. Then, sprinkle the garlic powder and onion powder evenly over the chicken. Rub the seasonings into the meat to ensure they adhere well.
- Next, place the seasoned chicken breasts into a vacuum-sealable bag. If you don’t have a vacuum sealer, you can use a resealable freezer bag. If using a resealable bag, use the water displacement method to remove air: seal the bag almost completely, then submerge it in water until the air is pushed out, and seal the bag fully.
- Fill your Instant Pot with water. Set the Instant Pot to the sous vide function, and set the temperature to 140°F (60°C) for tender, juicy chicken. If you prefer firmer chicken, you can set it to 150°F (65°C).
- Once the water reaches the desired temperature, carefully place the vacuum-sealed bag with the chicken into the water bath. Make sure the chicken is fully submerged. You can use a weight or a small plate to keep the bag underwater if necessary.
- Close the Instant Pot lid and set a timer for 1 hour. During this time, the chicken will cook evenly and retain its moisture, resulting in perfectly cooked chicken breasts.
- After the cooking time is complete, carefully remove the bag from the Instant Pot using tongs. Be cautious as the bag will be hot. Open the bag and take out the chicken breasts, allowing any excess liquid to drain off.
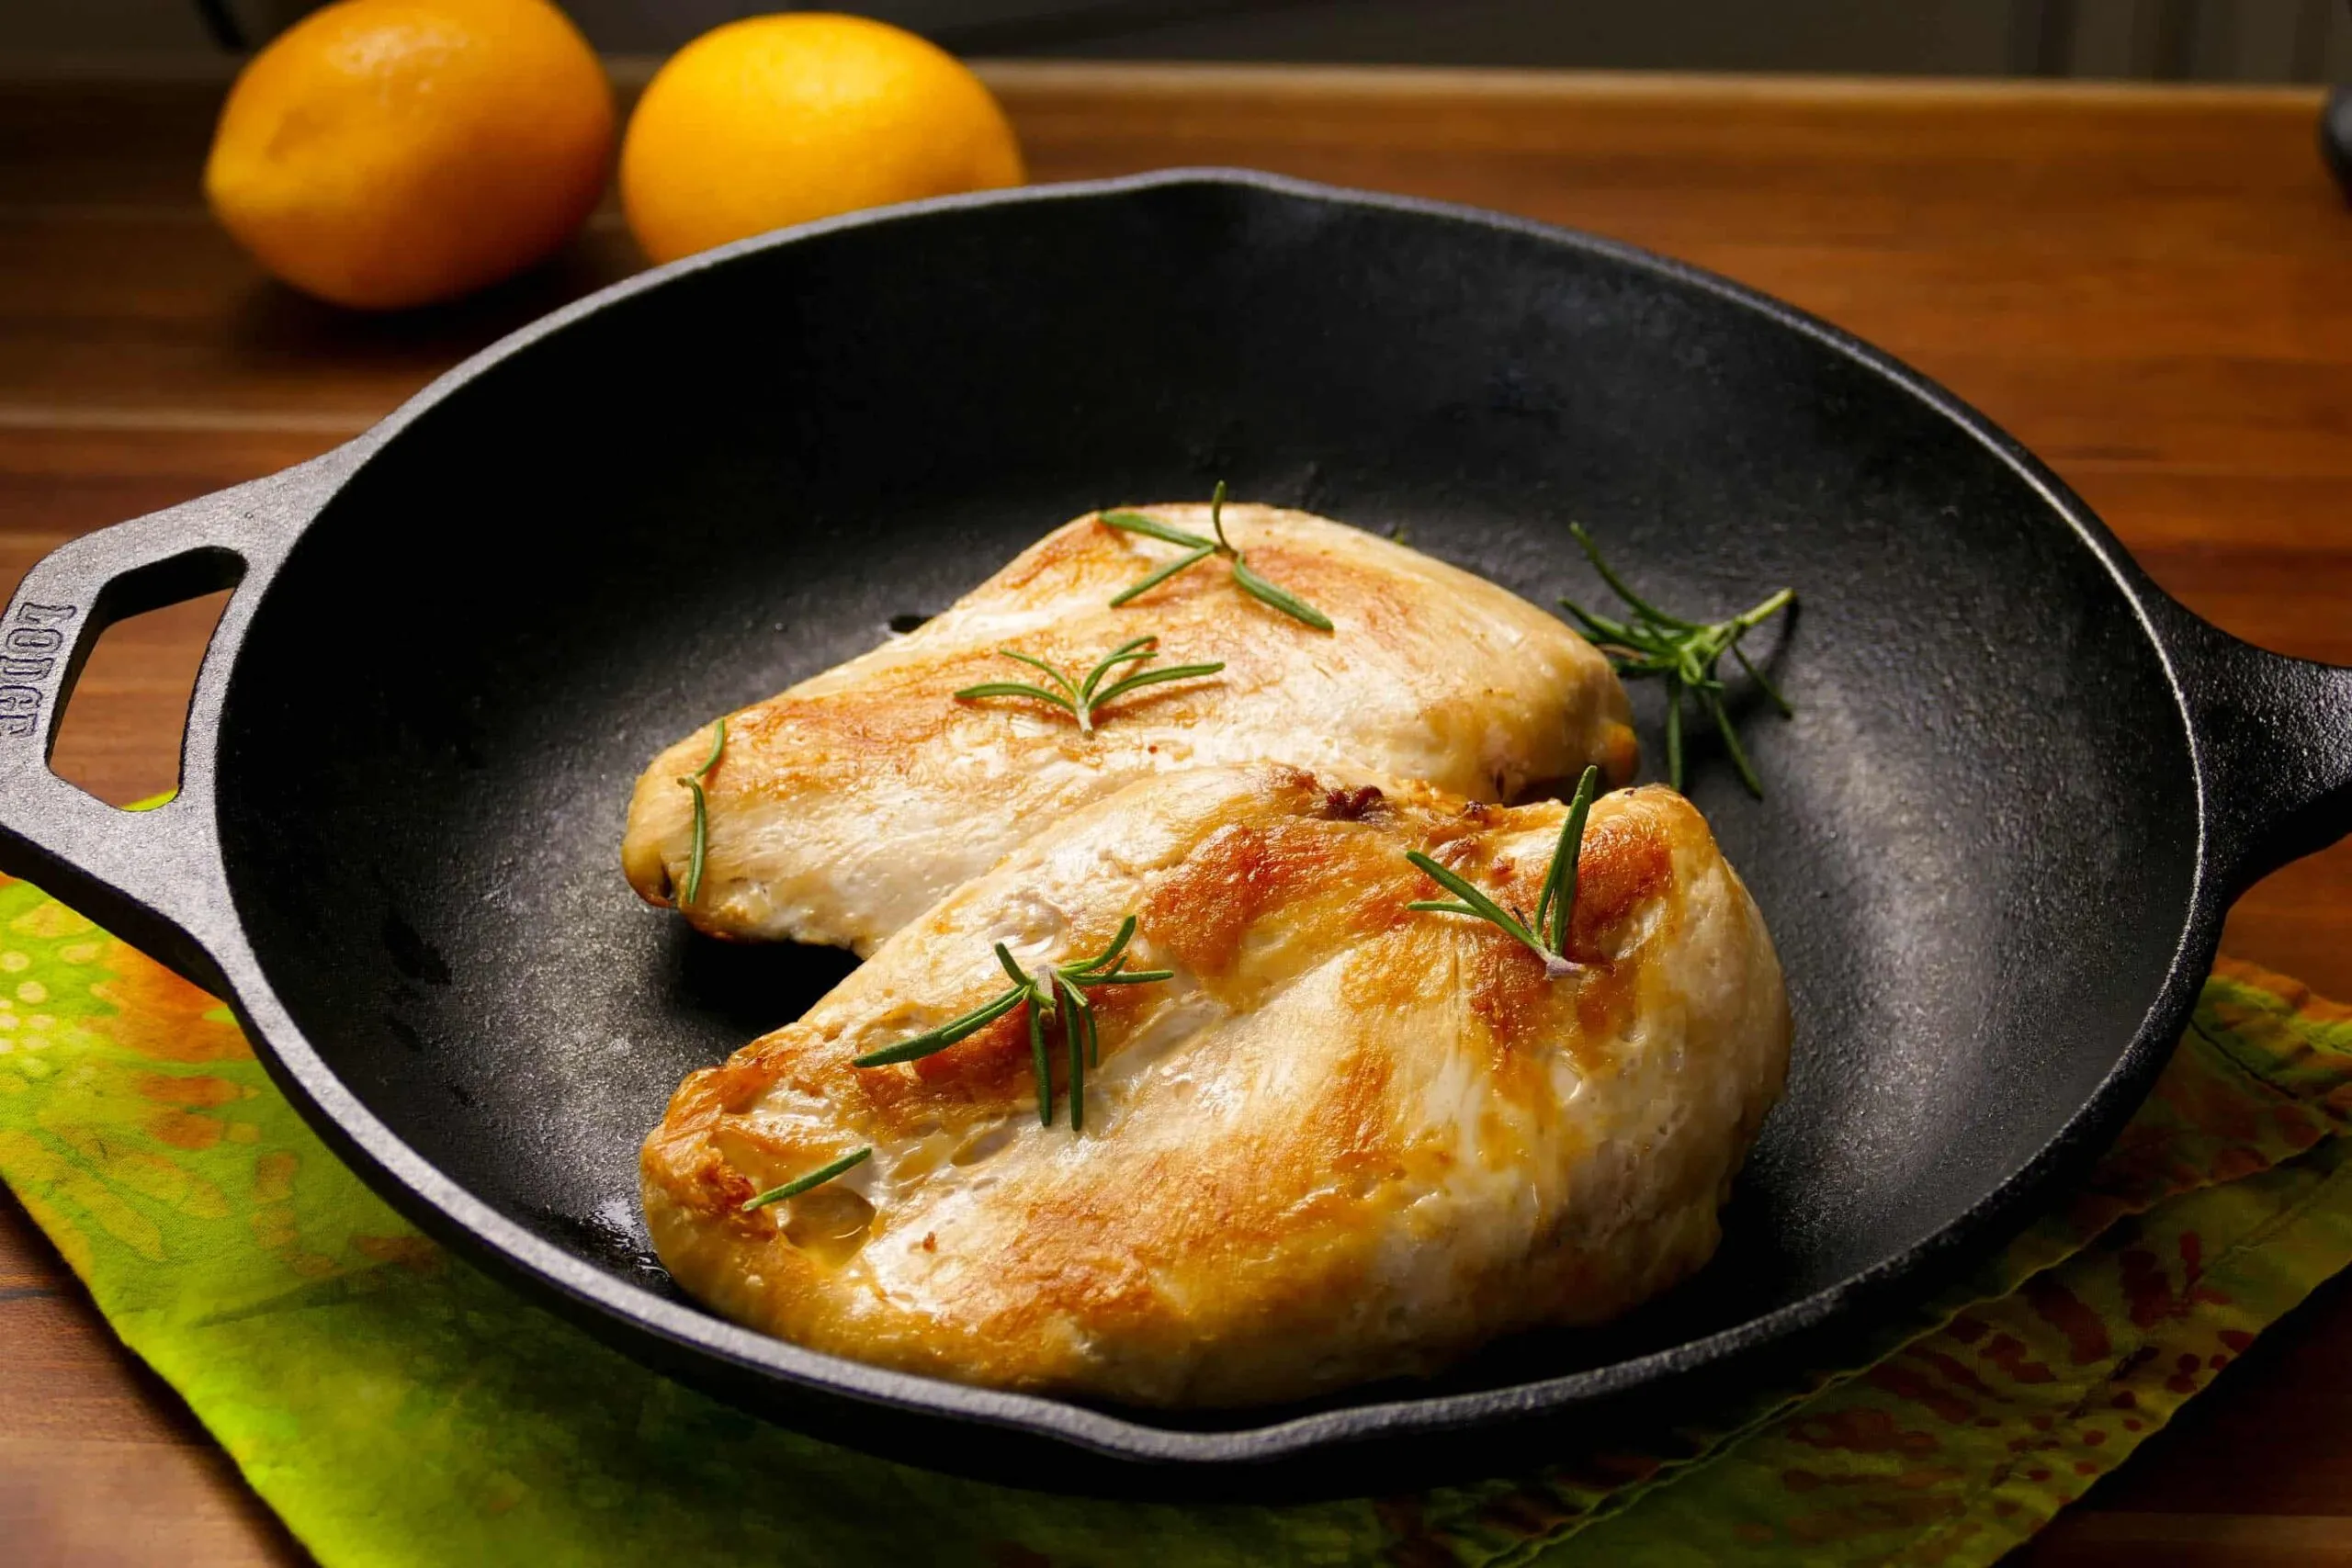
- In a skillet, heat the olive oil over medium-high heat. Once the oil is hot, add the chicken breasts to the skillet. Sear each side for about 1-2 minutes until golden brown and crispy. This step adds a delicious crust to the chicken.
- Once seared, remove the chicken from the skillet and let it rest for a few minutes before slicing. This allows the juices to redistribute, ensuring moist and flavorful chicken.
- Slice the chicken breasts and serve them warm. You can pair them with your favorite sides, such as steamed vegetables, rice, or a fresh salad. Enjoy your perfectly cooked sous vide chicken!
Tips
- Pound for Even Cooking: If your chicken breasts are uneven in thickness, use a meat mallet to pound them gently. This ensures they cook evenly during the sous vide process.
- Season Generously: Don’t skimp on the seasoning! Generously season your chicken with salt, pepper, garlic powder, and onion powder to infuse maximum flavor.
- Vacuum Seal Properly: For best results, use a vacuum sealer to remove air from the bag. If you’re using a resealable bag, remember the water displacement method to keep the chicken submerged and prevent air pockets.
- Temperature Matters: For tender and juicy chicken, set your Instant Pot to 140°F (60°C). If you prefer a firmer texture, go for 150°F (65°C).
- Sear for Flavor: After sous vide cooking, sear your chicken in a hot skillet with olive oil for 1-2 minutes on each side. This step adds a delicious golden crust that enhances both flavor and presentation.
- Rest Before Slicing: Let your chicken rest for a few minutes after searing. This allows the juices to redistribute, ensuring each slice is moist and flavorful.
- Pair with Sides: Serve your chicken with a variety of sides like steamed vegetables, rice, or a fresh salad to create a balanced and satisfying meal.
Nutrition Facts
Calories: 314kcal
Carbohydrates: 1g
Protein: g
Fat: g
Saturated Fat: g
Cholesterol: 120mg