Imagine biting into a delicate, buttery shortbread cookie that not only melts in your mouth but also dazzles with vibrant, all-natural colors that look like edible art! These Naturally Colored Shortbread Cookies are about to transform your baking game, turning a classic treat into a stunning masterpiece that will have everyone asking, "How did you do that?" Whether you're looking to impress at a party, create a fun baking activity with kids, or simply elevate your cookie game, this recipe is your secret weapon to creating Instagram-worthy, deliciously colorful cookies without artificial food dyes.
Prep Time: 20 mins
Cook Time: 15 mins
Total Time: 35 mins
Cuisine: American
Serves: 24 cookies
Ingredients
- 1 cup unsalted butter, softened
- 1/2 cup powdered sugar
- 2 cups all-purpose flour
- 1/4 teaspoon salt
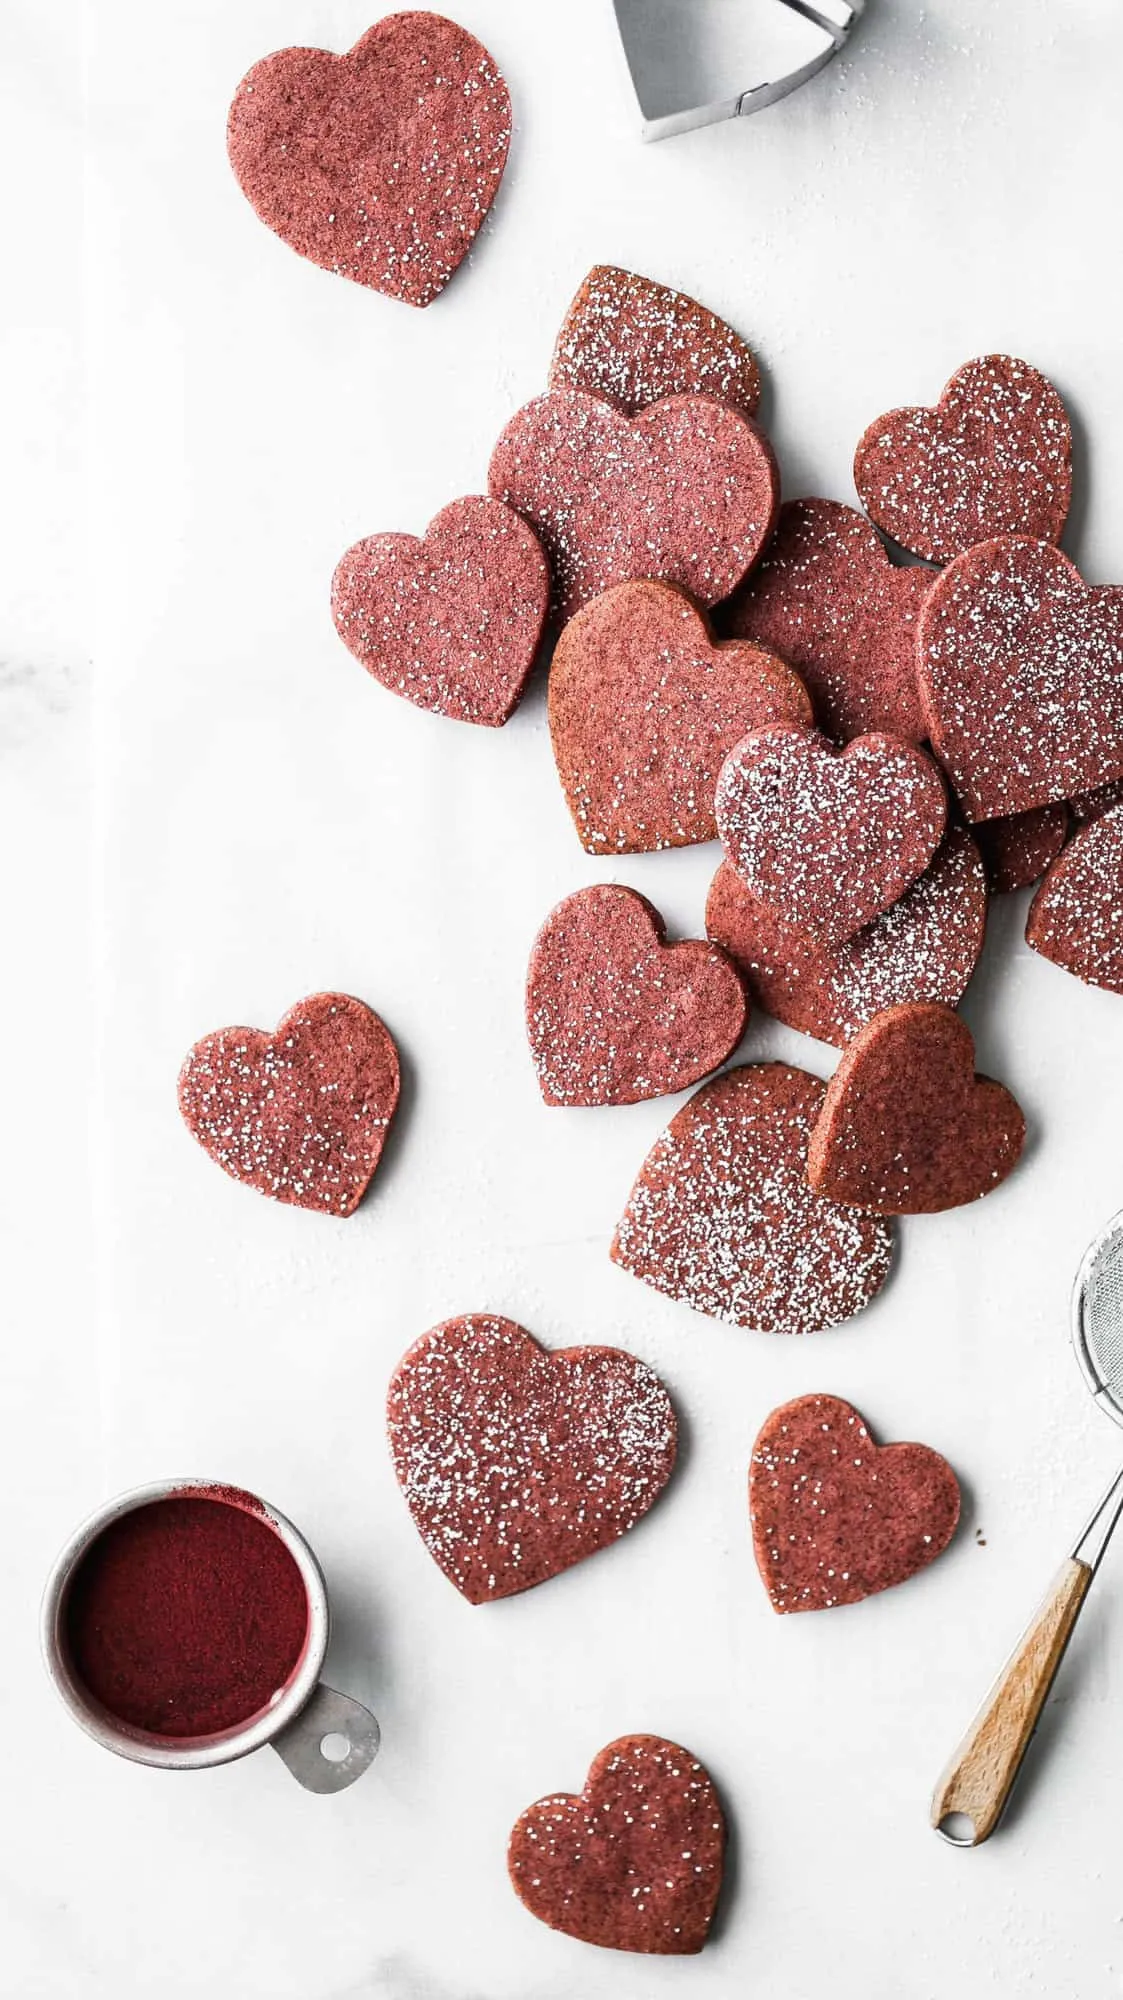
- Natural food coloring (from beet juice, matcha, etc.)
Instructions
- Ensure all ingredients are at room temperature, especially the butter, to achieve the best texture for shortbread cookies.
- In a large mixing bowl, cream the softened unsalted butter and powdered sugar together using an electric mixer until light and fluffy, approximately 3-4 minutes.
- Sift together the all-purpose flour and salt in a separate bowl to remove any lumps and ensure even distribution.
- Gradually add the flour mixture to the butter-sugar mixture, mixing on low speed until just combined. Be careful not to overmix, which can make the cookies tough.
- Divide the dough into separate portions if you want to create multiple color variations using natural food coloring.
- For color variations, add natural food coloring: - Beet juice for pink/red - Matcha powder for green - Turmeric for yellow Knead the color gently into each dough portion until evenly distributed.
- Wrap each colored dough portion in plastic wrap and refrigerate for 30 minutes to firm up and enhance flavor.
- Preheat the oven to 350°F (175°C) and line two baking sheets with parchment paper.
- Roll out the chilled dough on a lightly floured surface to about 1/4 inch thickness. Cut into desired shapes using cookie cutters.
- Place cookies on prepared baking sheets, spacing them about 1 inch apart.
- Bake for 12-15 minutes, or until the edges are just lightly golden. Avoid over-browning to maintain the natural colors.
- Remove from oven and let cookies cool on the baking sheet for 5 minutes, then transfer to a wire rack to cool completely.
- Store in an airtight container at room temperature for up to 5 days. Layer with parchment paper to prevent sticking.
Tips
- Temperature is Key: Always use room temperature butter for the smoothest, creamiest cookie dough. Cold butter won't cream properly and can lead to dense cookies.
- Don't Overwork the Dough: Mix just until ingredients are combined. Overmixing can develop gluten and make your cookies tough instead of delightfully crumbly.
- Chill for Success: Refrigerating the dough helps prevent spreading and intensifies the flavors. Don't skip this step!
- Natural Coloring Tricks: - For vibrant colors, use concentrated natural food colorings - Start with small amounts and gradually add more - Mix colors gently to maintain dough's texture
- Baking Precision: Watch cookies closely in the last few minutes of baking. They should be just lightly golden at the edges to preserve their beautiful natural colors.
- Experiment Fearlessly: Try different natural color sources like spirulina (blue-green), beetroot (pink), matcha (green), or turmeric (yellow) to create your unique cookie palette.
Nutrition Facts
Calories: 117kcal
Carbohydrates: 11g
Protein: 1g
Fat: 8g
Saturated Fat: 5g
Cholesterol: 17mg