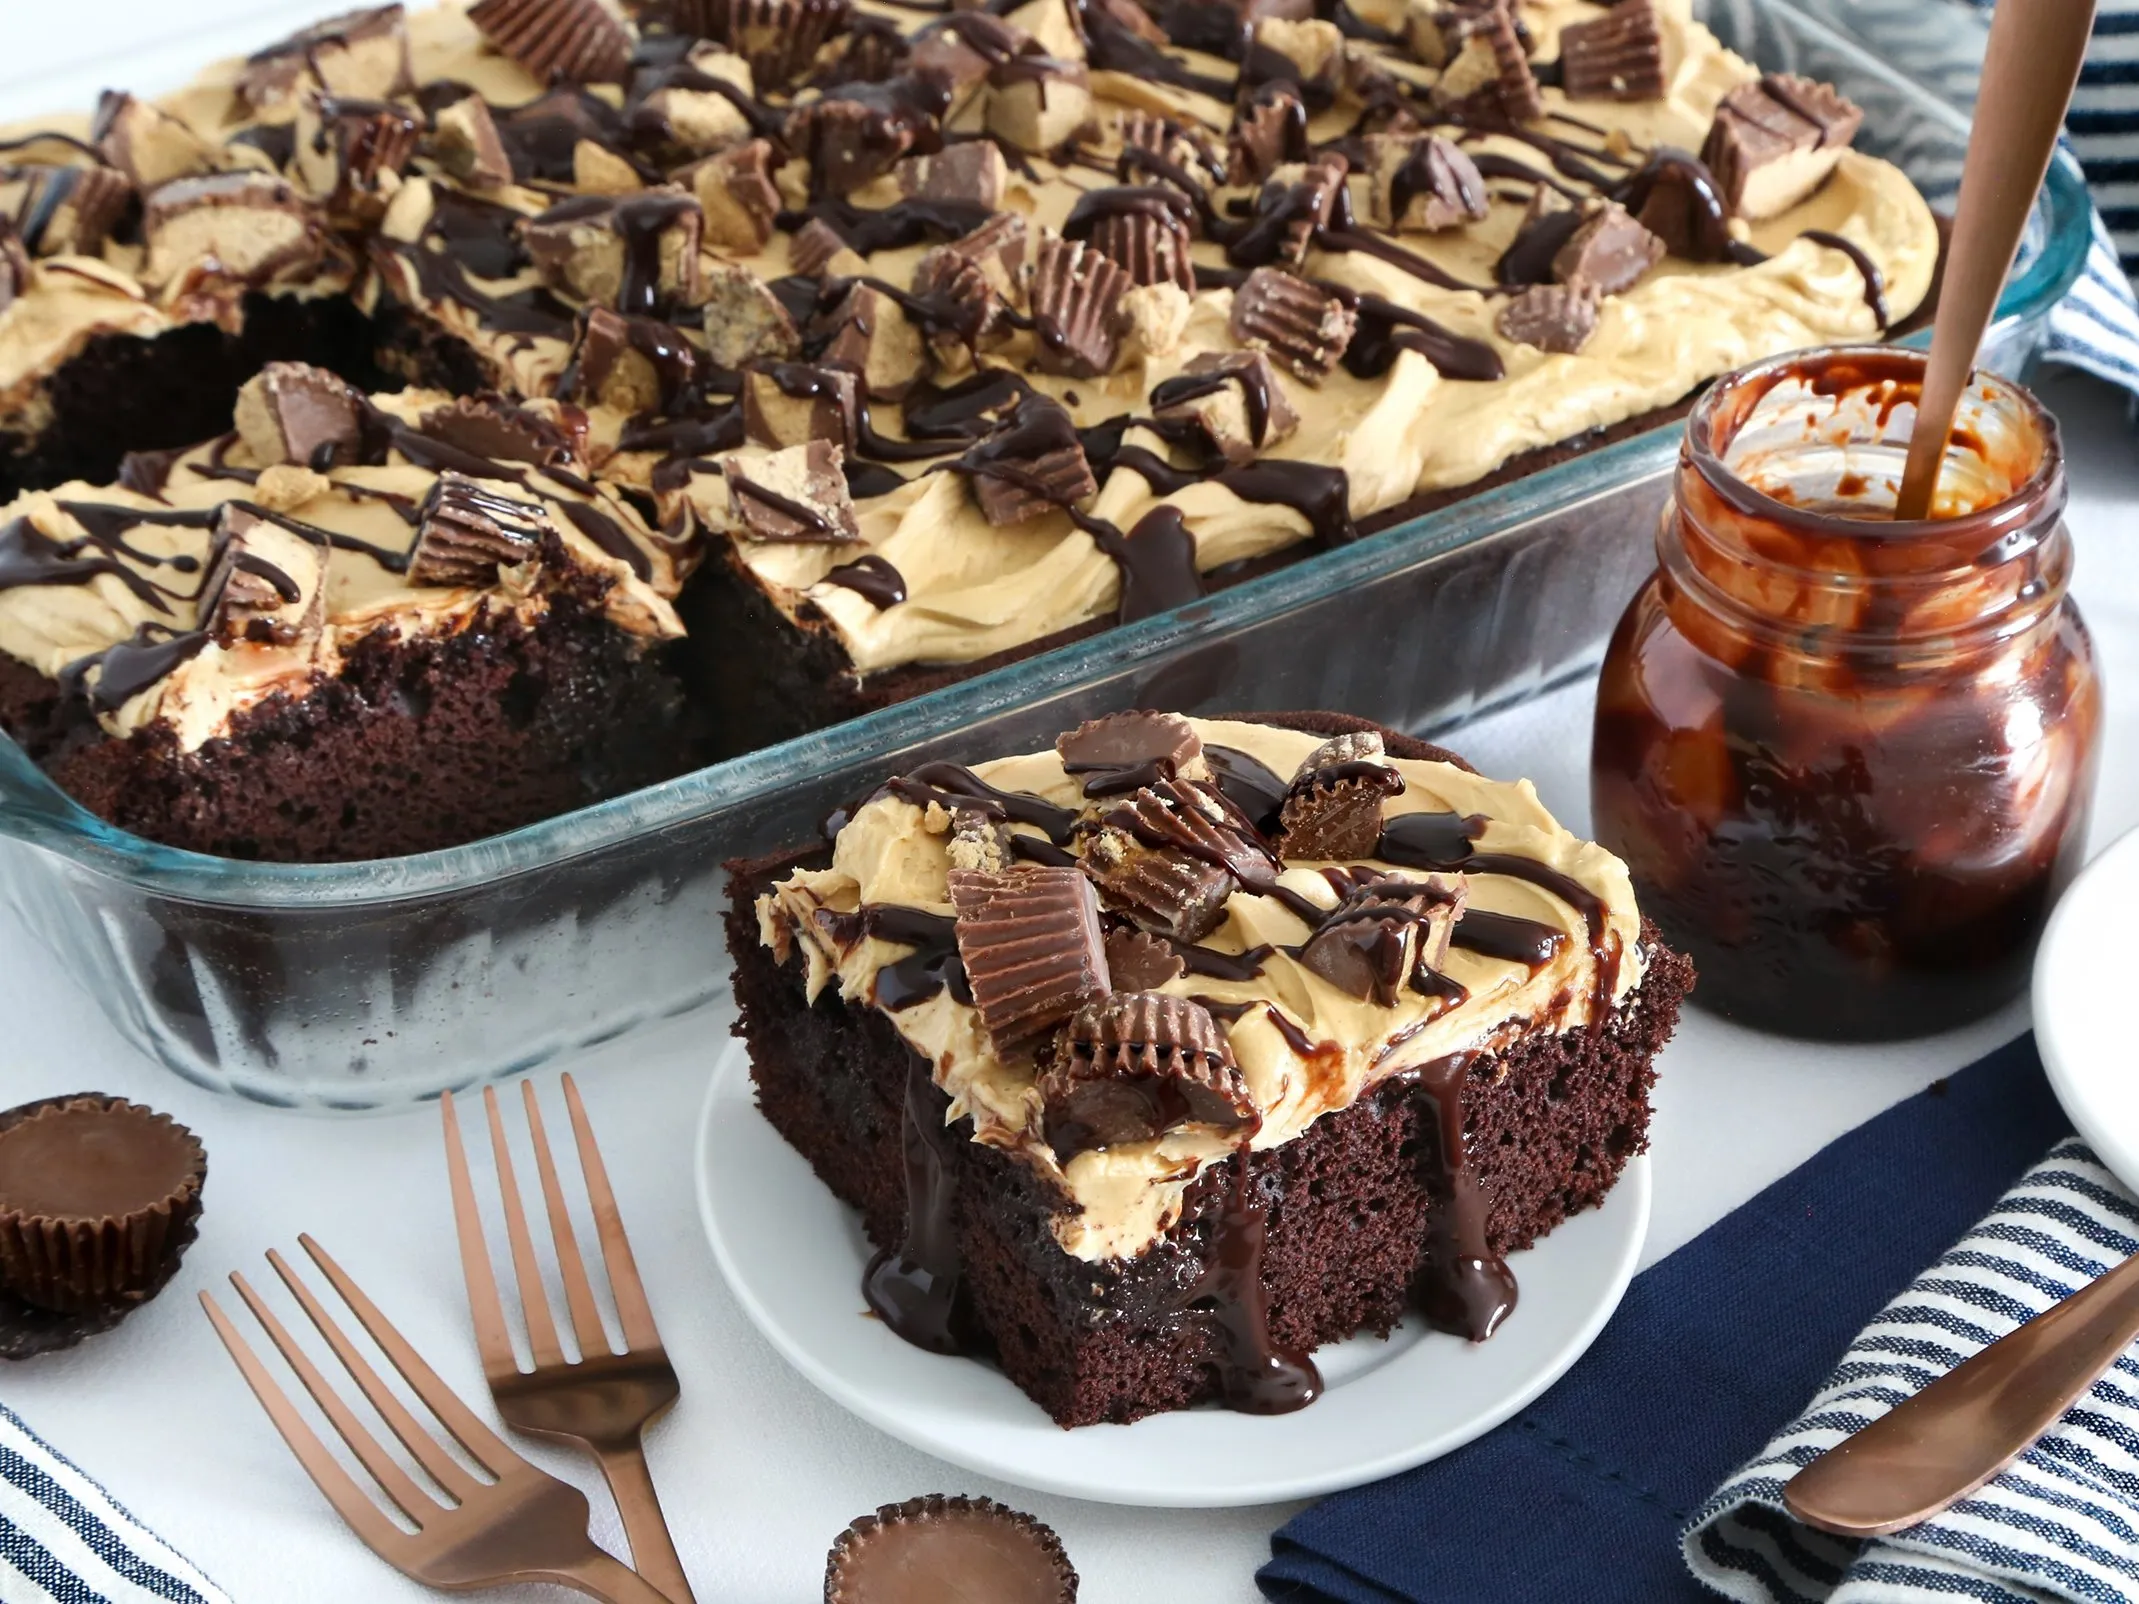
Are you craving a decadent dessert that won't derail your low-carb lifestyle? Prepare to be amazed by this mind-blowing Keto Peanut Butter Cup Poke Cake that delivers all the rich, chocolatey goodness without the carb overload! This show-stopping dessert combines the irresistible flavors of chocolate and peanut butter in a moist, syrup-infused cake that will make you forget you're even on a diet. Get ready to wow your taste buds and impress your friends with a dessert that proves healthy eating can be absolutely delicious!
Prep Time: 20 mins
Cook Time: 30 mins
Total Time: 50 mins
Cuisine: American
Serves: 12 servings
Ingredients
- 1 cup almond flour
- 1/2 cup erythritol
- 1/2 tsp baking powder
- 1/2 cup creamy peanut butter
- 3 large eggs
- 1/4 cup unsweetened cocoa powder
- 1/2 cup unsweetened almond milk
- 1/2 cup sugar-free chocolate syrup
Instructions
- Preheat the oven to 350°F (175°C) and line a 9x13 inch baking pan with parchment paper, ensuring the sides are covered for easy removal.
- In a large mixing bowl, combine almond flour, erythritol, baking powder, and unsweetened cocoa powder. Whisk the dry ingredients thoroughly to eliminate any lumps and ensure even distribution.
- In a separate bowl, beat the eggs until they become light and fluffy. Add creamy peanut butter and unsweetened almond milk, mixing until the wet ingredients are completely incorporated and smooth.
- Gradually fold the wet ingredients into the dry ingredient mixture, stirring carefully to create a uniform cake batter. Be careful not to overmix, which can result in a dense cake.
- Pour the batter into the prepared baking pan, spreading it evenly with a spatula to ensure an even surface and consistent baking.
- Bake in the preheated oven for 25-30 minutes, or until a toothpick inserted into the center comes out clean and the cake is slightly springy to the touch.
- Remove the cake from the oven and let it cool for 10-15 minutes at room temperature.
- Using the handle of a wooden spoon or a similar round object, create holes throughout the cake by gently poking at regular intervals.
- Slowly pour the sugar-free chocolate syrup over the cake, ensuring it seeps into the holes and distributes evenly.
- Refrigerate the cake for at least 1 hour to allow the syrup to set and the flavors to meld together.
- Before serving, optionally garnish with additional sugar-free chocolate chips or a light dusting of cocoa powder.
- Slice into 12 equal servings and serve chilled. Store any remaining cake in an airtight container in the refrigerator for up to 5 days.
Tips
- Ingredient Temperature Matters: Ensure your eggs and almond milk are at room temperature for smoother batter mixing.
- Don't Overmix: Gently fold ingredients to keep the cake light and fluffy. Overmixing can lead to a dense, tough texture.
- Hole Technique: When creating holes for the syrup, use the handle of a wooden spoon and make consistent, evenly spaced pokes for perfect syrup distribution.
- Cooling is Crucial: Allow the cake to cool completely before adding the chocolate syrup to prevent soggy results.
- Chill for Maximum Flavor: Refrigerating the cake helps the flavors meld and creates a more cohesive texture.
- Storage Hack: For best results, store the cake in an airtight container in the refrigerator and consume within 5 days.
- Customization Options: Feel free to add sugar-free chocolate chips or a light cocoa powder dusting for extra visual appeal and flavor.
- Precision Baking: Use an oven thermometer to ensure accurate temperature and consistent baking results.
Nutrition Facts
Calories: 280kcal
Carbohydrates: 8g
Protein: 10g
Fat: 24g
Saturated Fat: 5g
Cholesterol: 85mg