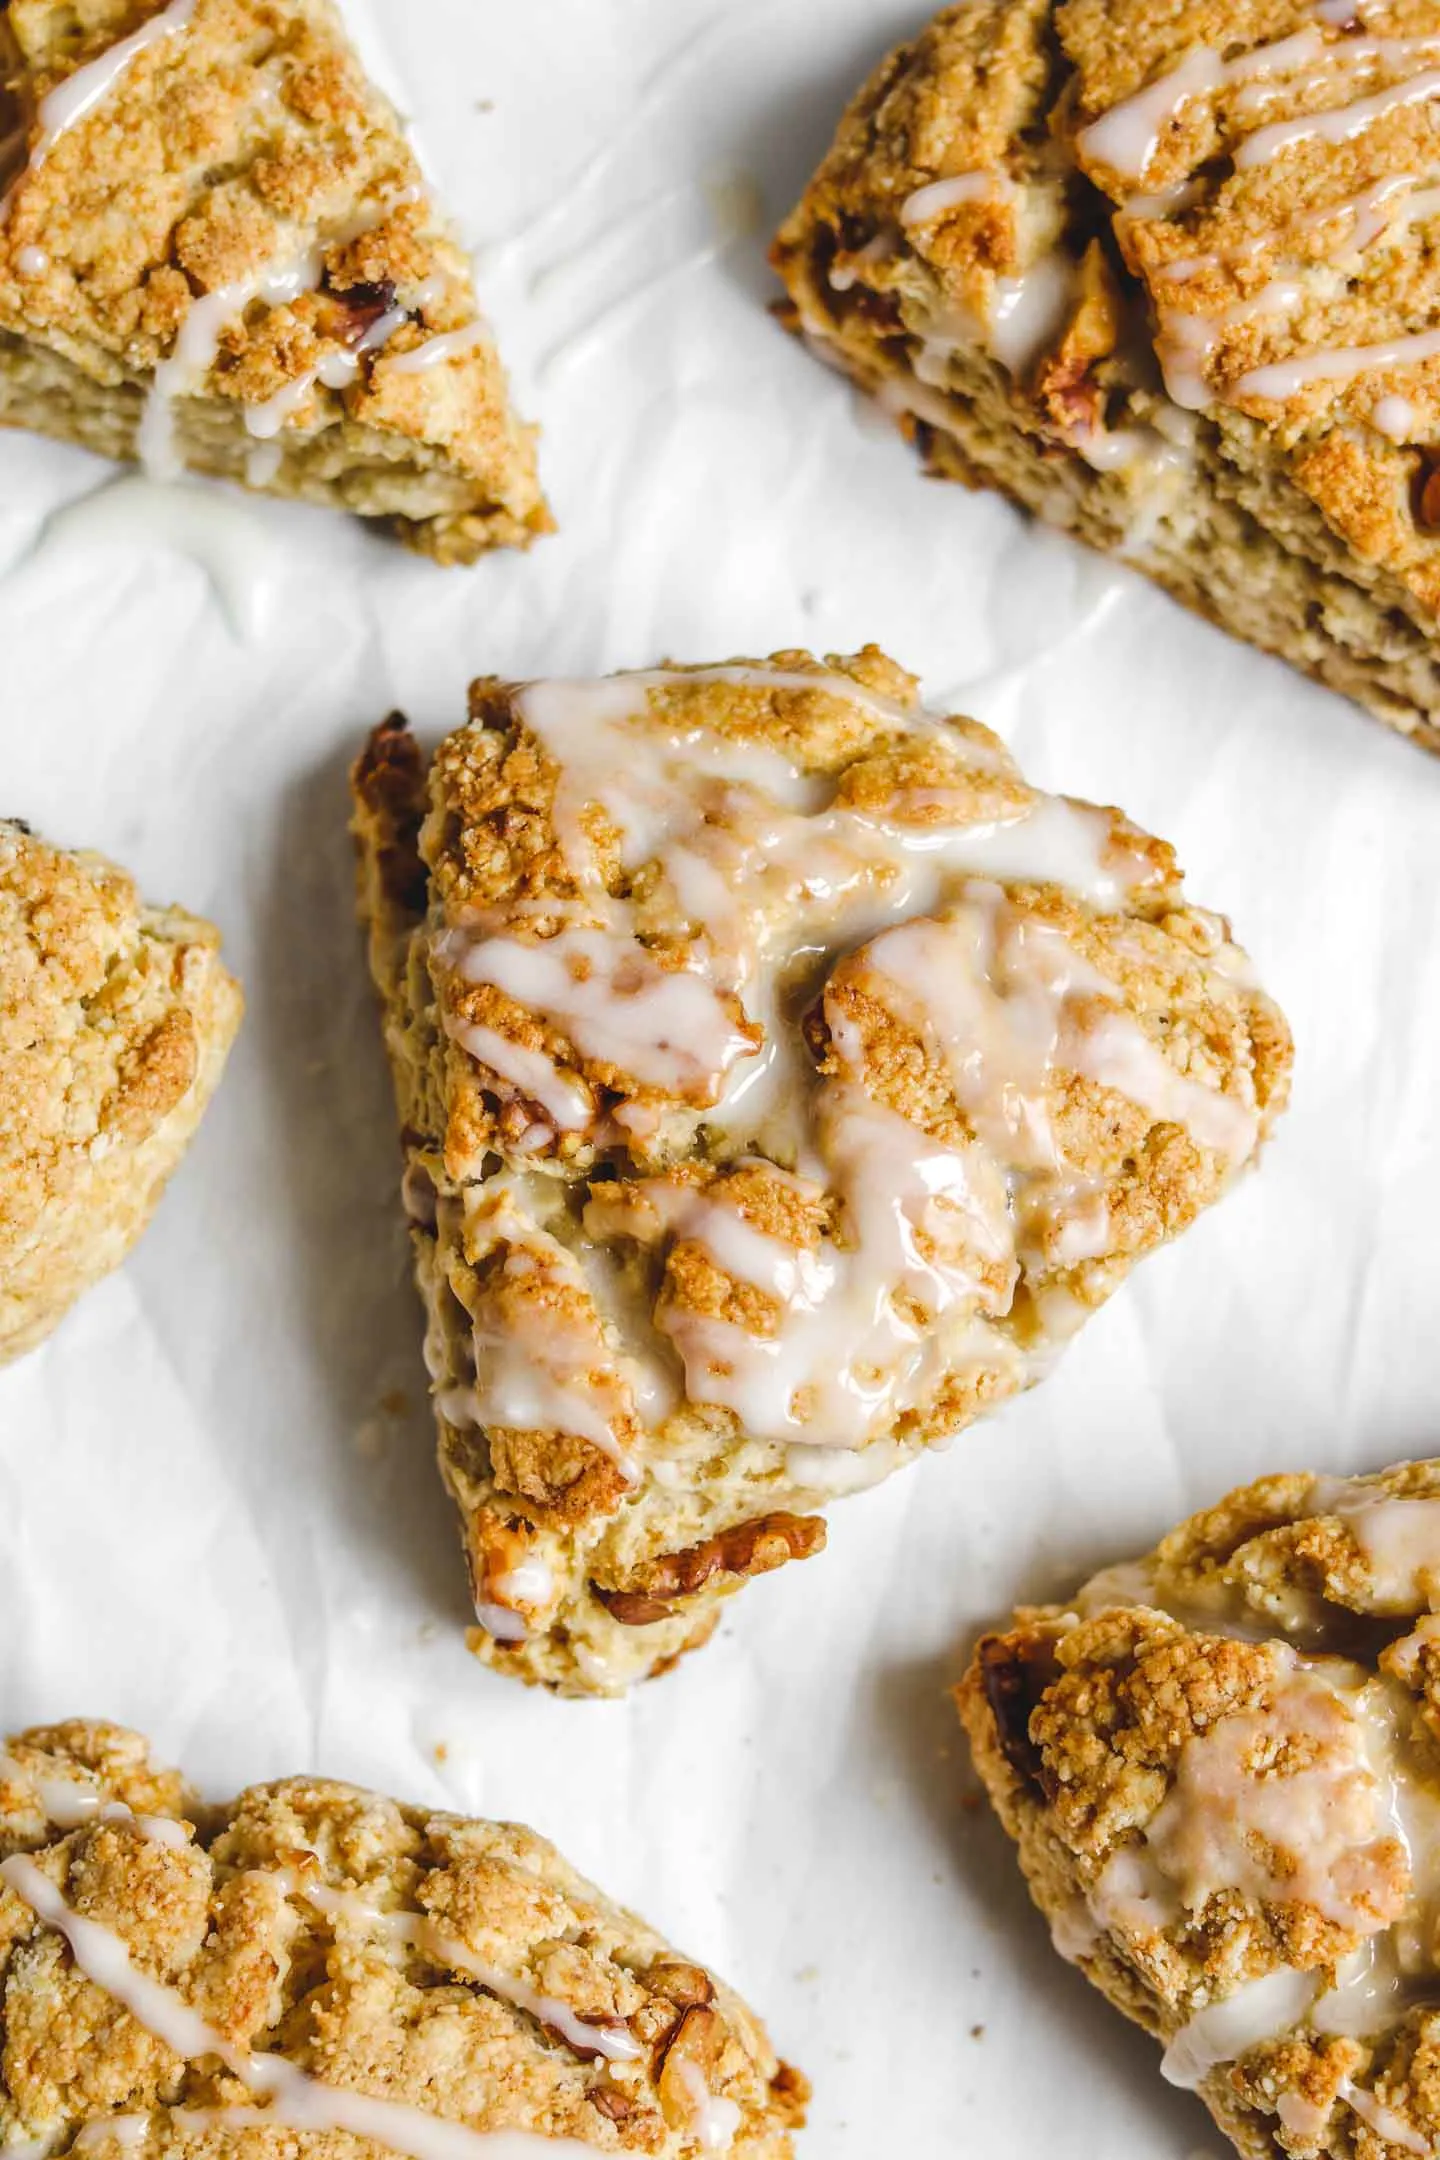
Indulge your taste buds with the delightful flavors of our Gluten Free Salted Maple Scones! Perfectly golden and irresistibly tender, these scones are a heavenly blend of sweet maple syrup and a hint of sea salt, making them the ultimate treat for breakfast or an afternoon snack. Whether you’re gluten-free or simply looking to try something new, these scones will leave you craving more. Ready to impress your family and friends with a scrumptious recipe that’s easy to whip up? Let’s dive into the delicious world of baking these mouthwatering scones!
Prep Time: 15 mins
Cook Time: 20 mins
Total Time: 35 mins
Cuisine: American
Serves: 10 scones
Ingredients
- 2 cups gluten-free all-purpose flour
- 1/3 cup maple syrup
- 1 tablespoon baking powder
- 1/2 teaspoon salt
- 1/2 cup cold butter, cubed
- 1/2 cup milk
- Coarse sea salt for sprinkling
Instructions
- Preheat the oven to 425°F (218°C) and line a baking sheet with parchment paper.
- In a large mixing bowl, whisk together the gluten-free all-purpose flour, baking powder, and salt until well combined.
- Add the cold cubed butter to the dry ingredients. Use a pastry cutter or your fingertips to work the butter into the flour mixture until it resembles coarse crumbs with pea-sized butter pieces.
- Create a well in the center of the mixture and pour in the maple syrup and milk. Gently mix with a fork until just combined, being careful not to overmix.
- Transfer the dough onto a lightly floured surface and gently pat into a circular disk about 1-inch thick.
- Using a sharp knife, cut the disk into 10 equal wedges, separating them slightly on the baking sheet.
- Sprinkle the top of each scone generously with coarse sea salt.
- Bake in the preheated oven for 18-20 minutes, or until the edges are golden brown and the tops are lightly crisp.
- Remove from the oven and let cool on the baking sheet for 5 minutes, then transfer to a wire rack to cool completely.
- Serve warm or at room temperature. Store in an airtight container for up to 3 days.
Tips
- Use Cold Ingredients: Ensure your butter is cold right out of the fridge. This helps create flaky layers in your scones, giving them that perfect texture.
- Don’t Overmix: When combining the wet and dry ingredients, mix just until combined. Overmixing can lead to tough scones, so be gentle!
- Chill the Dough: If you have time, refrigerate the dough for about 15 minutes before cutting. This will help the scones maintain their shape while baking.
- Experiment with Flavors: Feel free to add in your favorite mix-ins like chocolate chips, nuts, or dried fruits to customize your scones to your liking.
- Serve Warm: These scones are best enjoyed warm out of the oven. Consider serving them with a drizzle of extra maple syrup or a dollop of your favorite jam.
- Storage Tips: To keep your scones fresh, store them in an airtight container at room temperature for up to 3 days. You can also freeze them for longer storage—just reheat in the oven when you're ready to enjoy!
Nutrition Facts
Calories: 250kcal
Carbohydrates: 30g
Protein: 3g
Fat: 13g
Saturated Fat: 8g
Cholesterol: 35mg


