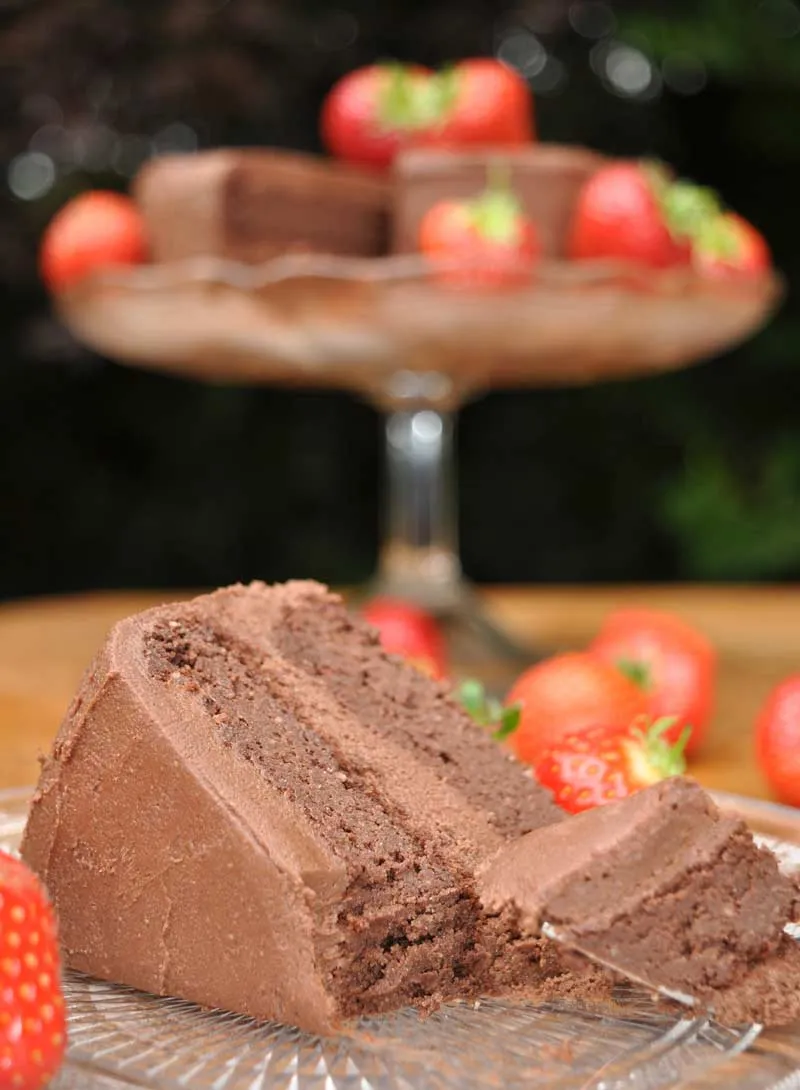
Imagine sinking your fork into a decadent chocolate cake that's not only incredibly delicious but also diabetic-friendly and low-carb. This Diabetic Miracle Rise Chocolate Cake is the ultimate dessert solution for those watching their sugar intake without sacrificing flavor. Whether you're managing diabetes, following a keto diet, or simply looking for a healthier dessert option, this recipe will transform your perception of guilt-free indulgence.
Prep Time: 15 mins
Cook Time: 30 mins
Total Time: 45 mins
Cuisine: American
Serves: 12 servings
Ingredients
- 1 1/2 cups almond flour
- 1/2 cup unsweetened cocoa powder
- 1/2 cup erythritol
- 1 teaspoon baking soda
- 1/2 teaspoon salt
- 3 large eggs
- 1/2 cup unsweetened applesauce
- 1 teaspoon vanilla extract
- 1 cup hot water
Instructions
- Preheat the oven to 350°F (175°C). Prepare a 9-inch round cake pan by greasing it thoroughly with cooking spray or lining it with parchment paper to prevent sticking.
- In a large mixing bowl, sift together the almond flour, unsweetened cocoa powder, erythritol, baking soda, and salt. Whisk the dry ingredients until they are completely combined and free of lumps.
- In a separate medium bowl, crack the eggs and whisk them until they become light and slightly frothy. Add the unsweetened applesauce and vanilla extract, mixing well to create a smooth, uniform wet mixture.
- Gradually pour the wet ingredients into the dry ingredient mixture, stirring gently with a spatula. Mix until just combined, being careful not to overmix the batter.
- Slowly add the hot water to the batter, stirring continuously. The batter will become thin and smooth. This helps create a moist and tender cake texture.
- Pour the batter into the prepared cake pan, ensuring it is evenly distributed. Use a spatula to smooth the top of the batter.
- Place the pan in the preheated oven and bake for 25-30 minutes. To check for doneness, insert a toothpick into the center of the cake. If it comes out clean or with just a few moist crumbs, the cake is ready.
- Remove the cake from the oven and let it cool in the pan for 10-15 minutes. Then, carefully transfer it to a wire rack to cool completely.
- Once cooled, you can optionally dust the cake with a small amount of powdered erythritol or top with a diabetic-friendly chocolate ganache made from sugar-free chocolate and heavy cream.
- Slice into 12 servings and serve. Store any leftovers in an airtight container in the refrigerator for up to 3-4 days.
Tips
- Measure ingredients precisely to ensure the right texture and consistency.
- Use fresh, room temperature eggs for better batter integration.
- Sifting dry ingredients helps prevent lumps and creates a smoother cake.
- Do not overmix the batter, as this can lead to a tough, dense cake.
- Use a toothpick test to check cake doneness, but avoid opening the oven door too frequently.
- Allow the cake to cool completely before cutting to maintain its structure.
- Store in an airtight container to preserve moisture and freshness.
- For extra moisture, you can add a tablespoon of sugar-free chocolate pudding mix to the batter.
- Experiment with different sugar substitutes like stevia or monk fruit if erythritol isn't your preference.
- Serve with a dollop of sugar-free whipped cream for an extra touch of indulgence.
Nutrition Facts
Calories: 120kcal
Carbohydrates: 6g
Protein: 5g
Fat: 10g
Saturated Fat: 1g
Cholesterol: 45mg