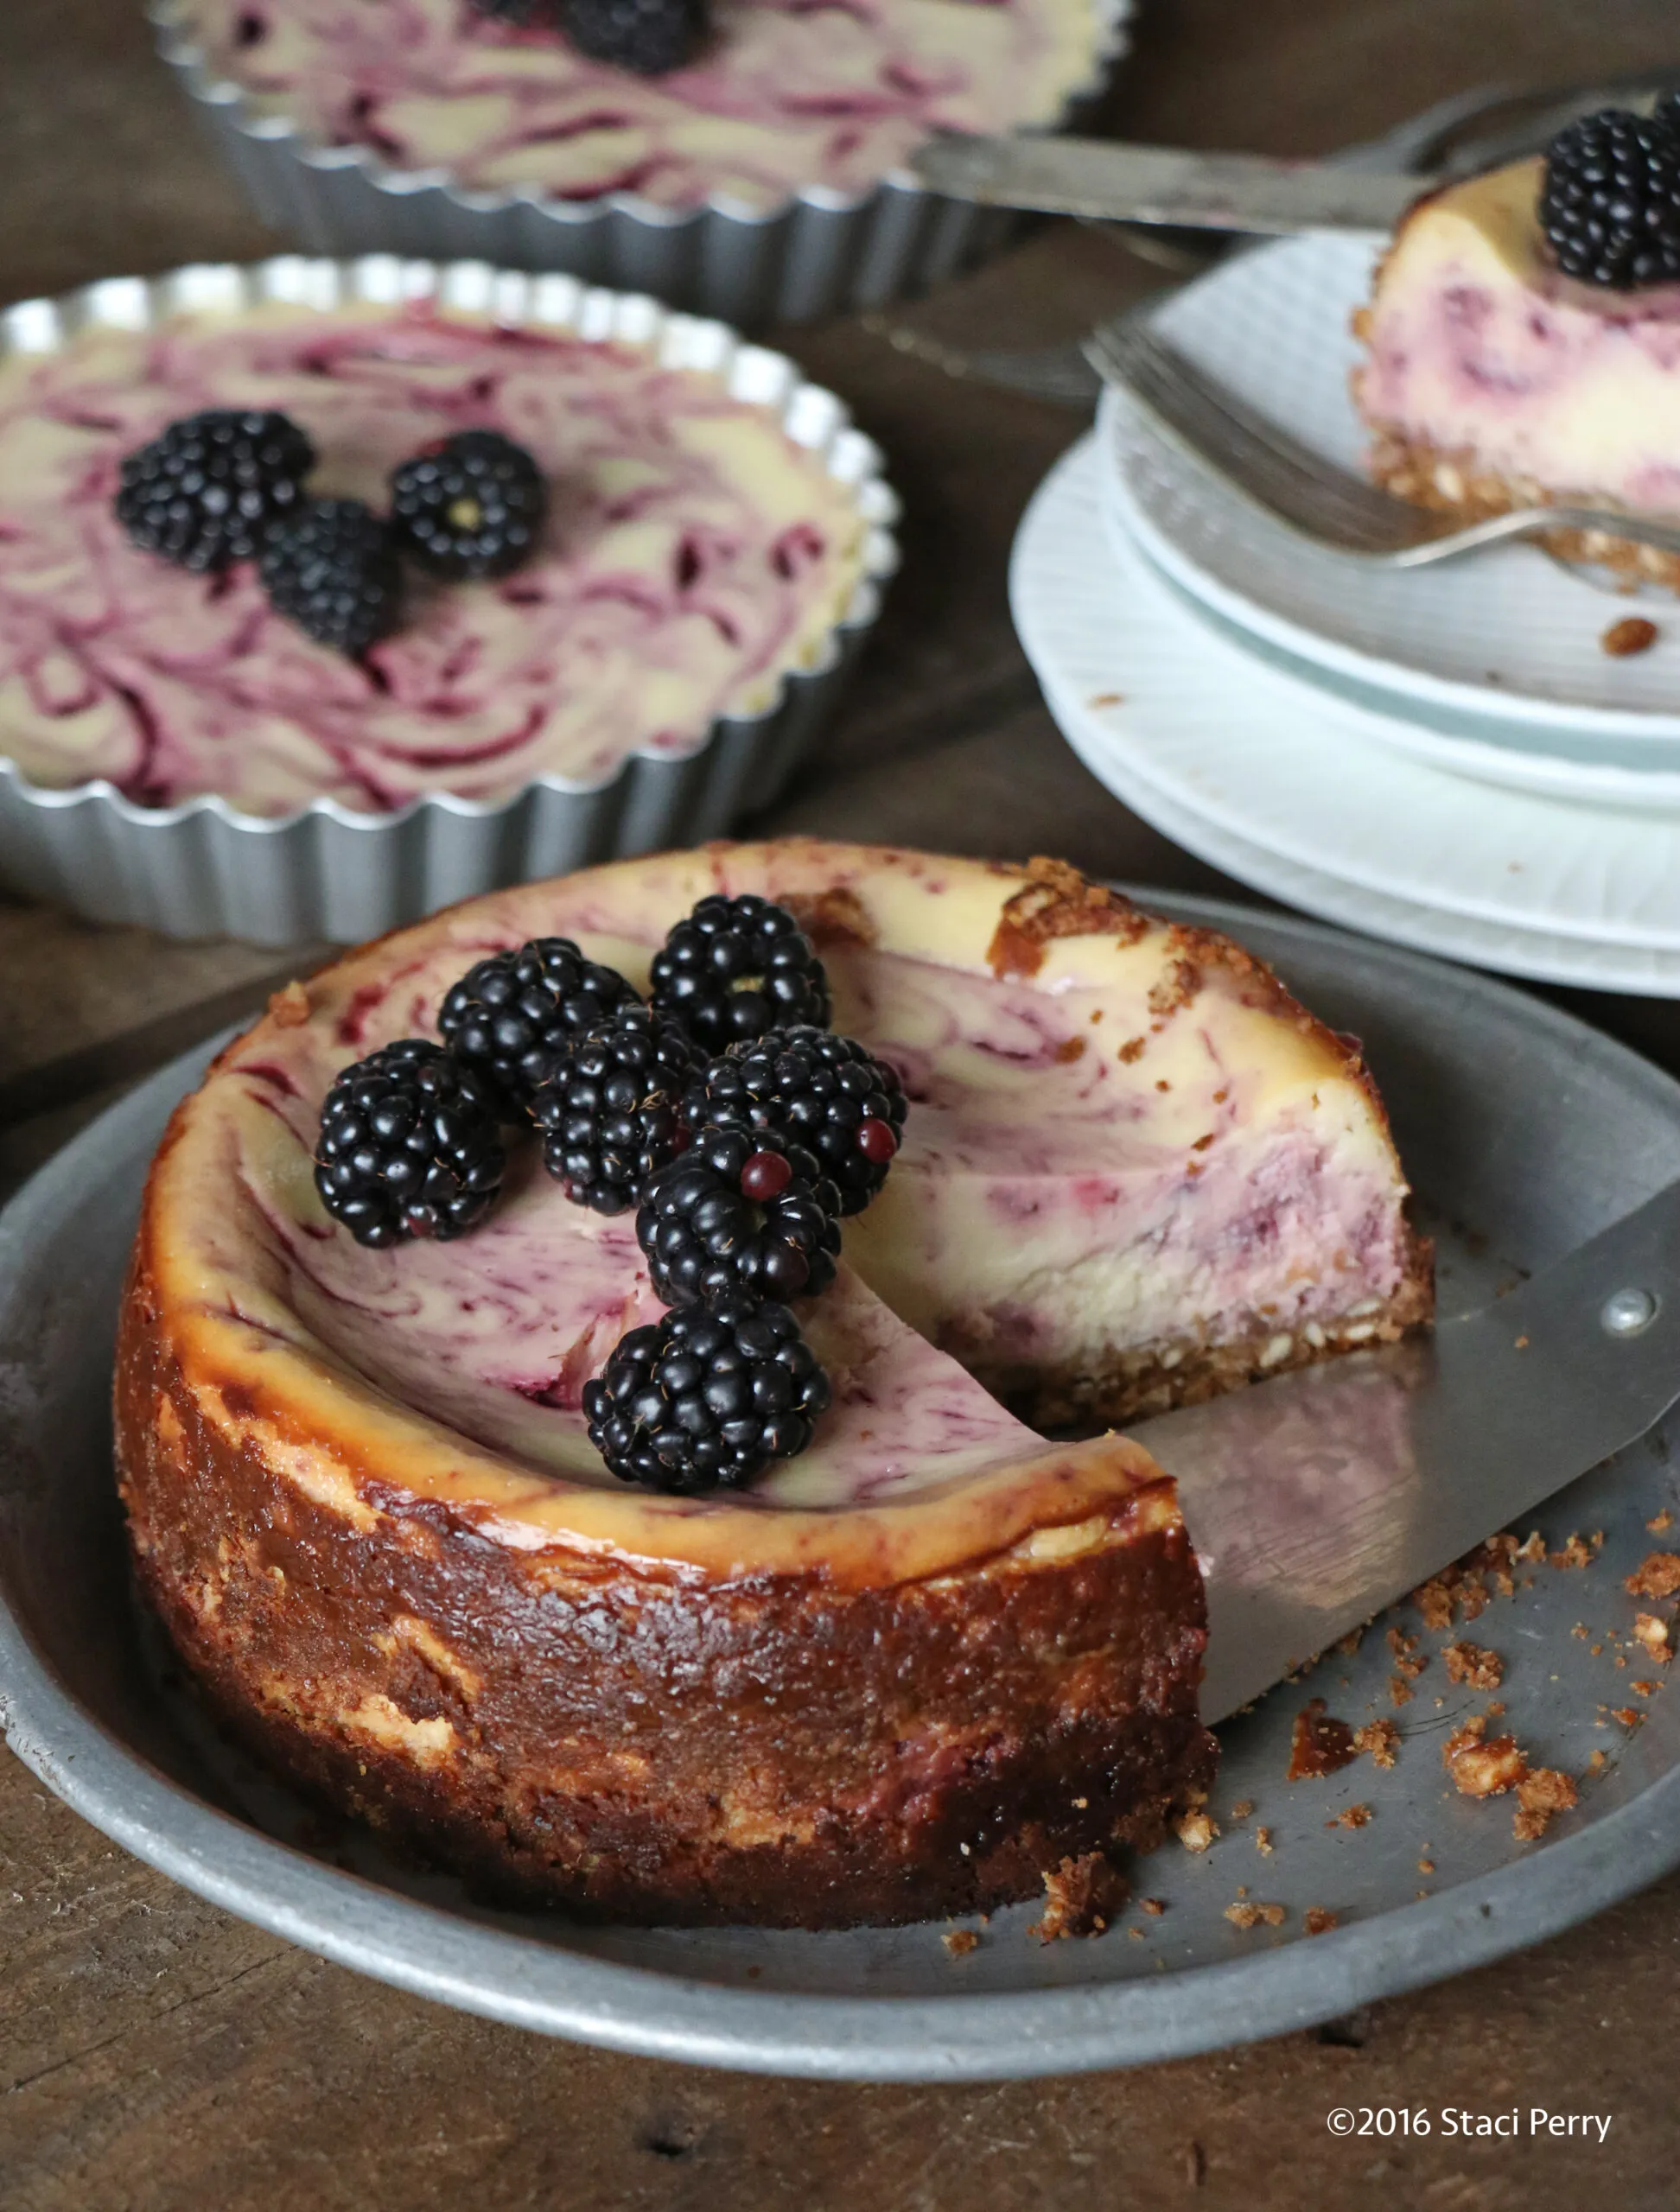
Indulge your taste buds with a delightful twist on a classic dessert: the Blackberry Lime Cheesecake Tart! This luscious tart combines the creamy richness of cheesecake with the zesty brightness of lime and the sweet-tart flavor of fresh blackberries, making it the perfect showstopper for any occasion. Whether you're hosting a summer barbecue or simply craving a sweet treat, this dessert is sure to impress your guests and leave them asking for seconds. Ready to elevate your dessert game? Let’s dive into this mouthwatering recipe that promises to be a hit at your next gathering!
Prep Time: 25 mins
Cook Time: 50 mins
Total Time: 1 hrs 15 mins
Cuisine: American
Serves: 10 servings
Ingredients
- 1 1/2 cups graham cracker crumbs
- 1/4 cup granulated sugar
- 1/2 cup unsalted butter, melted
- 16 oz cream cheese, softened
- 3/4 cup granulated sugar
- 3 large eggs
- 1/4 cup lime juice
- 1 tablespoon lime zest
- 2 cups fresh blackberries
Instructions
- Preheat the oven to 350°F (175°C). Prepare a 9-inch tart pan with a removable bottom by lightly greasing it with butter or cooking spray.
- In a medium bowl, mix graham cracker crumbs, 1/4 cup sugar, and melted butter until the mixture resembles wet sand and holds together when pressed.
- Press the graham cracker mixture firmly and evenly into the bottom and up the sides of the prepared tart pan. Use the back of a spoon or measuring cup to create a compact crust.
- Bake the crust for 10 minutes, then remove from the oven and let it cool while preparing the filling. Reduce oven temperature to 325°F (160°C).
- In a large mixing bowl, beat the softened cream cheese with 3/4 cup sugar using an electric mixer until smooth and creamy, about 3-4 minutes.
- Add eggs one at a time, mixing well after each addition. Scrape down the sides of the bowl to ensure even mixing.
- Stir in lime juice and lime zest, mixing until fully incorporated and the filling is smooth.
- Pour the cream cheese mixture into the prepared graham cracker crust, spreading it evenly.
- Gently arrange fresh blackberries on top of the filling, lightly pressing them into the surface.
- Bake the tart for 40-45 minutes, or until the filling is set but still slightly jiggly in the center. The edges should be lightly golden.
- Remove from the oven and let the tart cool completely at room temperature for about 1 hour.
- Refrigerate the tart for at least 2 hours or overnight to allow it to set completely and develop full flavor.
- Before serving, carefully remove the tart from the pan by pushing up the removable bottom. Slice into wedges and serve chilled.
- Optional: Garnish with additional fresh blackberries, lime zest, or a light dusting of powdered sugar before serving.
Tips
- Choose Ripe Blackberries: For the best flavor, use fresh, ripe blackberries. They should be plump and slightly shiny. If you can't find fresh ones, frozen blackberries can work, but make sure to thaw and drain them well.
- Room Temperature Ingredients: Ensure your cream cheese is softened to room temperature before mixing. This helps achieve a smooth and creamy filling without lumps.
- Don’t Overmix: When adding the eggs, mix just until combined. Overmixing can incorporate too much air, which may lead to cracks in your cheesecake.
- Check for Doneness: The tart is done when the edges are set and the center is still slightly jiggly. It will continue to firm up as it cools.
- Chill for Best Flavor: Allow the tart to chill in the refrigerator for at least 2 hours (or overnight if you can wait!). This resting period enhances the flavors and makes slicing easier.
- Garnish Creatively: Elevate your presentation by garnishing with additional blackberries, a sprinkle of lime zest, or a light dusting of powdered sugar just before serving for that extra touch of elegance.
Nutrition Facts
Calories: 385kcal
Carbohydrates: 35g
Protein: 6g
Fat: 25g
Saturated Fat: 14g
Cholesterol: 110mg