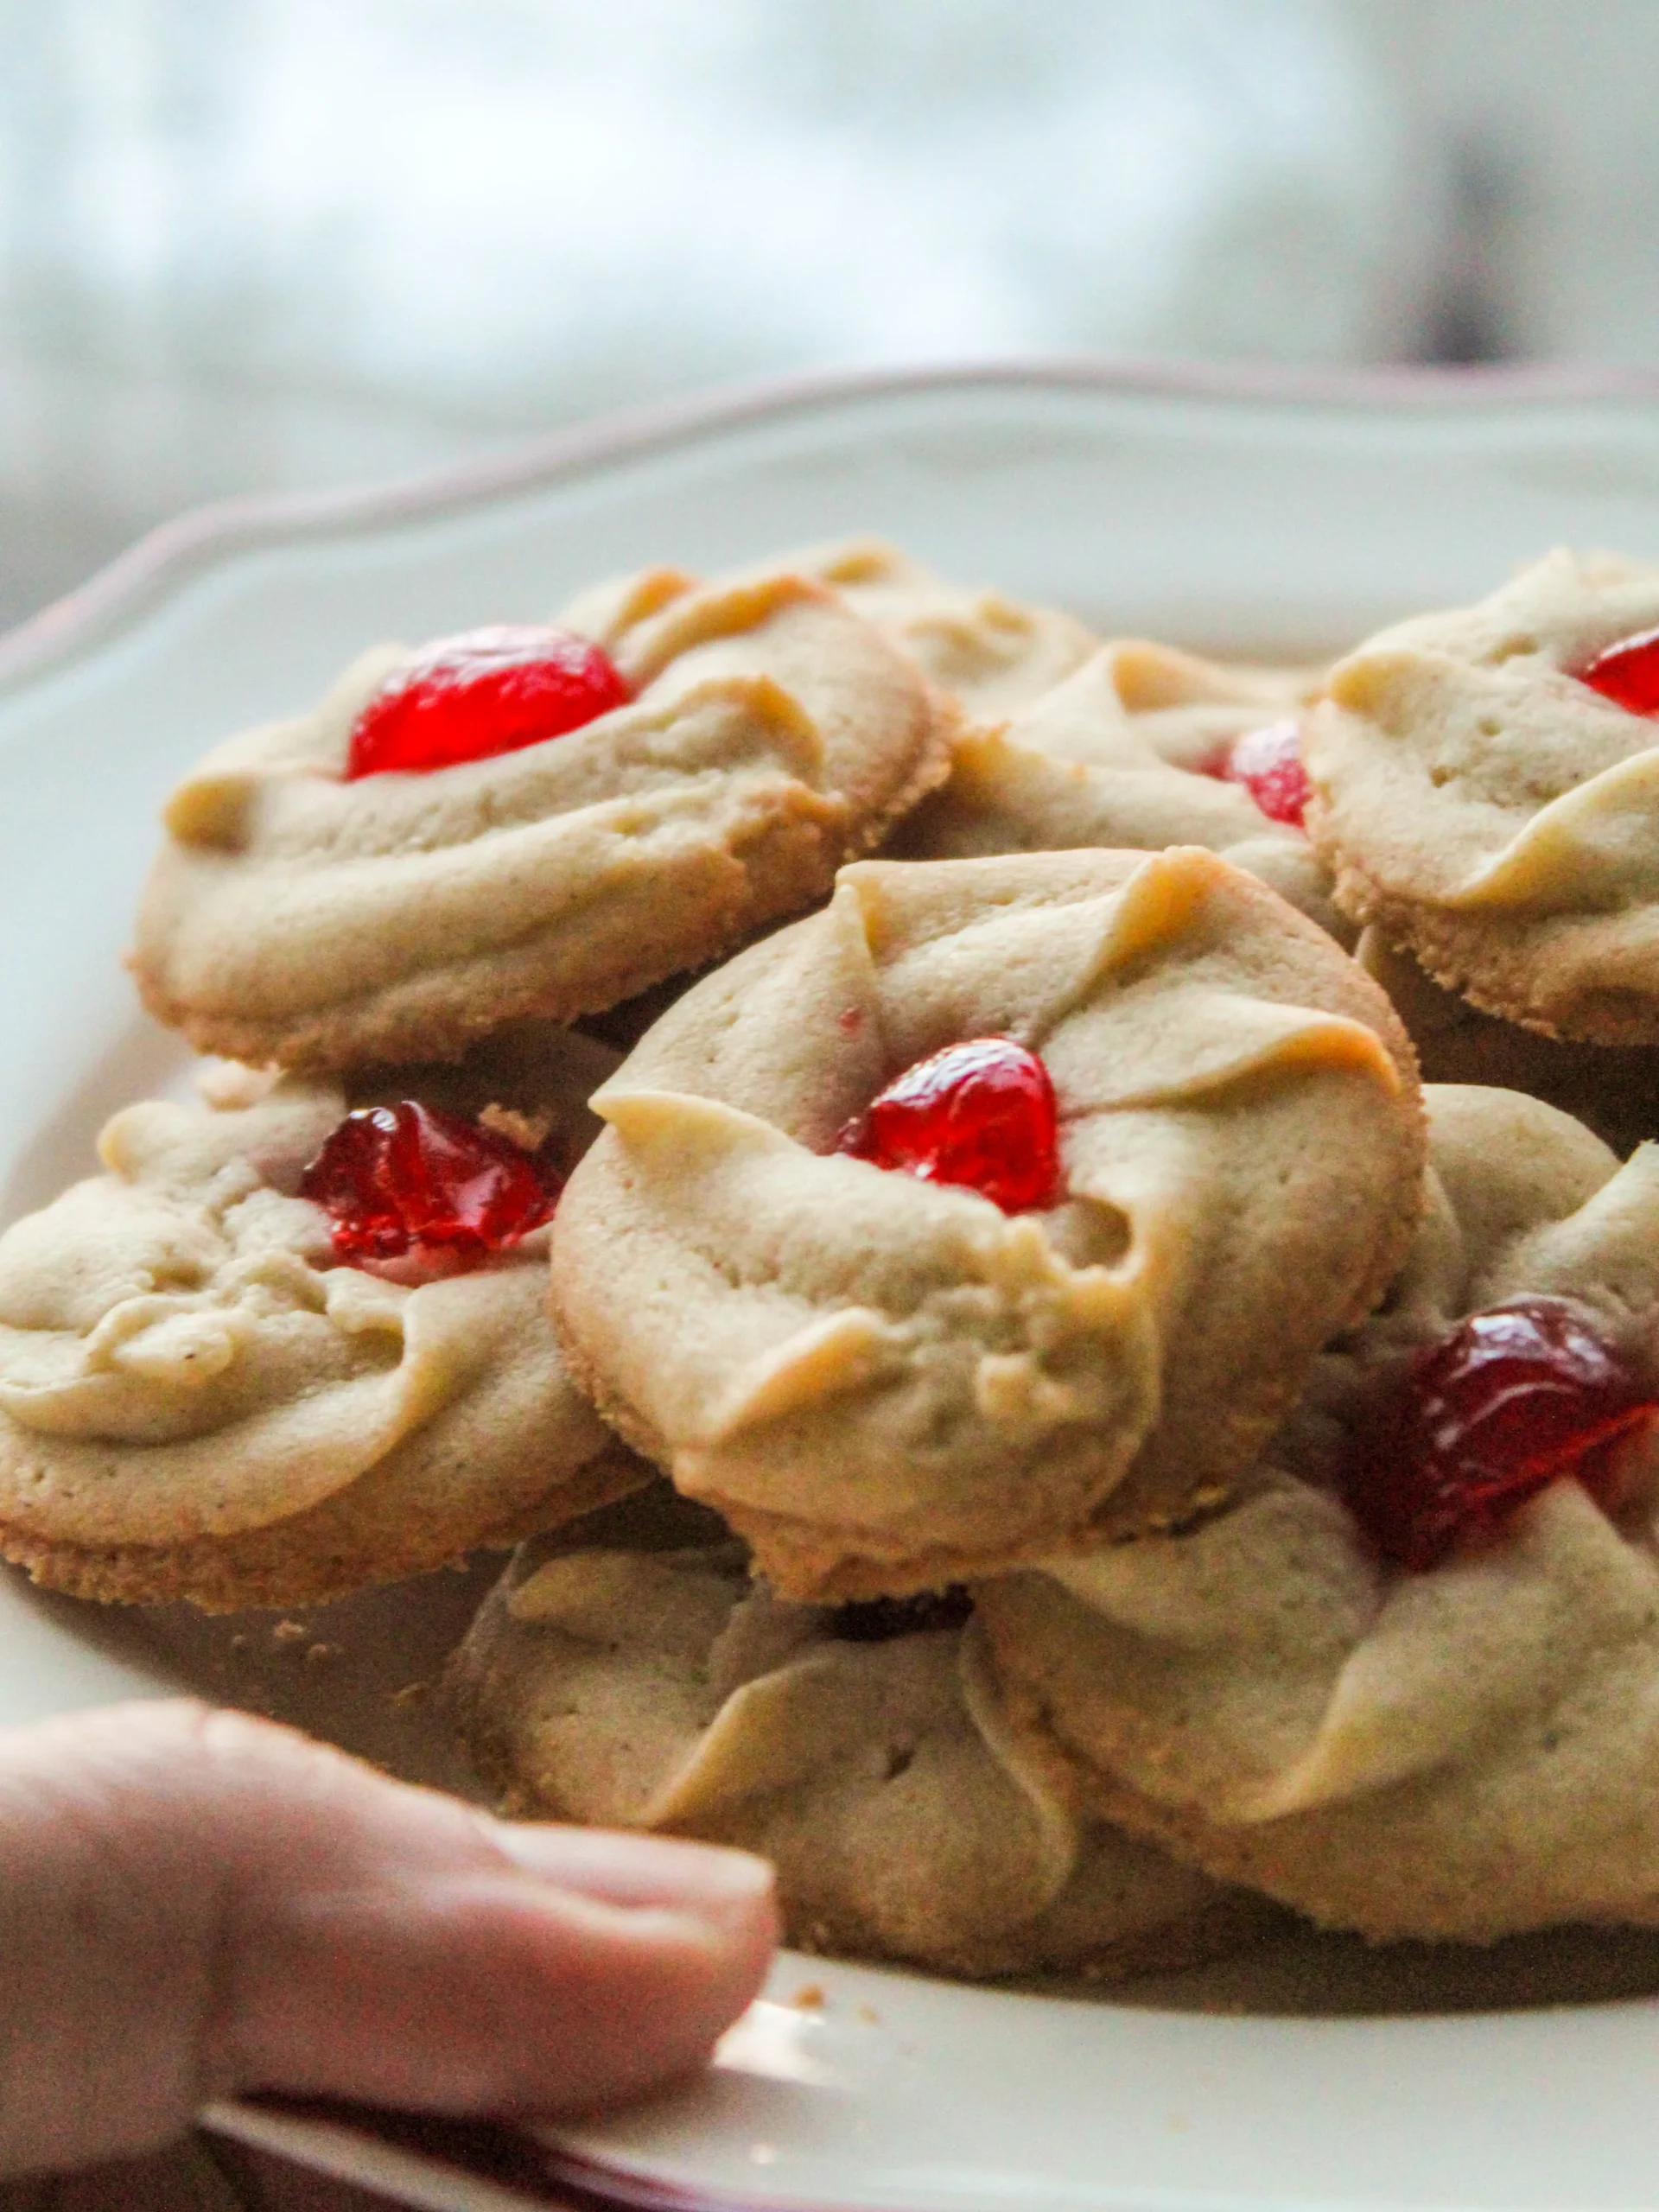
Prepare to embark on a culinary journey that will transport your taste buds straight to the cozy kitchens of Scandinavia! These gluten-free Danish butter cookies are not just a treat; they're a delicate work of art that will make you forget you're eating a gluten-free version. With their delightfully crisp edges, buttery center, and elegant rosette shape, these cookies are guaranteed to impress both gluten-sensitive and traditional cookie lovers alike. Get ready to create a batch of pure, melt-in-your-mouth magic that will have everyone asking for your secret recipe!
Prep Time: 20 mins
Cook Time: 15 mins
Total Time: 35 mins
Cuisine: Scandinavian
Serves: 24 cookies
Ingredients
- 1 cup unsalted butter, softened
- 1/2 cup powdered sugar
- 1 teaspoon vanilla extract
- 2 cups gluten-free all-purpose flour
- 1/4 teaspoon salt
Instructions
- Preheat the oven to 350°F (175°C) and line two baking sheets with parchment paper or silicone baking mats.
- In a large mixing bowl, cream the softened butter and powdered sugar together using an electric mixer. Beat until the mixture becomes light and fluffy, approximately 3-4 minutes.
- Add the vanilla extract to the butter mixture and mix until fully incorporated.
- In a separate bowl, whisk together the gluten-free all-purpose flour and salt to ensure even distribution.
- Gradually add the flour mixture to the butter mixture, mixing on low speed until just combined. Be careful not to overmix.
- Transfer the cookie dough to a piping bag fitted with a star-shaped tip. If you don't have a piping bag, you can use a plastic zip-top bag with a corner cut off.
- Pipe the dough onto the prepared baking sheets in classic circular or rosette shapes, spacing the cookies about 1 inch apart.
- Place the baking sheets in the preheated oven and bake for 12-15 minutes, or until the edges of the cookies are lightly golden.
- Remove from the oven and let the cookies cool on the baking sheet for 5 minutes before transferring to a wire rack to cool completely.
- Once cooled, store the cookies in an airtight container at room temperature for up to 5 days.
Tips
- Ensure your butter is truly softened but not melted - room temperature is key for the perfect cookie texture.
- Use a high-quality gluten-free all-purpose flour blend for the best results and most authentic taste.
- When piping, use steady, consistent pressure to create beautiful, uniform cookie shapes.
- For extra elegance, lightly dust the cooled cookies with powdered sugar or drizzle with melted chocolate.
- If you don't have a piping bag, a plastic zip-top bag with a corner snipped off works perfectly.
- Allow cookies to cool completely before storing to maintain their delightful crisp texture.
- For best flavor, use pure vanilla extract rather than artificial flavoring.
- Chill the dough for 15-20 minutes before piping if it feels too soft, which will help maintain the cookie's shape during baking.
Nutrition Facts
Calories: 120kcal
Carbohydrates: 10g
Protein: 1g
Fat: 8g
Saturated Fat: 5g
Cholesterol: 20mg