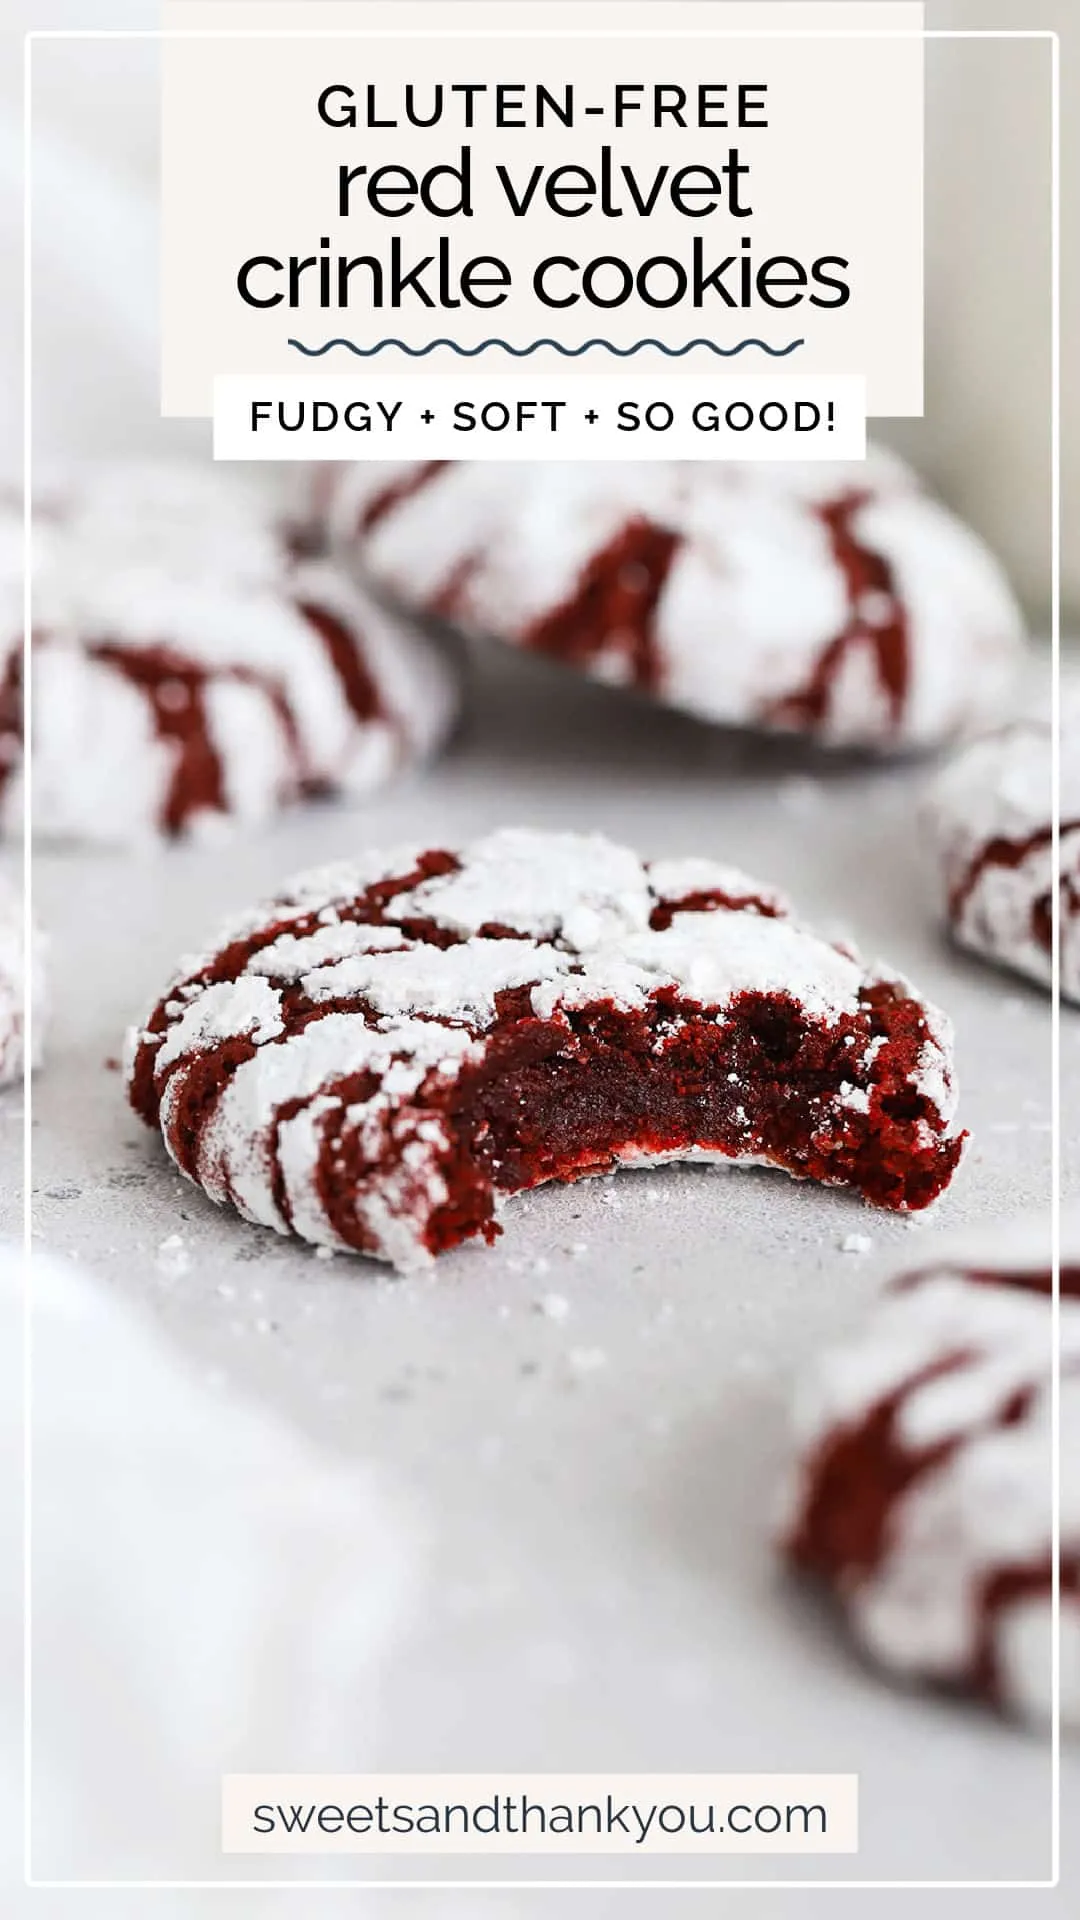
Get ready to indulge in a delightful treat that’s not just a feast for the eyes but also a gluten-free dream come true! These Red Velvet Gluten Free Crinkle Cookies are the perfect combination of rich cocoa flavor and that iconic red hue, making them a show-stopping addition to any dessert table. With their soft, chewy texture and signature crinkle tops, these cookies are not only easy to make but will also have your friends and family begging for seconds. Whether you’re hosting a special occasion or just craving something sweet, these cookies are sure to satisfy your sweet tooth. So, roll up your sleeves and let’s dive into this irresistible recipe that promises to elevate your baking game!
Ingredients
- 1 1/2 cups gluten-free all-purpose flour
- 1/4 cup cocoa powder
- 1 teaspoon baking powder
- 1/2 teaspoon salt
- 1/2 cup vegetable oil
- 1 cup granulated sugar
- 1 large egg
- 1 tablespoon red food coloring
- 1 teaspoon vanilla extract
- 1/2 cup powdered sugar for rolling
Instructions
- Preheat the oven to 350°F (175°C) and line two baking sheets with parchment paper or silicone baking mats.
- In a medium bowl, whisk together the gluten-free all-purpose flour, cocoa powder, baking powder, and salt until well combined and no lumps remain.
- In a separate large mixing bowl, combine the vegetable oil and granulated sugar. Whisk thoroughly until the mixture is smooth and slightly lighter in color.
- Add the large egg to the oil and sugar mixture, and beat until fully incorporated and the mixture becomes slightly fluffy.
- Stir in the red food coloring and vanilla extract, mixing until the color is evenly distributed throughout the batter.
- Gradually add the dry ingredient mixture to the wet ingredients, stirring gently until a soft, slightly sticky dough forms. Do not overmix.
- Place the powdered sugar in a separate shallow bowl for coating the cookies.
- Using a cookie scoop or spoon, portion out the dough into approximately 1-inch balls.
- Roll each dough ball completely in the powdered sugar, ensuring a thick, even coating that will create the signature crinkle effect.
- Place the coated dough balls on the prepared baking sheets, spacing them about 2 inches apart to allow room for spreading.
- Bake in the preheated oven for 10-12 minutes, or until the edges are set and the tops have cracked, creating the classic crinkle cookie appearance.
- Remove from the oven and let the cookies cool on the baking sheet for 5 minutes before transferring to a wire rack to cool completely.
- Store the cooled cookies in an airtight container at room temperature for up to 5 days.
Tips
- Measure Accurately: Ensure you measure your gluten-free flour correctly, as too much can lead to dense cookies. Use a spoon to fill your measuring cup and level it off for precision.
- Chill the Dough: If your dough feels too sticky, consider chilling it in the refrigerator for about 30 minutes before rolling into balls. This can help with shaping and prevent spreading.
- Don’t Skip the Powdered Sugar: Rolling the dough balls in powdered sugar is essential for achieving that classic crinkle effect. Be generous with the coating for the best results!
- Watch the Baking Time: Every oven is different, so keep an eye on your cookies as they bake. They should be set around the edges but still soft in the center when you take them out.
- Storage: To keep your cookies fresh, store them in an airtight container at room temperature. They’ll stay delicious for up to 5 days, but we doubt they’ll last that long!
Nutrition Facts
Calories: 120kcal
Carbohydrates: 18g
Protein: 1g
Fat: 6g
Saturated Fat: 1g
Cholesterol: 10mg