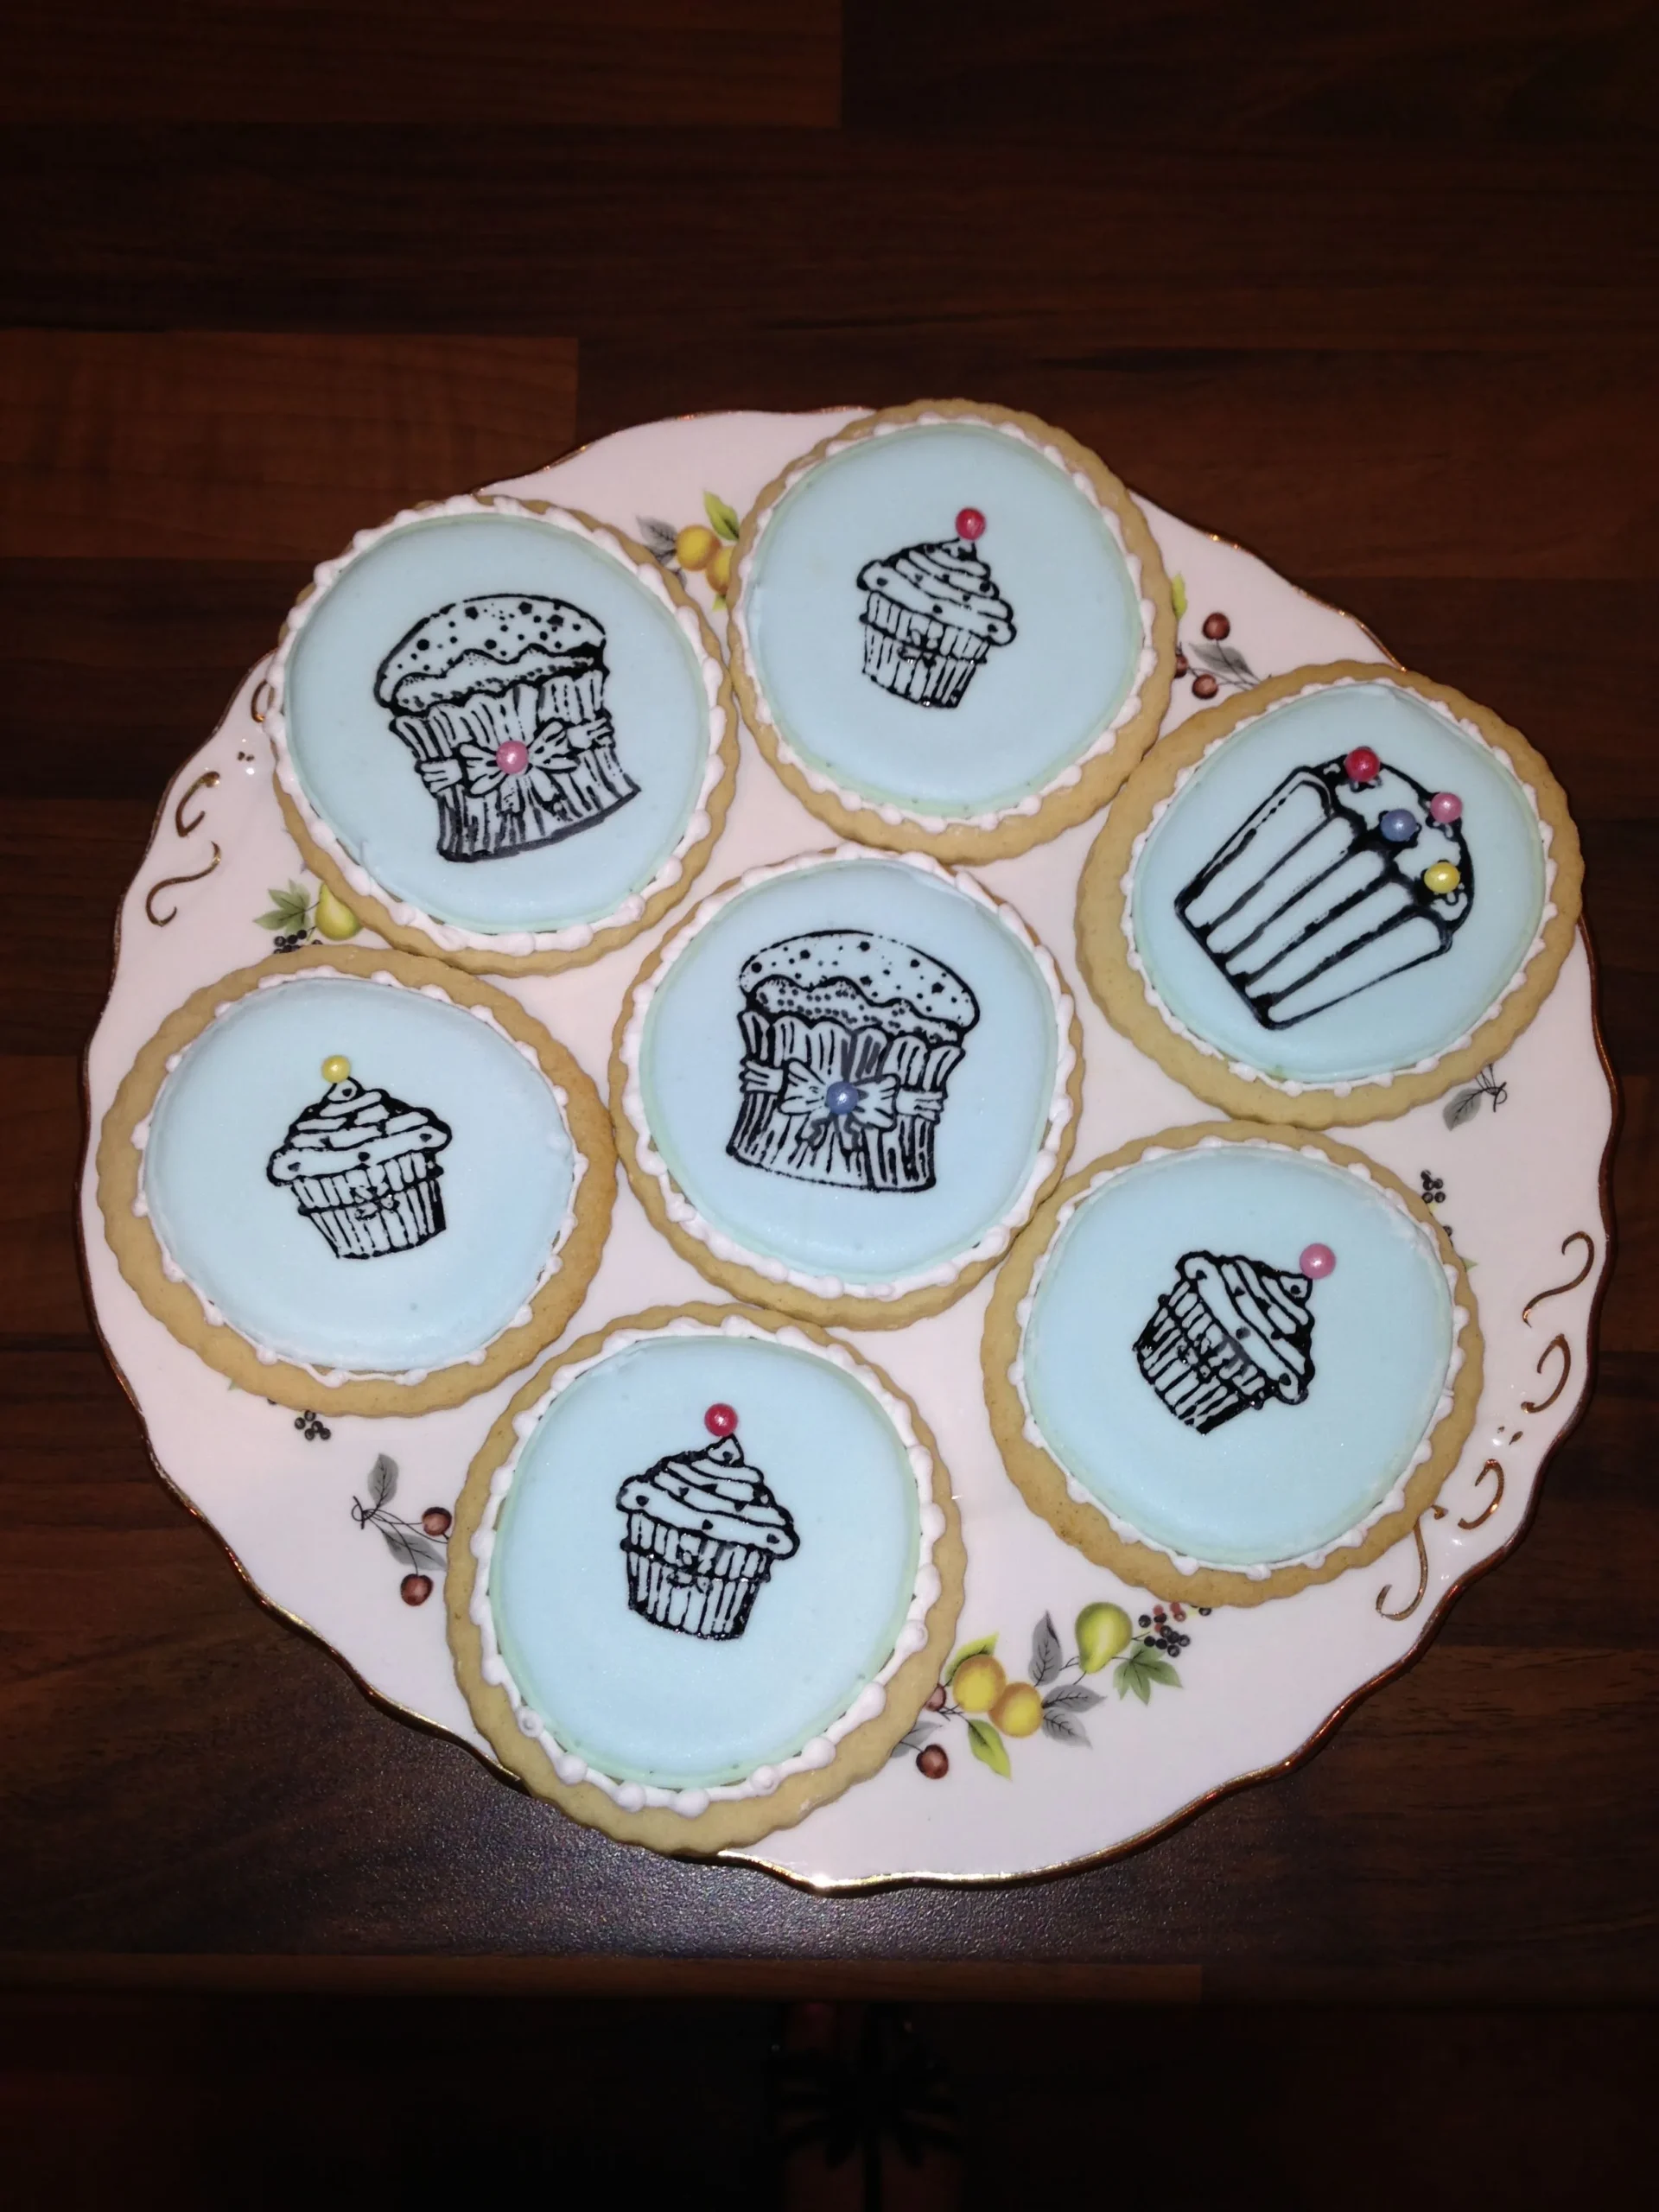
Get ready to indulge in a delightful treat that will not only satisfy your sweet tooth but also spark your creativity! These Hand Stamped Cookies are not just any ordinary cookies; they are a canvas for your artistic flair, adorned with colorful sprinkles and charming impressions. Perfect for any occasion, from festive gatherings to cozy family nights, these cookies are sure to impress your guests and leave them craving more. With just 35 minutes from start to finish, you’ll be amazed at how easy it is to create these scrumptious, eye-catching delights. Dive into this recipe and discover how to make cookies that are as fun to make as they are to eat!
Ingredients
- 2 cups all-purpose flour
- 1/2 tsp baking powder
- 1/4 tsp salt
- 1 cup unsalted butter, softened
- 1 cup granulated sugar
- 1 large egg
- 1 tsp vanilla extract
- Assorted sprinkles for decoration
Instructions
- Prepare your workspace by preheating the oven to 350°F (175°C) and lining two baking sheets with parchment paper.
- In a medium bowl, whisk together the all-purpose flour, baking powder, and salt until well combined. Set aside.
- In a large mixing bowl, cream the softened unsalted butter and granulated sugar together using an electric mixer. Beat on medium speed for 3-4 minutes until the mixture becomes light and fluffy.
- Add the large egg and vanilla extract to the butter-sugar mixture. Mix until fully incorporated, scraping down the sides of the bowl as needed.
- Gradually add the dry flour mixture to the wet ingredients, mixing on low speed until just combined. Be careful not to overmix.
- Cover the cookie dough with plastic wrap and refrigerate for 30 minutes to firm up, making it easier to handle.
- Remove the dough from the refrigerator and roll out on a lightly floured surface to about 1/4 inch thickness.
- Use cookie cutters or a knife to cut the dough into desired shapes. For hand-stamped cookies, have decorative stamps ready.
- If using stamps, lightly dust them with flour to prevent sticking, then gently press into the cookie dough to create decorative impressions.
- Carefully transfer the shaped cookies to the prepared baking sheets, leaving about 1 inch of space between each cookie.
- Before baking, sprinkle the cookies with assorted decorative sprinkles, gently pressing them into the surface of the dough.
- Bake in the preheated oven for 12-15 minutes, or until the edges are lightly golden brown.
- Remove from the oven and let the cookies cool on the baking sheet for 5 minutes, then transfer to a wire rack to cool completely.
- Once cooled, store the cookies in an airtight container at room temperature for up to 5 days.
Tips
- Chill the Dough: Don’t skip the refrigeration step! Chilling the dough for 30 minutes makes it easier to roll out and shape, preventing the cookies from spreading too much while baking.
- Use Quality Ingredients: For the best flavor, opt for high-quality unsalted butter and pure vanilla extract. These ingredients make a noticeable difference in taste.
- Flour Your Stamps: When using decorative stamps, dust them lightly with flour to prevent sticking. This will help you achieve clean, beautiful impressions on your cookies.
- Experiment with Shapes: Get creative with your cookie shapes! Use various cookie cutters or stamps to make your cookies unique for every occasion.
- Watch the Bake Time: Keep an eye on your cookies as they bake. Ovens can vary, so start checking for doneness at around 12 minutes. You want the edges to be lightly golden brown.
- Storage Tips: To keep your cookies fresh, store them in an airtight container at room temperature. They’ll stay delicious for up to 5 days—if they last that long!
Nutrition Facts
Calories: 120kcal
Carbohydrates: 15g
Protein: 1g
Fat: 7g
Saturated Fat: g
Cholesterol: 20mg


