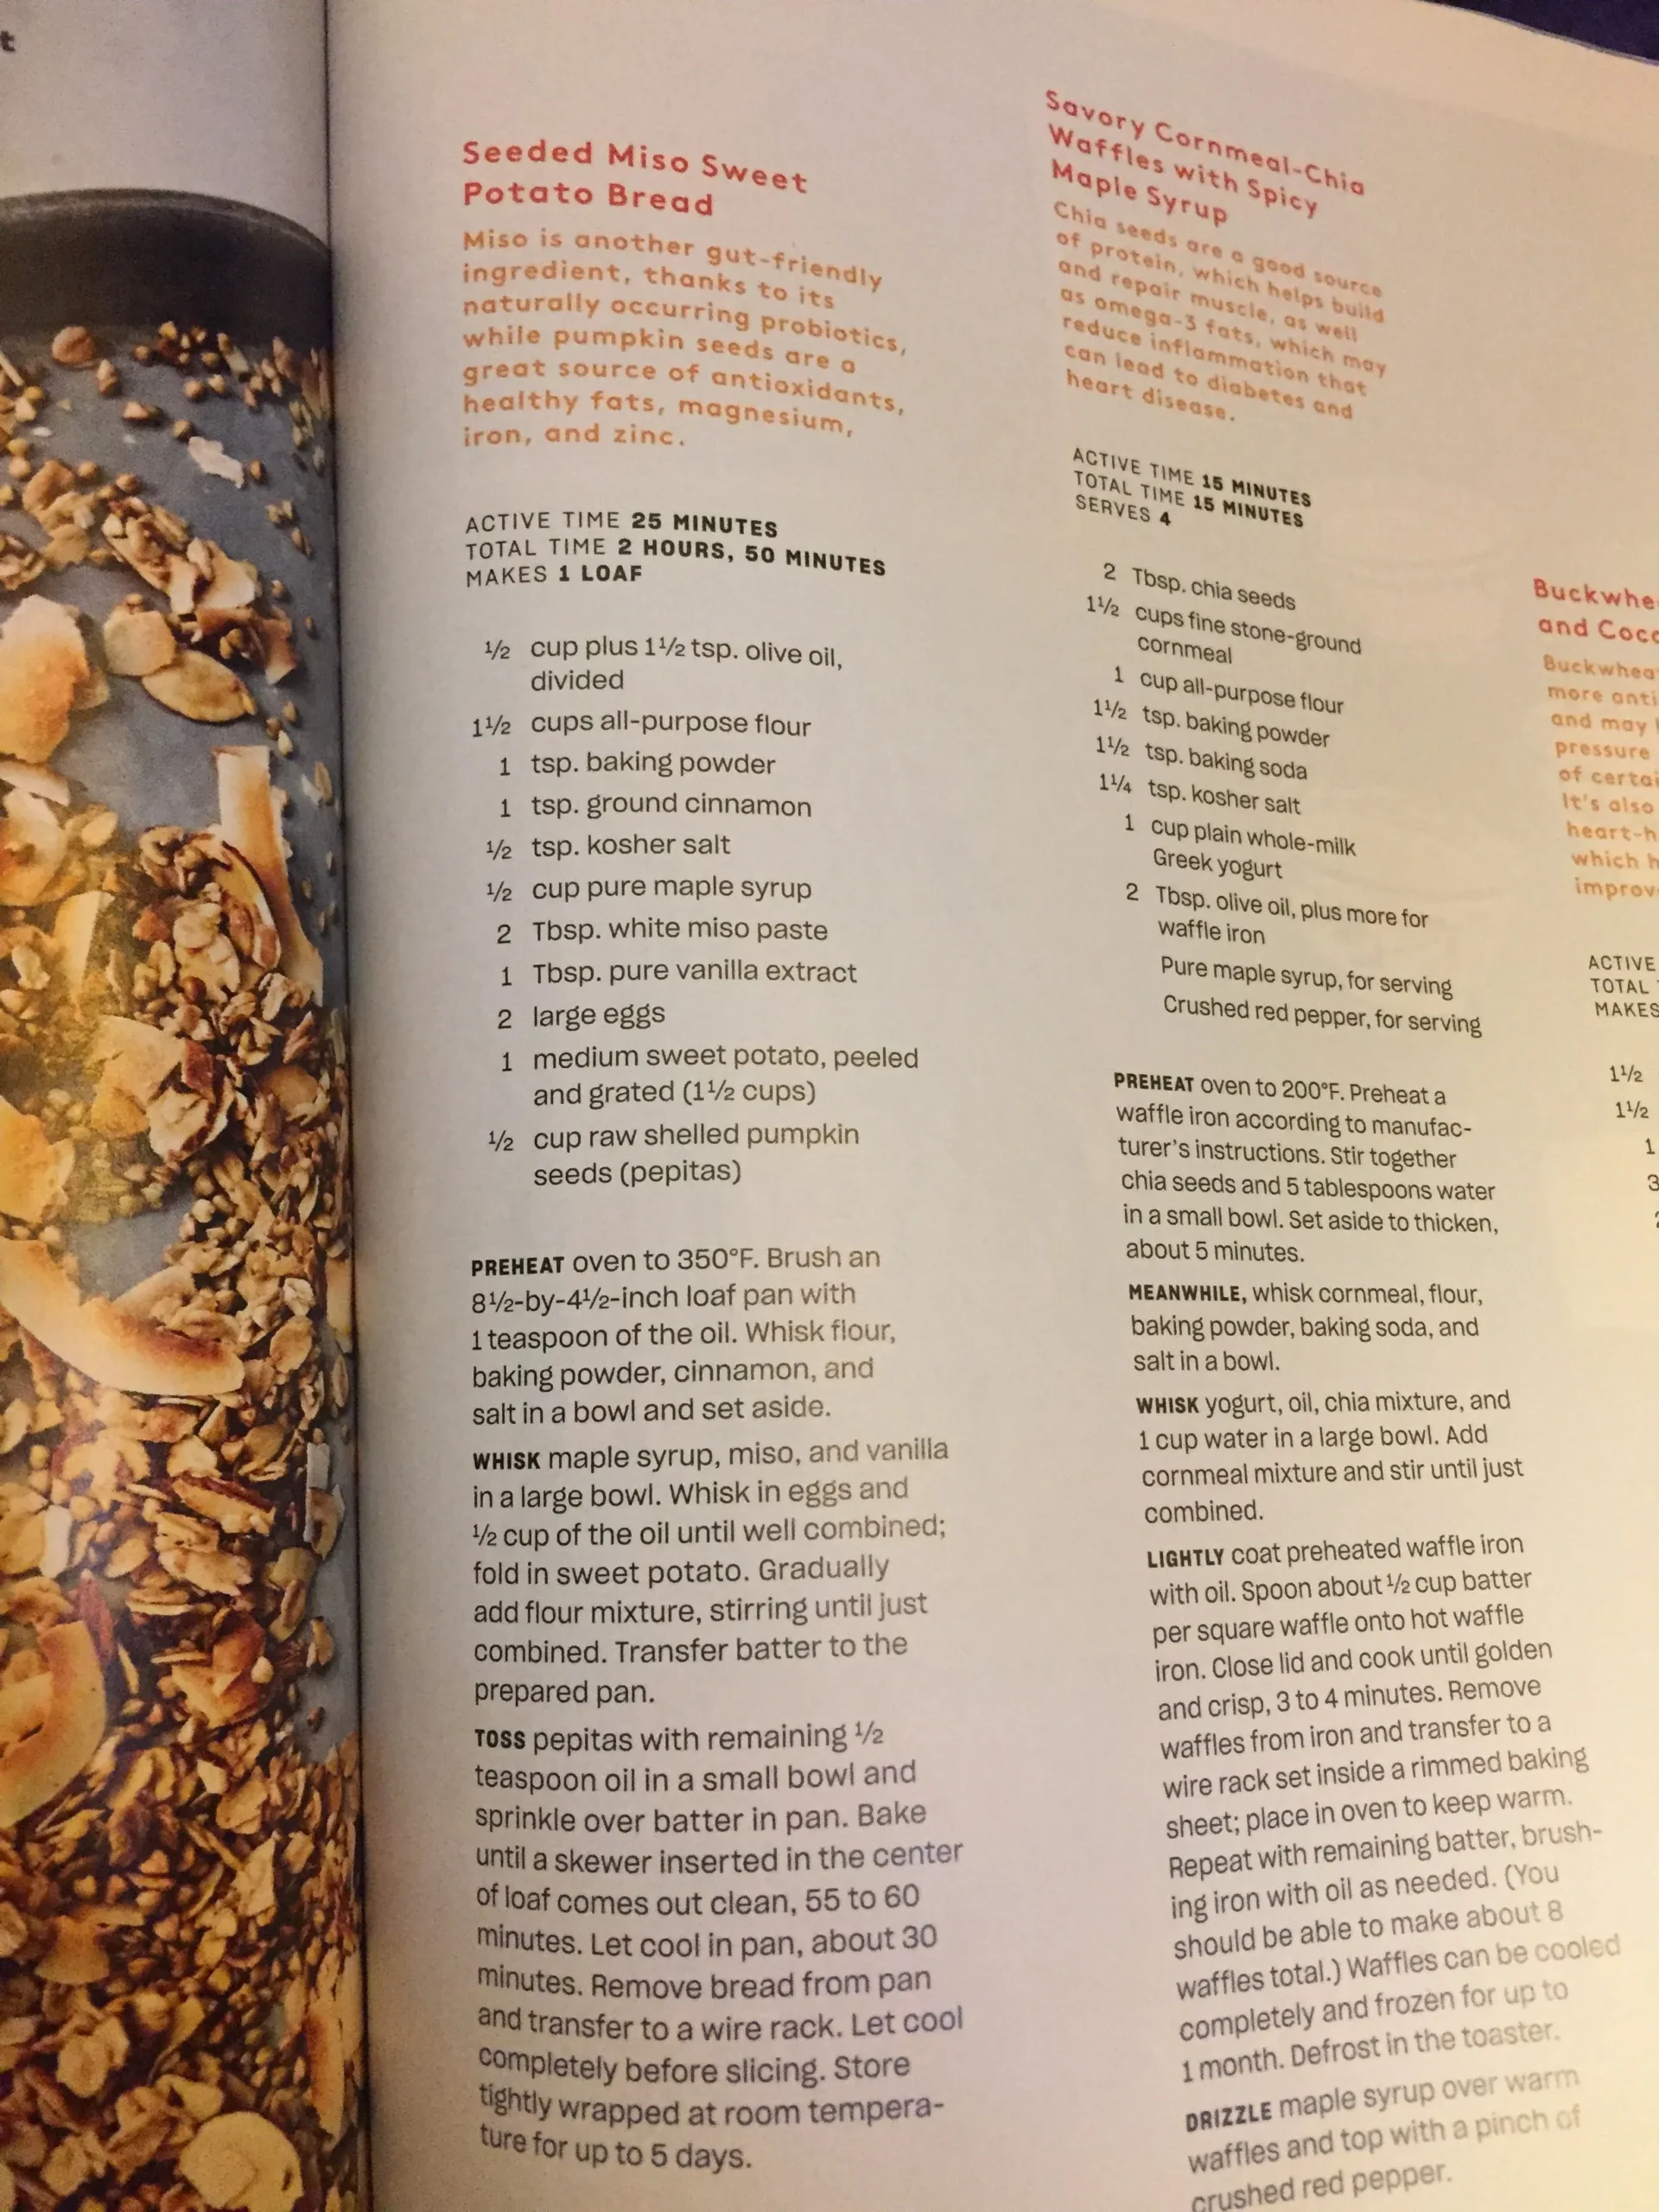
Imagine biting into a slice of bread that's not just ordinary, but a symphony of flavors that dance between sweet, savory, and nutty - welcome to the world of Seeded Miso Sweet Potato Bread! This isn't just another bread recipe; it's a culinary adventure that transforms humble ingredients into a masterpiece that will revolutionize your baking game. Whether you're a seasoned baker or a curious kitchen novice, this Japanese-inspired creation promises to tantalize your taste buds and impress everyone who takes a single bite.
Prep Time: 15 mins
Cook Time: 45 mins
Total Time: 1 hrs
Cuisine: Japanese
Serves: 1 loaf
Ingredients
- 1 cup mashed sweet potatoes
- 2 tablespoons white miso
- 3 cups all-purpose flour
- 1 tablespoon active dry yeast
- 1 tablespoon sugar
- 1 teaspoon salt
- 1 cup warm water
- 2 tablespoons sesame seeds
- 2 tablespoons poppy seeds
Instructions
- Begin by preparing the sweet potatoes. Peel and chop 1 cup of sweet potatoes into small chunks. Place them in a pot of boiling water and cook until tender, about 15-20 minutes. Drain and mash the sweet potatoes until smooth. Allow them to cool slightly before using.
- In a small bowl, combine 1 cup of warm water (about 110°F or 43°C) with 1 tablespoon of sugar and 1 tablespoon of active dry yeast. Stir gently and let it sit for about 5-10 minutes until it becomes frothy, indicating that the yeast is active.
- In a large mixing bowl, combine the mashed sweet potatoes and 2 tablespoons of white miso. Mix well until fully incorporated.
- Once the yeast mixture is frothy, add it to the sweet potato and miso mixture. Stir to combine.
- In a separate bowl, whisk together 3 cups of all-purpose flour and 1 teaspoon of salt. Gradually add this dry mixture to the wet ingredients, stirring until a dough begins to form.
- Once the dough comes together, turn it out onto a lightly floured surface. Knead the dough for about 8-10 minutes until it is smooth and elastic. If the dough is too sticky, sprinkle a little more flour as needed.
- Place the kneaded dough in a lightly greased bowl, cover it with a damp cloth or plastic wrap, and let it rise in a warm place for about 30 minutes, or until it has doubled in size.
- After the dough has risen, punch it down to release any air bubbles. Shape the dough into a loaf and place it in a greased 9x5-inch loaf pan.
- In a small bowl, mix together 2 tablespoons of sesame seeds and 2 tablespoons of poppy seeds. Sprinkle the seed mixture evenly over the top of the loaf.
- Cover the loaf pan with a cloth and let it rise again in a warm place for about 15-20 minutes, or until the dough has risen slightly above the rim of the pan.
- Preheat the oven to 375°F (190°C) while the loaf is rising.
- Once the loaf has risen, place it in the preheated oven and bake for 40-45 minutes, or until the top is golden brown and the bread sounds hollow when tapped on the bottom.
- Remove the bread from the oven and let it cool in the pan for about 10 minutes. Then, transfer it to a wire rack to cool completely before slicing.
- Enjoy your Seeded Miso Sweet Potato Bread toasted, with butter, or as a side to your favorite dishes!
Tips
- Temperature is Key: Ensure your water is precisely warm (around 110°F) when activating the yeast. Too hot, and you'll kill the yeast; too cold, and it won't activate properly.
- Moisture Matters: When mashing sweet potatoes, aim for a smooth consistency without any lumps to ensure even distribution throughout the dough.
- Kneading Technique: Don't rush the kneading process. A full 8-10 minutes develops the gluten, giving your bread that perfect, soft texture.
- Rising Environment: Choose a warm, draft-free spot for your dough to rise. A slightly warmed oven (turned off) or a sunny windowsill works perfectly.
- Seed Sprinkle Trick: Press the seeds gently into the dough's surface to help them stick better during baking.
- Cooling Crucial: Always let the bread cool completely before slicing to prevent a gummy texture and allow the crumb to set properly.
- Storage Tip: Store your bread in an airtight container at room temperature for up to 3 days, or freeze for longer preservation.
Nutrition Facts
Calories: 180kcal
Carbohydrates: 35g
Protein: 5g
Fat: g
Saturated Fat: g
Cholesterol: 0mg


