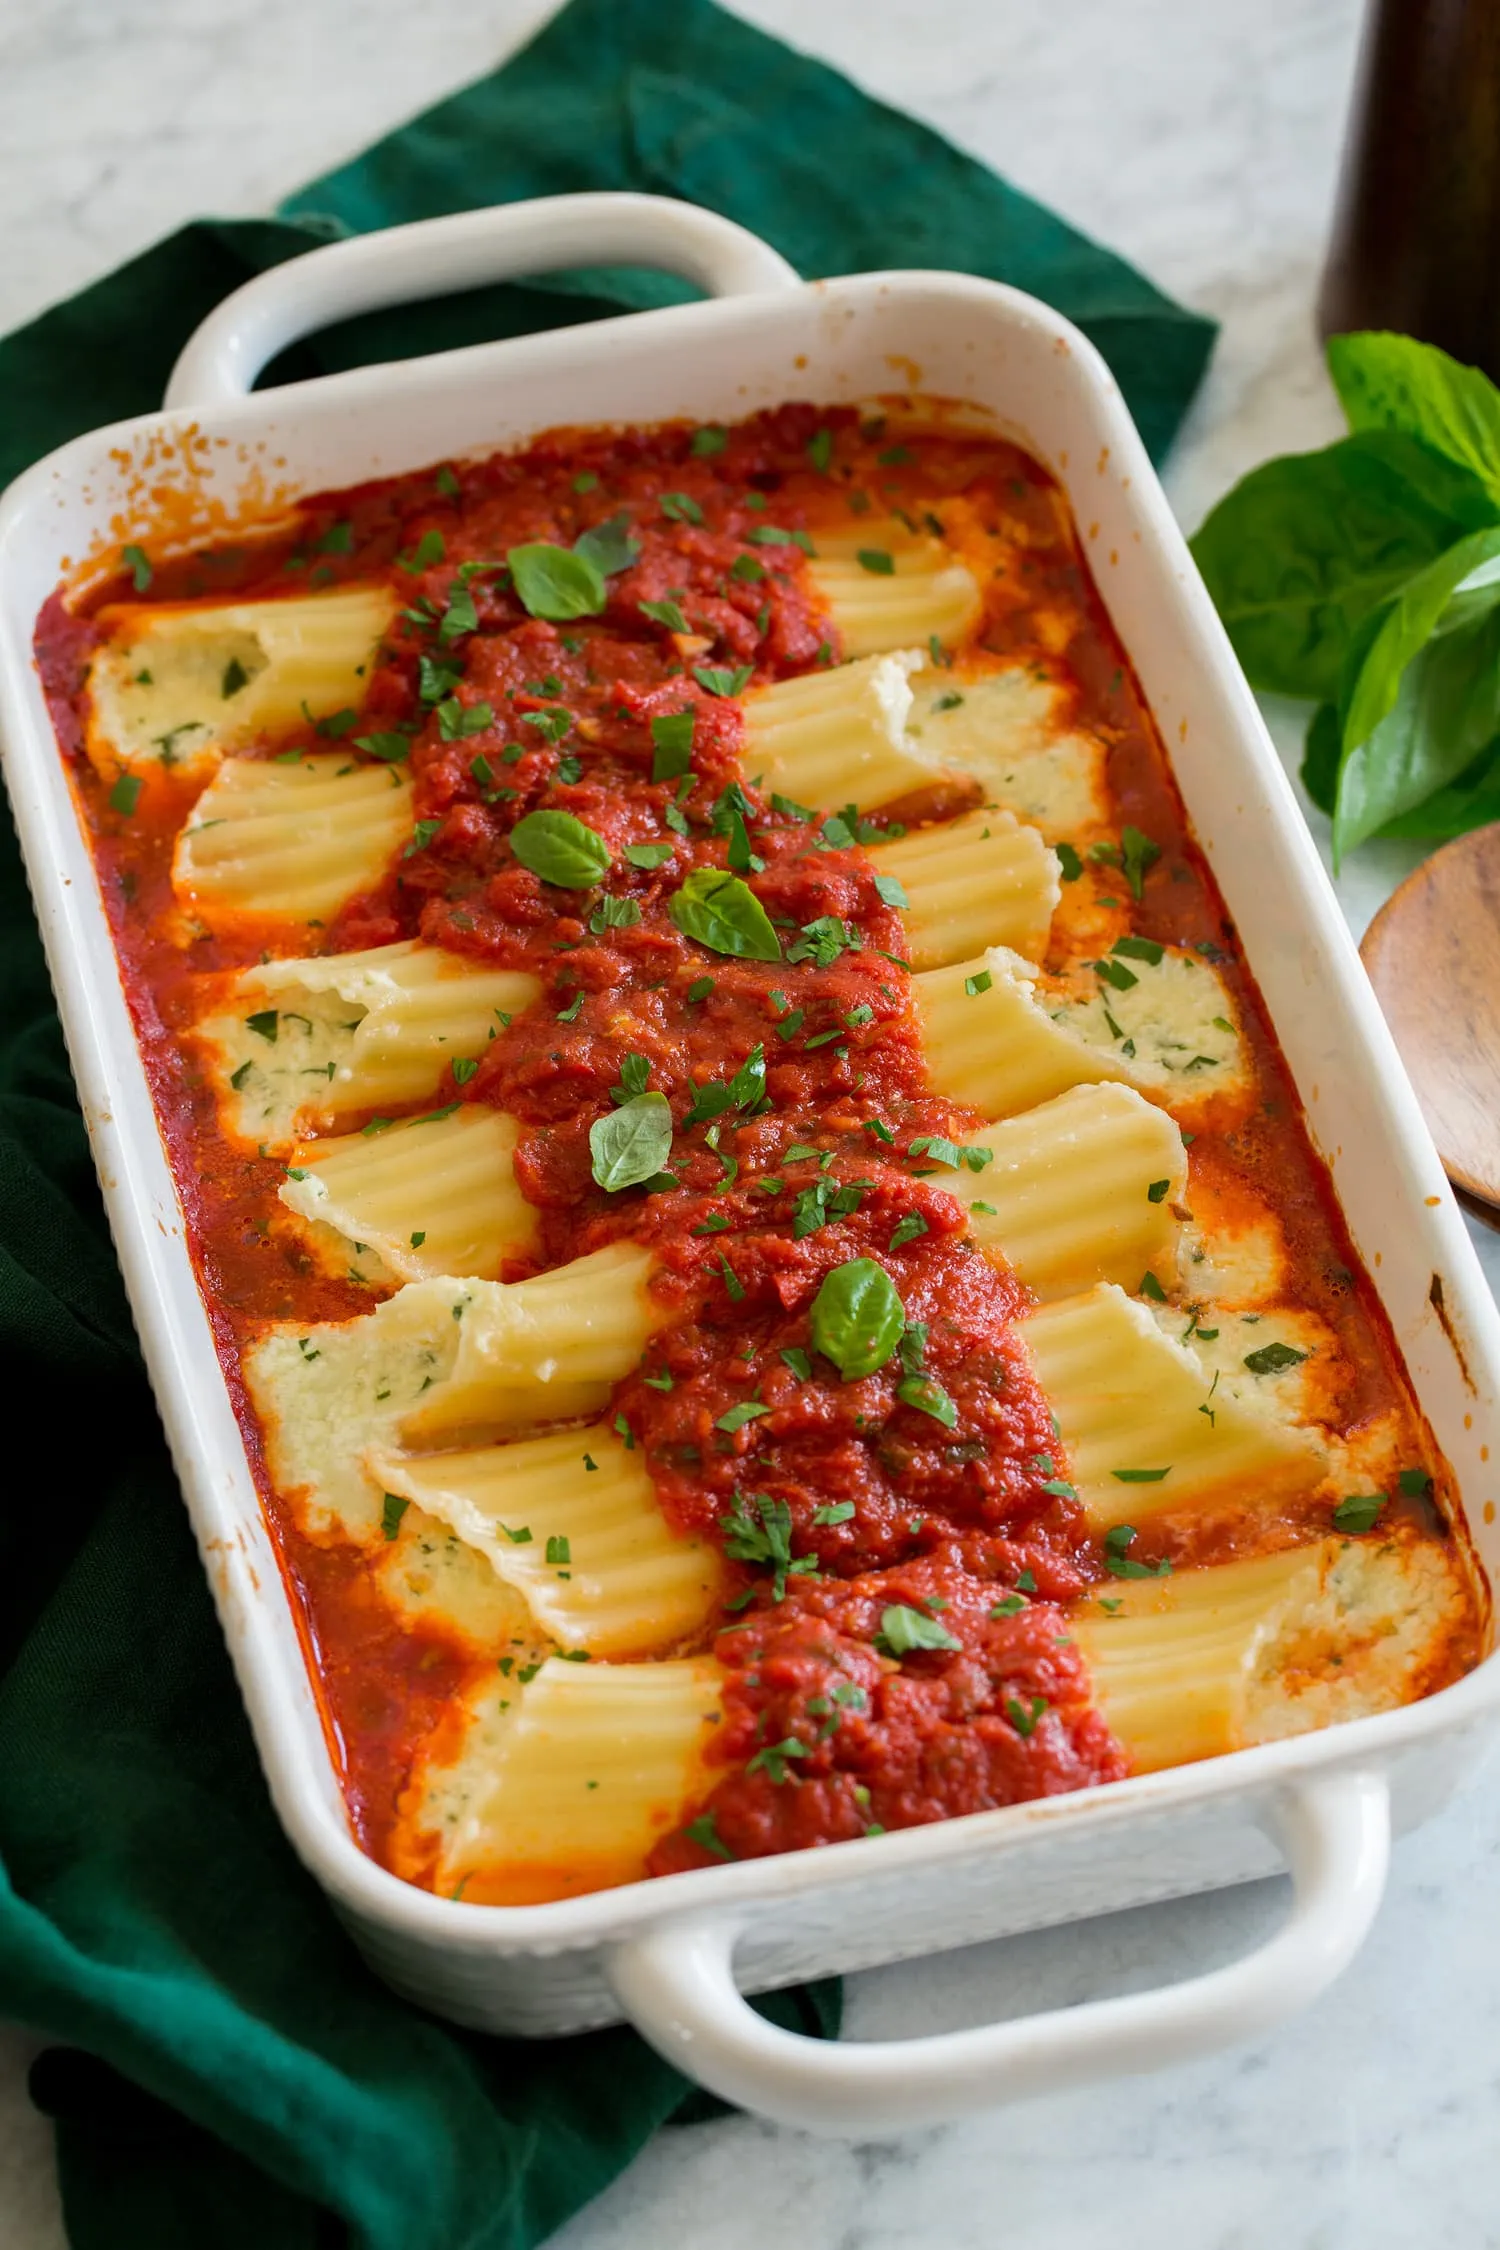
Prepare to embark on a mouthwatering culinary journey that will transport your taste buds straight to the heart of Italy! Our Cheese Stuffed Manicotti with Meat Sauce is not just a meal—it's a decadent experience that promises to turn an ordinary dinner into an extraordinary feast. Imagine tender pasta shells bursting with creamy, rich cheese, smothered in a savory meat sauce that will make your family and guests swoon with delight. This recipe is about to become your new go-to comfort food that combines classic Italian flavors with irresistible cheesy goodness!
Prep Time: 30 mins
Cook Time: 45 mins
Total Time: 1 hrs 15 mins
Cuisine: Italian
Serves: 4 servings
Ingredients
- 12 manicotti shells
- 1 cup ricotta cheese
- 1 cup shredded mozzarella cheese
- 1/2 cup grated Parmesan cheese
- 1 egg
- 2 cups meat sauce
- 1 teaspoon Italian seasoning
- Salt and pepper to taste
Instructions
- Preheat your oven to 375°F (190°C). This will ensure that your manicotti bakes evenly and thoroughly.
- Bring a large pot of salted water to a boil. Carefully add the manicotti shells and cook them for about 6-8 minutes, or until they are al dente. Be careful not to overcook them as they will continue to cook in the oven. Once done, drain the shells and rinse them under cold water to stop the cooking process. Set aside.
- In a mixing bowl, combine the ricotta cheese, 1/2 cup of the shredded mozzarella cheese, grated Parmesan cheese, egg, Italian seasoning, salt, and pepper. Mix well until all ingredients are thoroughly combined.
- Using a small spoon or a piping bag, carefully stuff each manicotti shell with the cheese mixture. Fill them generously but avoid overstuffing to prevent them from bursting during baking.
- In a 9x13 inch baking dish, spread 1 cup of the meat sauce evenly on the bottom. This will prevent the manicotti from sticking and add flavor.
- Place the stuffed manicotti shells in the baking dish on top of the meat sauce. Arrange them in a single layer for even cooking.
- Pour the remaining meat sauce over the stuffed manicotti, ensuring they are well covered. This will keep the pasta moist while baking.
- Sprinkle the remaining 1/2 cup of shredded mozzarella cheese over the top of the meat sauce for a delicious cheesy crust.
- Cover the baking dish with aluminum foil to prevent the cheese from browning too quickly. Bake in the preheated oven for 25 minutes.
- After 25 minutes, remove the foil and continue baking for an additional 15-20 minutes, or until the cheese is bubbly and golden brown.
- Once done, remove the dish from the oven and let it cool for about 5-10 minutes before serving. This will help the cheese set a little and make it easier to serve.
- Garnish with additional grated Parmesan cheese or fresh basil if desired, and serve warm. Enjoy your delicious Cheese Stuffed Manicotti with Meat Sauce!
Tips
- Cook pasta al dente: The key to perfect manicotti is not overcooking the shells. They should be firm enough to hold the filling but soft enough to be easily stuffed.
- Use a piping bag or zip-lock bag: For mess-free and even filling, cut the corner of a plastic bag to create a makeshift piping bag. This ensures neat and consistent cheese distribution.
- Don't overstuff: Leave a little room in each shell to prevent splitting during baking.
- Room temperature ingredients: Let your cheeses and egg sit out for 15-20 minutes before mixing to ensure smoother blending.
- Cover while baking: The aluminum foil helps retain moisture and prevents the top from burning before the pasta is fully cooked.
- Let it rest: Allowing the dish to cool for 5-10 minutes after baking helps the cheese set and makes serving easier.
- Optional garnishes: Fresh basil, extra Parmesan, or a sprinkle of red pepper flakes can elevate the final presentation and flavor.
Nutrition Facts
Calories: kcal
Carbohydrates: g
Protein: g
Fat: g
Saturated Fat: g
Cholesterol: mg