Are you craving a mouthwatering chicken dish that's both gluten-free and packed with flavor? Look no further! This Gluten Free Panko Crusted Paprika Chicken is about to become your new go-to recipe that will have everyone at the dinner table begging for seconds. Imagine biting into a perfectly crispy, golden-brown chicken breast with a bold paprika kick that's not only delicious but also completely gluten-free. Whether you're cooking for family, friends, or just treating yourself, this recipe promises restaurant-quality results right in your own kitchen.
Prep Time: 10 mins
Cook Time: 30 mins
Total Time: 40 mins
Cuisine: American
Serves: 4 servings
Ingredients
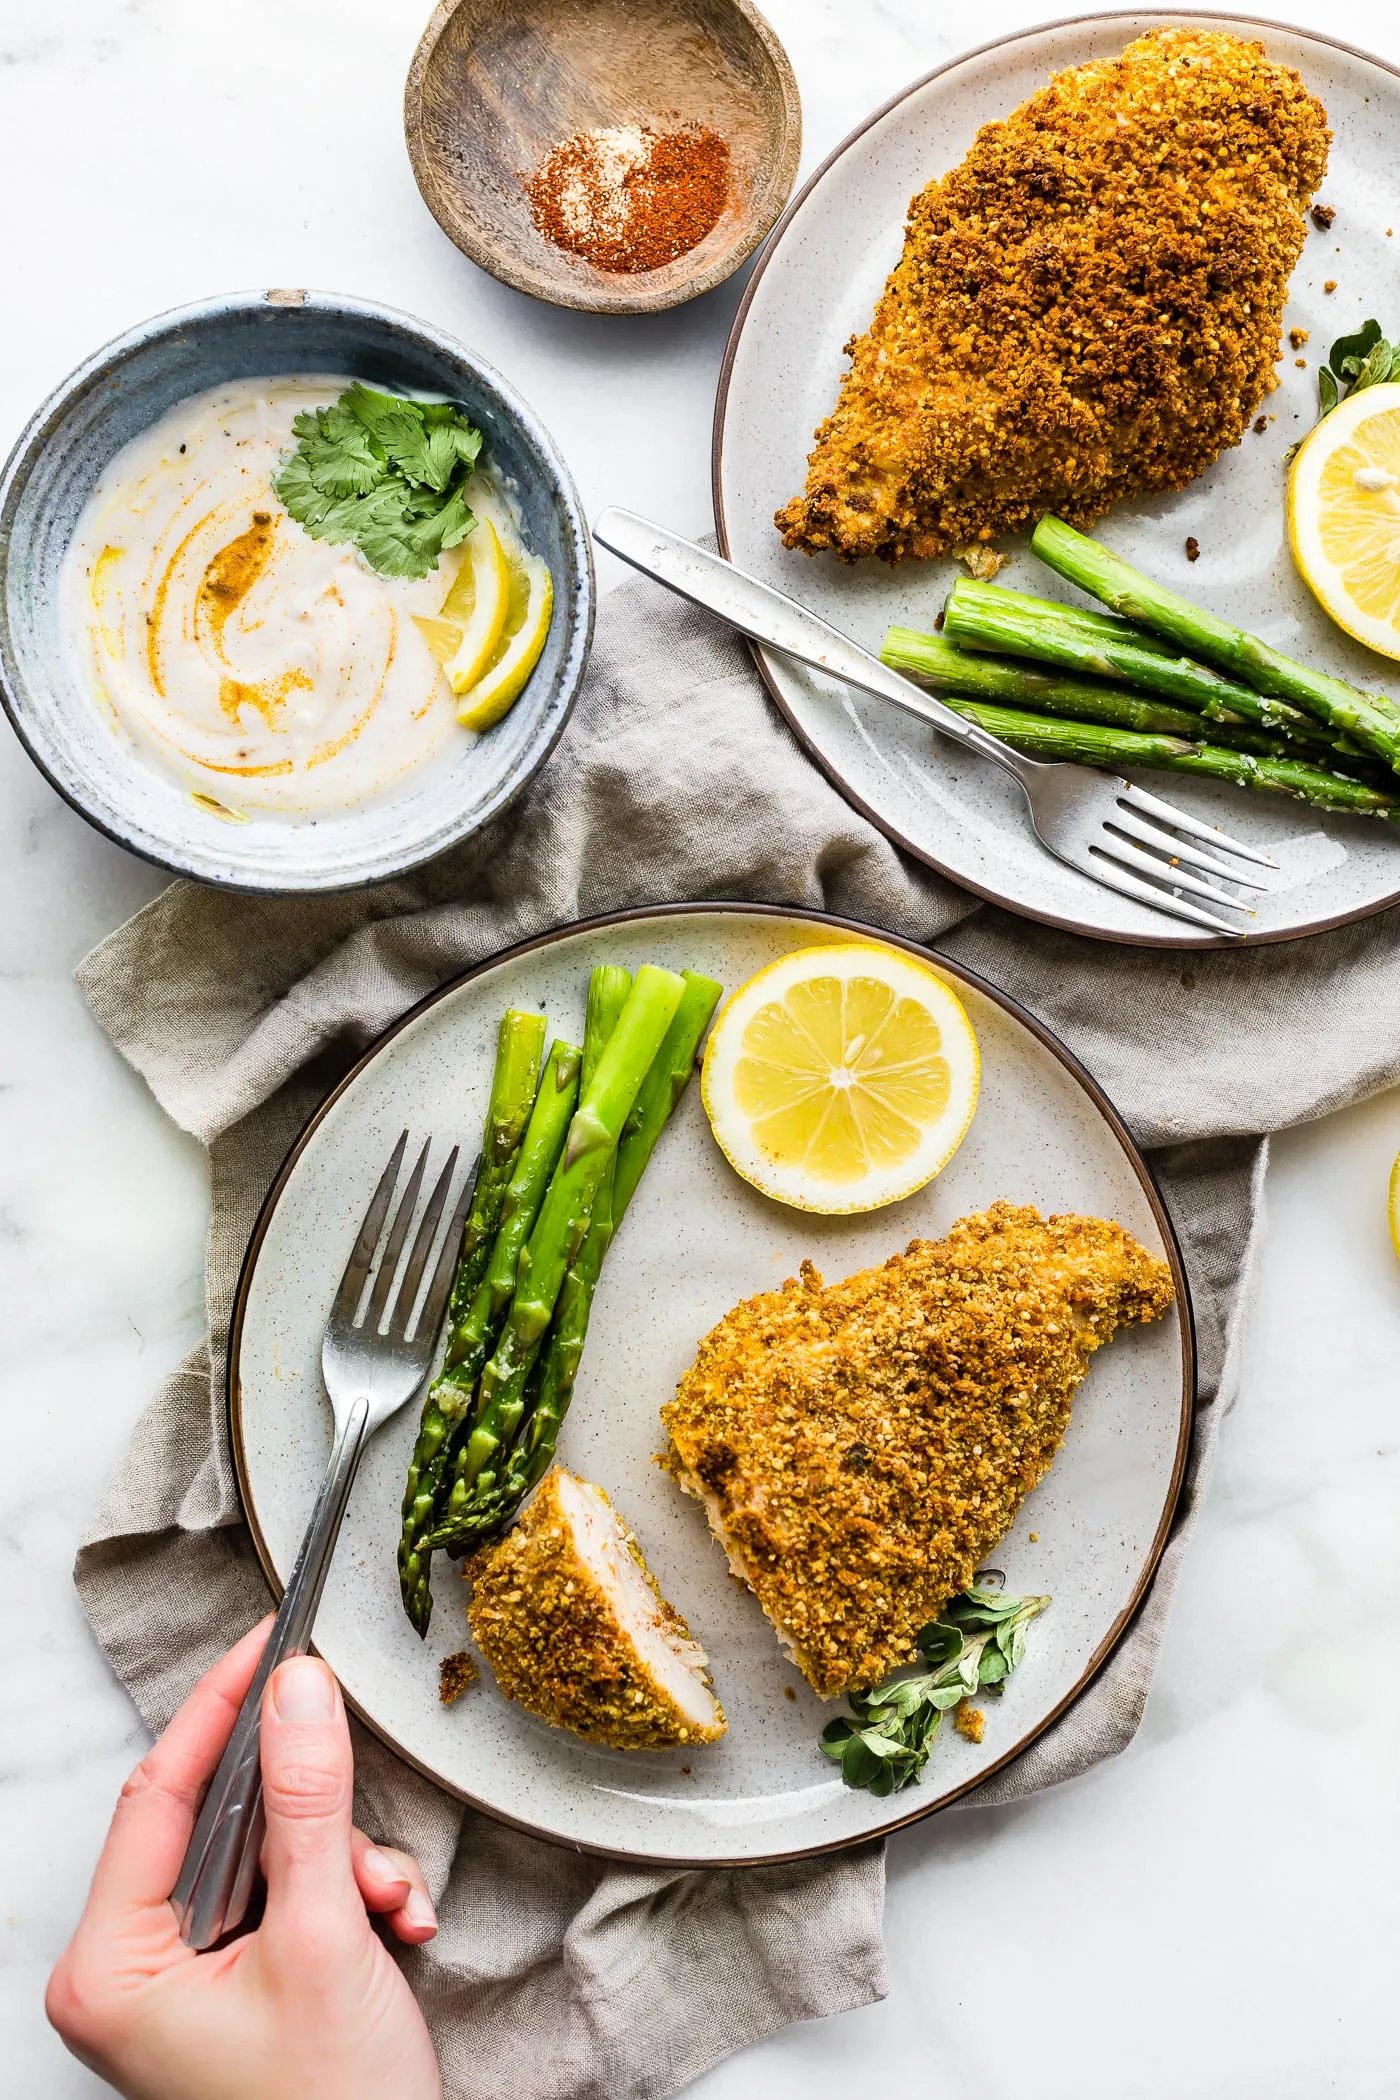
- 4 chicken breasts
- 1 cup gluten-free panko breadcrumbs
- 2 teaspoons paprika
- 1 teaspoon garlic powder
- 1/2 teaspoon salt
- 1/4 teaspoon black pepper
- 2 eggs, beaten
Instructions
- Preheat the oven to 425°F (218°C). Line a large baking sheet with parchment paper or lightly grease with cooking spray to prevent sticking.
- Pat chicken breasts dry with paper towels to remove excess moisture. This helps the breading adhere better and ensures a crispier crust.
- In a shallow dish, combine gluten-free panko breadcrumbs, paprika, garlic powder, salt, and black pepper. Mix thoroughly to distribute the seasonings evenly.
- In a separate shallow bowl, beat the eggs until well combined and smooth.
- Dip each chicken breast first into the beaten eggs, ensuring complete coverage. Allow excess egg to drip off.
- Next, coat the egg-covered chicken in the seasoned panko breadcrumb mixture, pressing gently to ensure the crumbs adhere completely to all sides of the chicken.
- Place the breaded chicken breasts onto the prepared baking sheet, leaving space between each piece to ensure even cooking and crispy edges.
- Bake in the preheated oven for 25-30 minutes, or until the chicken's internal temperature reaches 165°F (74°C) and the crust is golden brown and crispy.
- Remove from oven and let the chicken rest for 5 minutes before serving. This helps retain the juices and ensures the meat remains tender.
- Serve hot, optionally garnished with fresh parsley or a lemon wedge for added brightness.
Tips
- Moisture is the Enemy of Crispiness: Always pat your chicken breasts completely dry before breading. This crucial step ensures your panko coating sticks perfectly and becomes wonderfully crisp.
- Temperature Matters: Use a meat thermometer to check that your chicken reaches exactly 165°F (74°C) for food safety without overcooking.
- Even Coating is Key: When breading, press the panko mixture gently but firmly onto the chicken to create a uniform, thick crust that will crisp up beautifully.
- Give Your Chicken Space: Avoid overcrowding the baking sheet. Leaving space between chicken pieces allows hot air to circulate, ensuring an evenly crispy exterior.
- Let It Rest: Those crucial 5 minutes of resting after baking help redistribute the juices, keeping your chicken tender and moist.Pro tip: Serve with a quick squeeze of fresh lemon or a side of light salad to complement the rich, crispy chicken!
Nutrition Facts
Calories: 410kcal
Carbohydrates: 20g
Protein: 65g
Fat: g
Saturated Fat: g
Cholesterol: mg