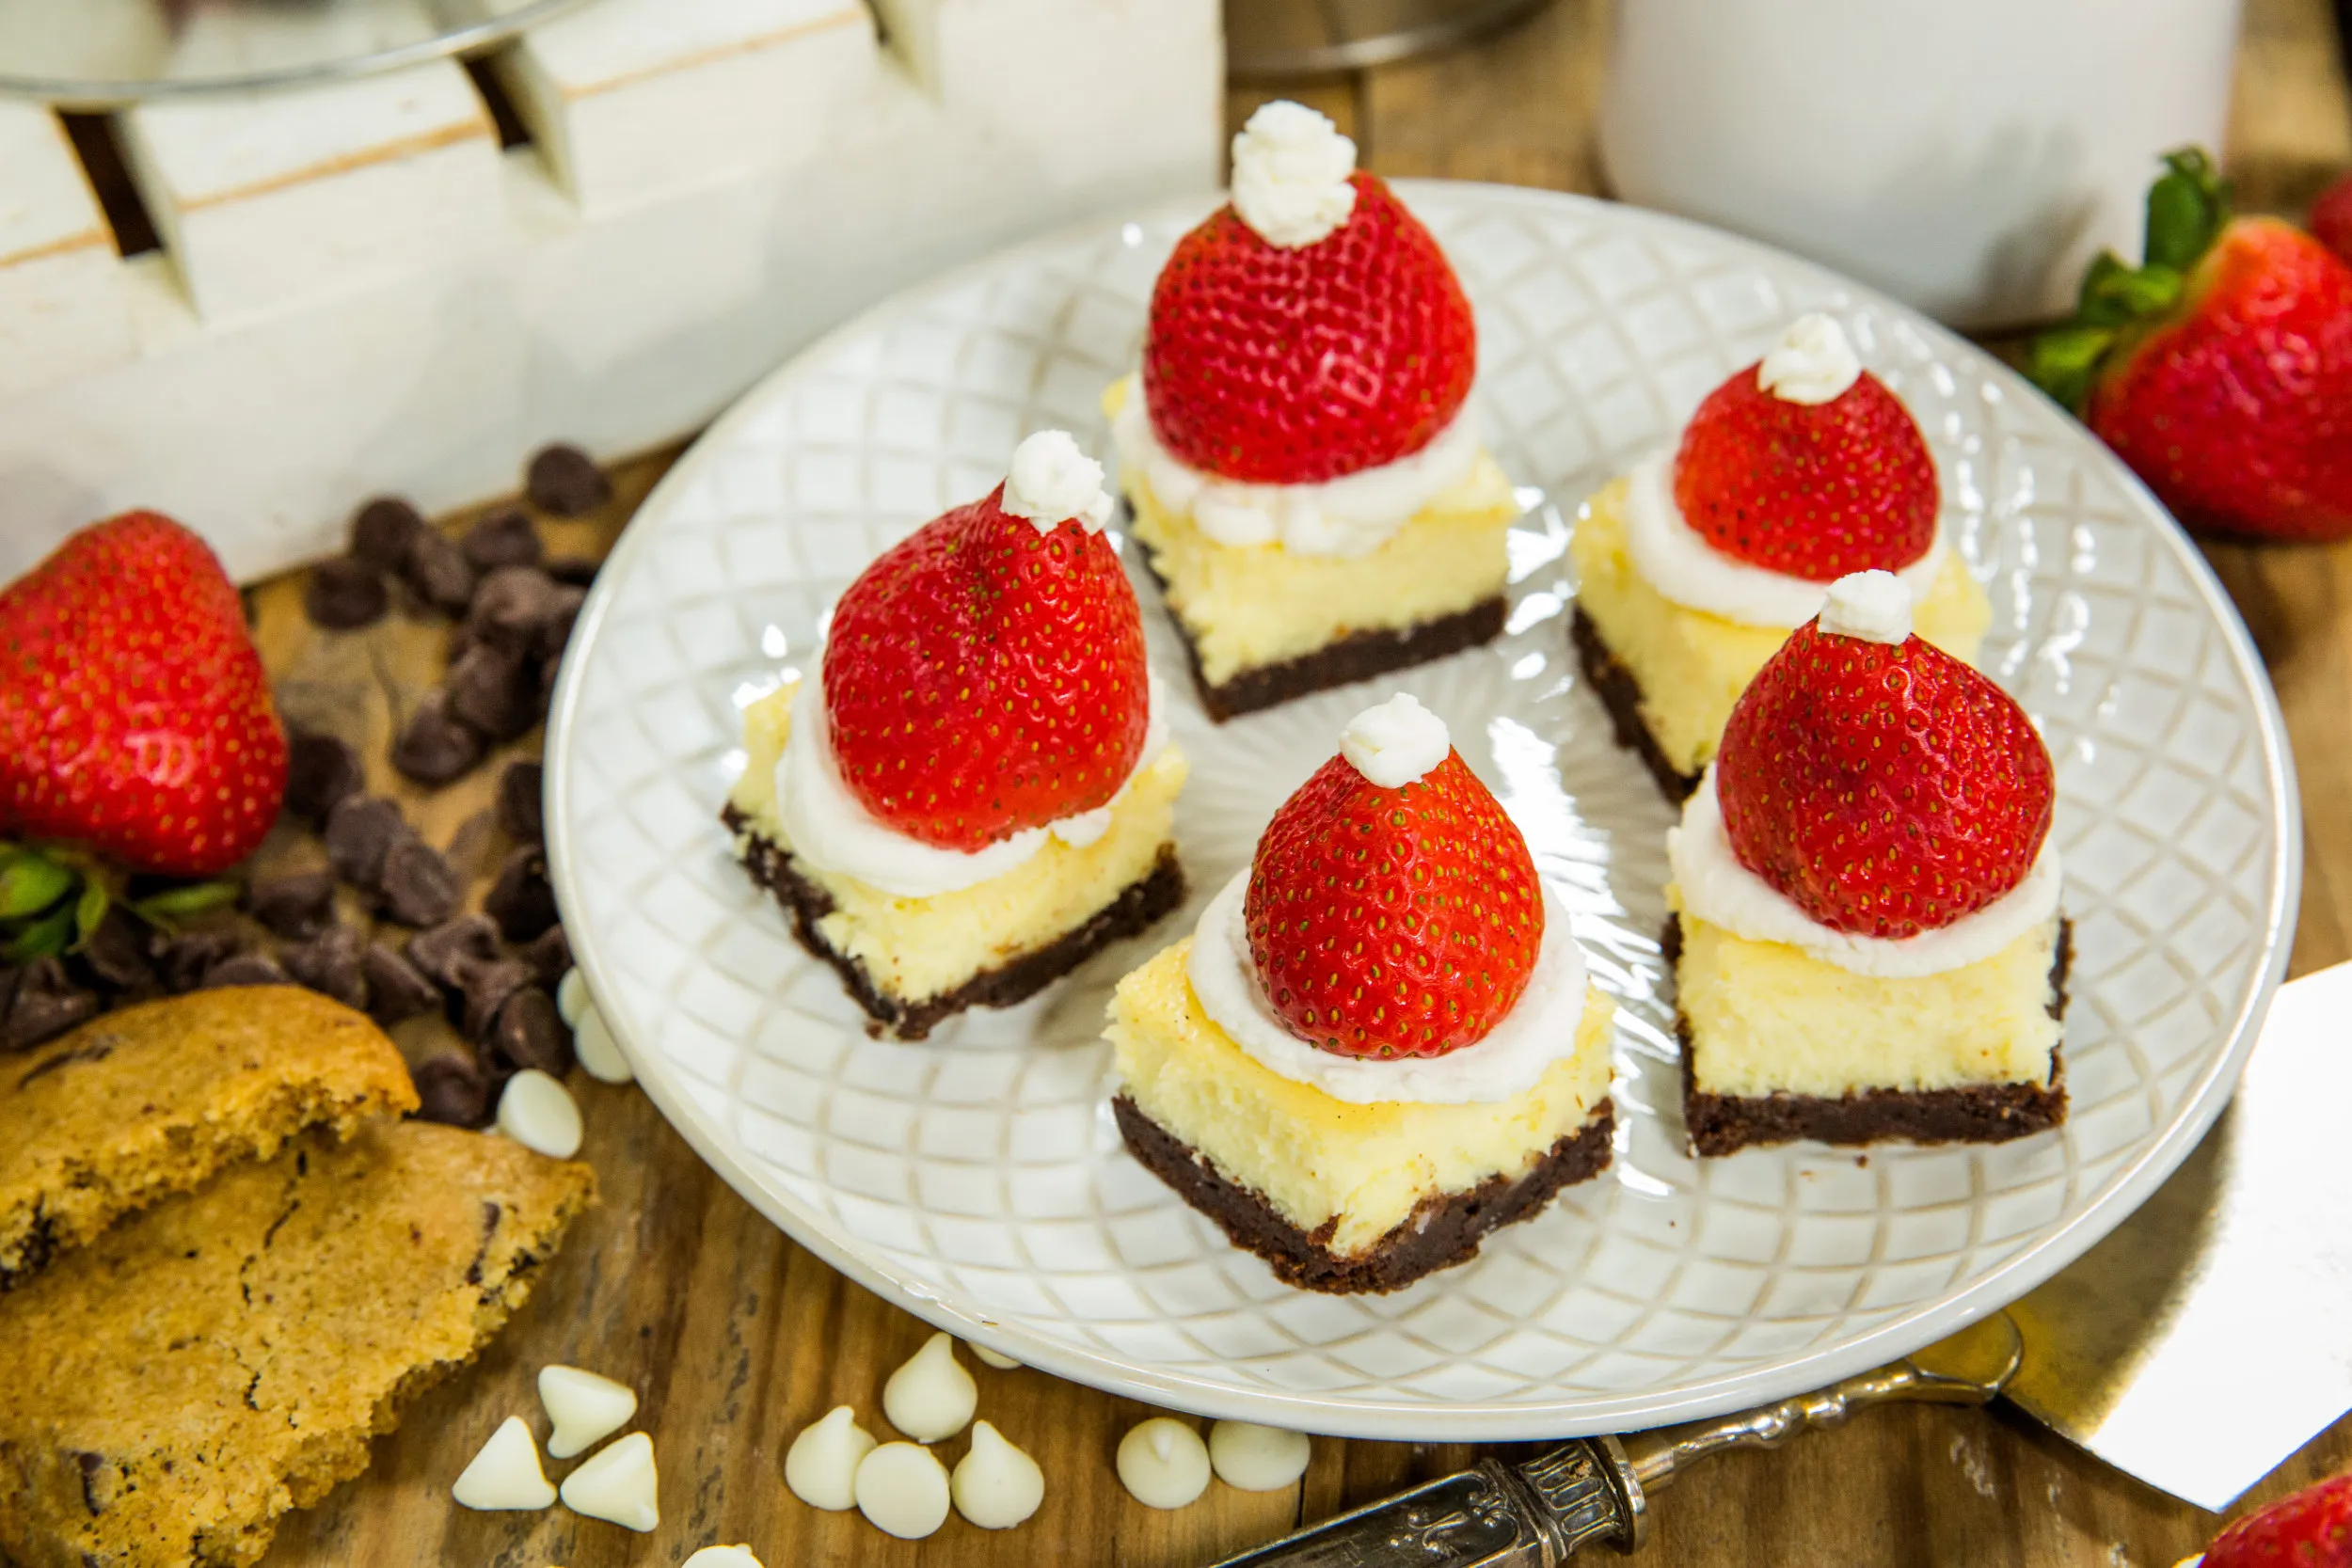
Imagine a dessert that combines the rich decadence of chocolate cheesecake with the playful charm of holiday spirit – introducing the Chocolate Cheesecake Santa Hats! These adorable and delicious treats are not just a dessert; they're an edible work of art that will make your holiday gatherings unforgettable. With a luscious chocolate cookie crust, creamy cheesecake filling, and a whimsical strawberry and cream decoration, these Santa Hat cheesecakes are guaranteed to bring smiles, joy, and a touch of culinary magic to your festive celebrations.
Prep Time: 25 mins
Cook Time: 60 mins
Total Time: 1 hrs 25 mins
Cuisine: American
Serves: 12 servings
Ingredients
- 1 1/2 cups of chocolate cookie crumbs
- 1/2 cup of melted butter
- 3 cups of cream cheese
- 1 cup of sugar
- 1 cup of sour cream
- 1 teaspoon of vanilla extract
- 2 large eggs
- 1 cup of whipped cream
- 12 strawberries
Instructions
- Preheat the oven to 325°F (165°C). Prepare a 9-inch springform pan by lightly greasing the sides and bottom.
- In a medium bowl, mix chocolate cookie crumbs with melted butter until the mixture resembles wet sand. Press the crumb mixture firmly into the bottom of the prepared springform pan, creating an even base.
- In a large mixing bowl, beat cream cheese and sugar together until smooth and creamy, using an electric mixer on medium speed. Ensure there are no lumps in the mixture.
- Add sour cream and vanilla extract to the cream cheese mixture. Mix until well combined and fully incorporated.
- Gradually add eggs one at a time, mixing on low speed after each addition. Be careful not to overmix, which can cause the cheesecake to crack.
- Pour the cheesecake batter over the prepared chocolate cookie crust, spreading it evenly with a spatula.
- Bake in the preheated oven for 60 minutes, or until the center is almost set but still slightly jiggly. The edges should be slightly pulled away from the pan sides.
- Remove from oven and let cool completely at room temperature for about 1 hour. Then refrigerate for at least 4 hours or overnight to set fully.
- Once chilled, carefully remove the cheesecake from the springform pan.
- Whip the cream until stiff peaks form. Transfer to a piping bag fitted with a large round tip.
- Slice the cheesecake into 12 equal portions. Top each slice with a fresh strawberry.
- Pipe whipped cream around the strawberry and on top of the cheesecake slice to create a Santa hat shape, with the strawberry as the "hat" and white cream as the trim and base.
- Refrigerate the decorated Santa Hat cheesecakes until ready to serve. Best enjoyed chilled within 24 hours of decoration.
Tips
- Room Temperature Ingredients: Ensure cream cheese, eggs, and sour cream are at room temperature for a smoother, lump-free batter.
- Prevent Cheesecake Cracks: Avoid overmixing and overbaking. A slightly jiggly center is perfect – the cheesecake will continue setting in the refrigerator.
- Water Bath Option: For an extra-smooth texture, consider baking the cheesecake in a water bath to create more even heat distribution.
- Piping Perfection: Use a large round piping tip for clean, uniform whipped cream "Santa hat" decorations.
- Make Ahead: This dessert is ideal for preparing in advance. It can be refrigerated for up to 2 days before adding the final strawberry and cream decorations.
- Serving Tip: For clean slices, use a knife dipped in hot water and wiped clean between each cut.
- Storage: Keep decorated Santa Hat cheesecakes refrigerated and consume within 24 hours for the best taste and presentation.
Nutrition Facts
Calories: 450kcal
Carbohydrates: 35g
Protein: 8g
Fat: 32g
Saturated Fat: 18g
Cholesterol: 110mg