Get ready to transform your kitchen into a festive wonderland with these adorable and mouthwatering Peanut Butter Pumpkins! Imagine biting into a creamy, sweet treat that looks just like a miniature pumpkin – these delightful no-bake desserts are about to become your new seasonal obsession. Perfect for Halloween parties, fall gatherings, or when you simply want to indulge in a cute and delicious snack that's as fun to make as it is to eat!
Prep Time: 15 mins
Cook Time: -
Total Time: 15 mins
Cuisine: American
Serves: 12 servings
Ingredients
- 1 cup peanut butter
- 1 cup powdered sugar
- 1/2 cup graham cracker crumbs
- 1/4 cup orange candy melts
- 1/4 cup chocolate chips
- Green candy for stems
Instructions
- Prepare your workspace by lining a baking sheet with parchment paper and gathering all ingredients at room temperature.
- In a medium mixing bowl, combine peanut butter, powdered sugar, and graham cracker crumbs. Mix thoroughly until the ingredients form a smooth, moldable dough that holds together when pressed.
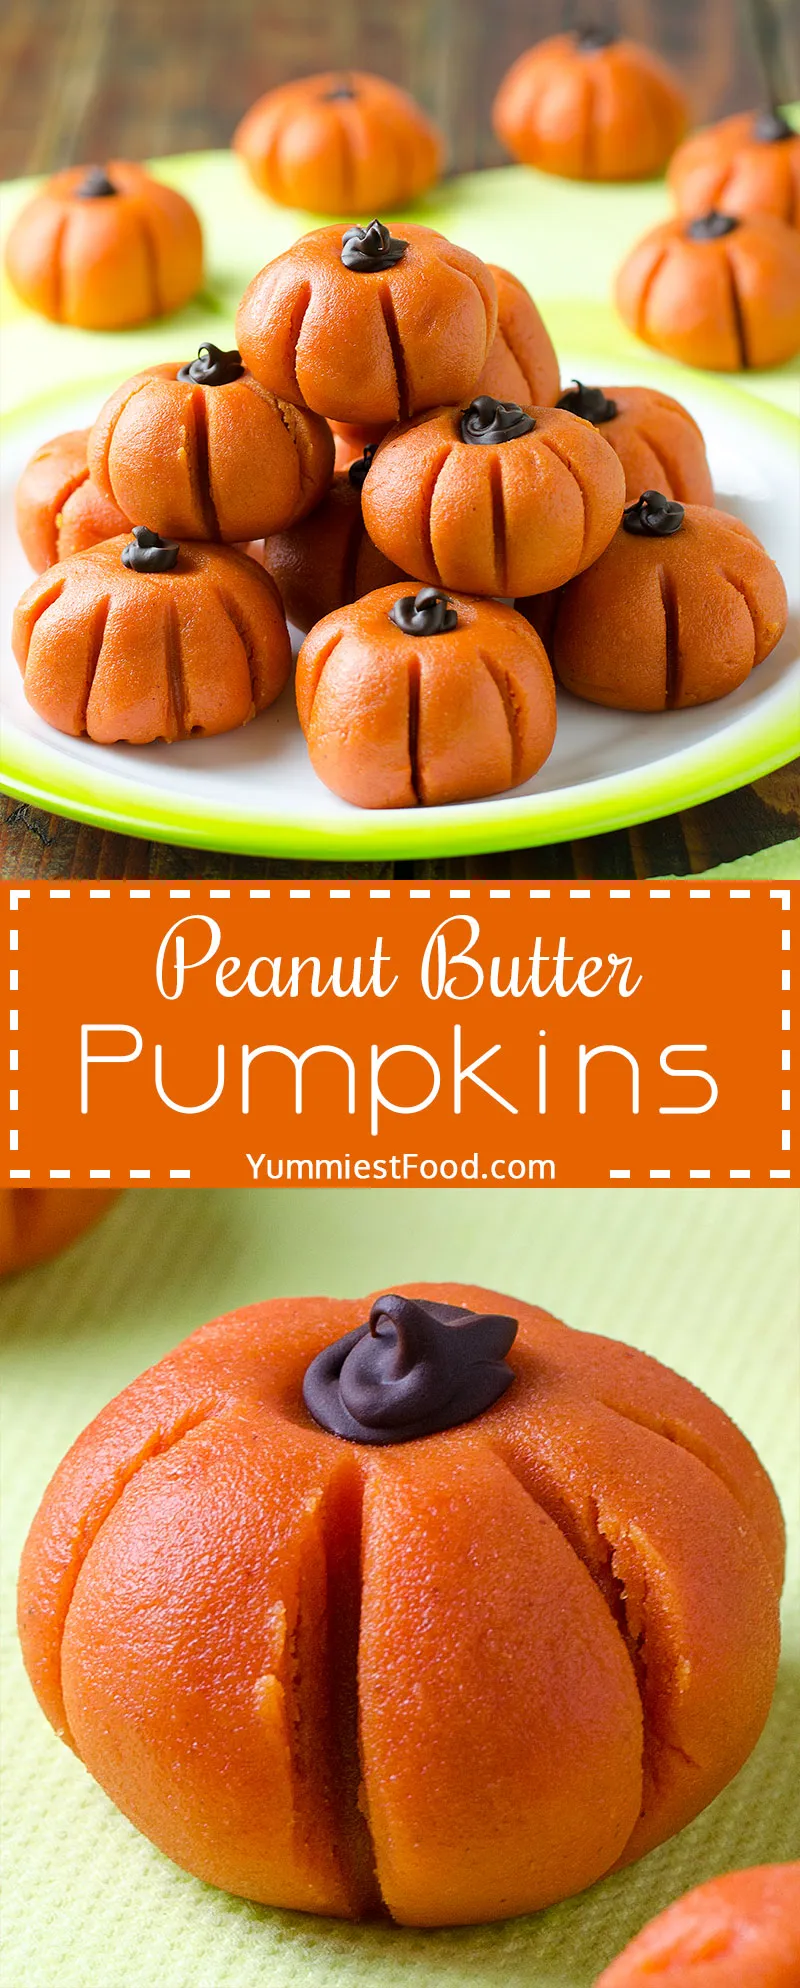
- Using clean hands, scoop approximately 1 tablespoon of the mixture and roll into a ball. Gently shape the ball into an oval pumpkin shape, creating slight ridges to mimic a pumpkin's natural contours.
- Place each shaped pumpkin onto the prepared parchment-lined baking sheet. Once all pumpkins are formed, place the baking sheet in the refrigerator for 15 minutes to firm up the shapes.
- Melt orange candy melts in a microwave-safe bowl, heating in 30-second intervals and stirring between each interval until smooth and fully melted.
- Remove pumpkins from refrigerator and carefully dip each one into the melted orange candy coating, using a fork to lift and drain excess coating.
- Place dipped pumpkins back on the parchment paper and allow the orange coating to set completely at room temperature.
- Melt chocolate chips and use a small piping bag or toothpick to draw delicate facial features or pumpkin lines if desired.
- For the stem, attach a small piece of green candy to the top of each pumpkin using a tiny amount of melted chocolate as "glue".
- Allow pumpkins to set completely at room temperature or refrigerate for faster setting. Store in an airtight container in the refrigerator for up to 5 days.
Tips
- Temperature Matters: Ensure all ingredients are at room temperature for the smoothest dough consistency.
- Chill for Success: Refrigerating the pumpkin shapes before coating helps them maintain their form during dipping.
- Candy Melt Technique: Melt chocolate and candy melts slowly and stir frequently to prevent burning.
- Shaping Trick: Use clean, slightly damp hands when forming pumpkins to create smooth, even surfaces.
- Decorating Hack: Use a toothpick for precise chocolate detailing and stem placement.
- Storage Tip: These treats stay fresh for up to 5 days when stored in an airtight container in the refrigerator.
- Kid-Friendly Option: Let children help with rolling and decorating for a fun family activity!
Nutrition Facts
Calories: 220kcal
Carbohydrates: 20g
Protein: 7g
Fat: 14g
Saturated Fat: 5g
Cholesterol: 5mg