Are you on the hunt for a delicious and nutritious snack that requires zero baking? Look no further! These Healthy No Bake Snack Bars are not only easy to make but also packed with wholesome ingredients that will keep you energized throughout the day. In just 15 minutes, you can whip up a batch of these delightful bars that are perfect for busy mornings, post-workout fuel, or a guilt-free treat anytime. With a delightful combination of rolled oats, nut butter, and a touch of sweetness from honey or maple syrup, these bars are sure to become your new favorite go-to snack. Ready to discover the secrets to making these scrumptious bars? Let’s dive in!
Prep Time: 15 mins
Cook Time: -
Total Time: 15 mins
Cuisine: Snack
Serves: 12 bars
Ingredients
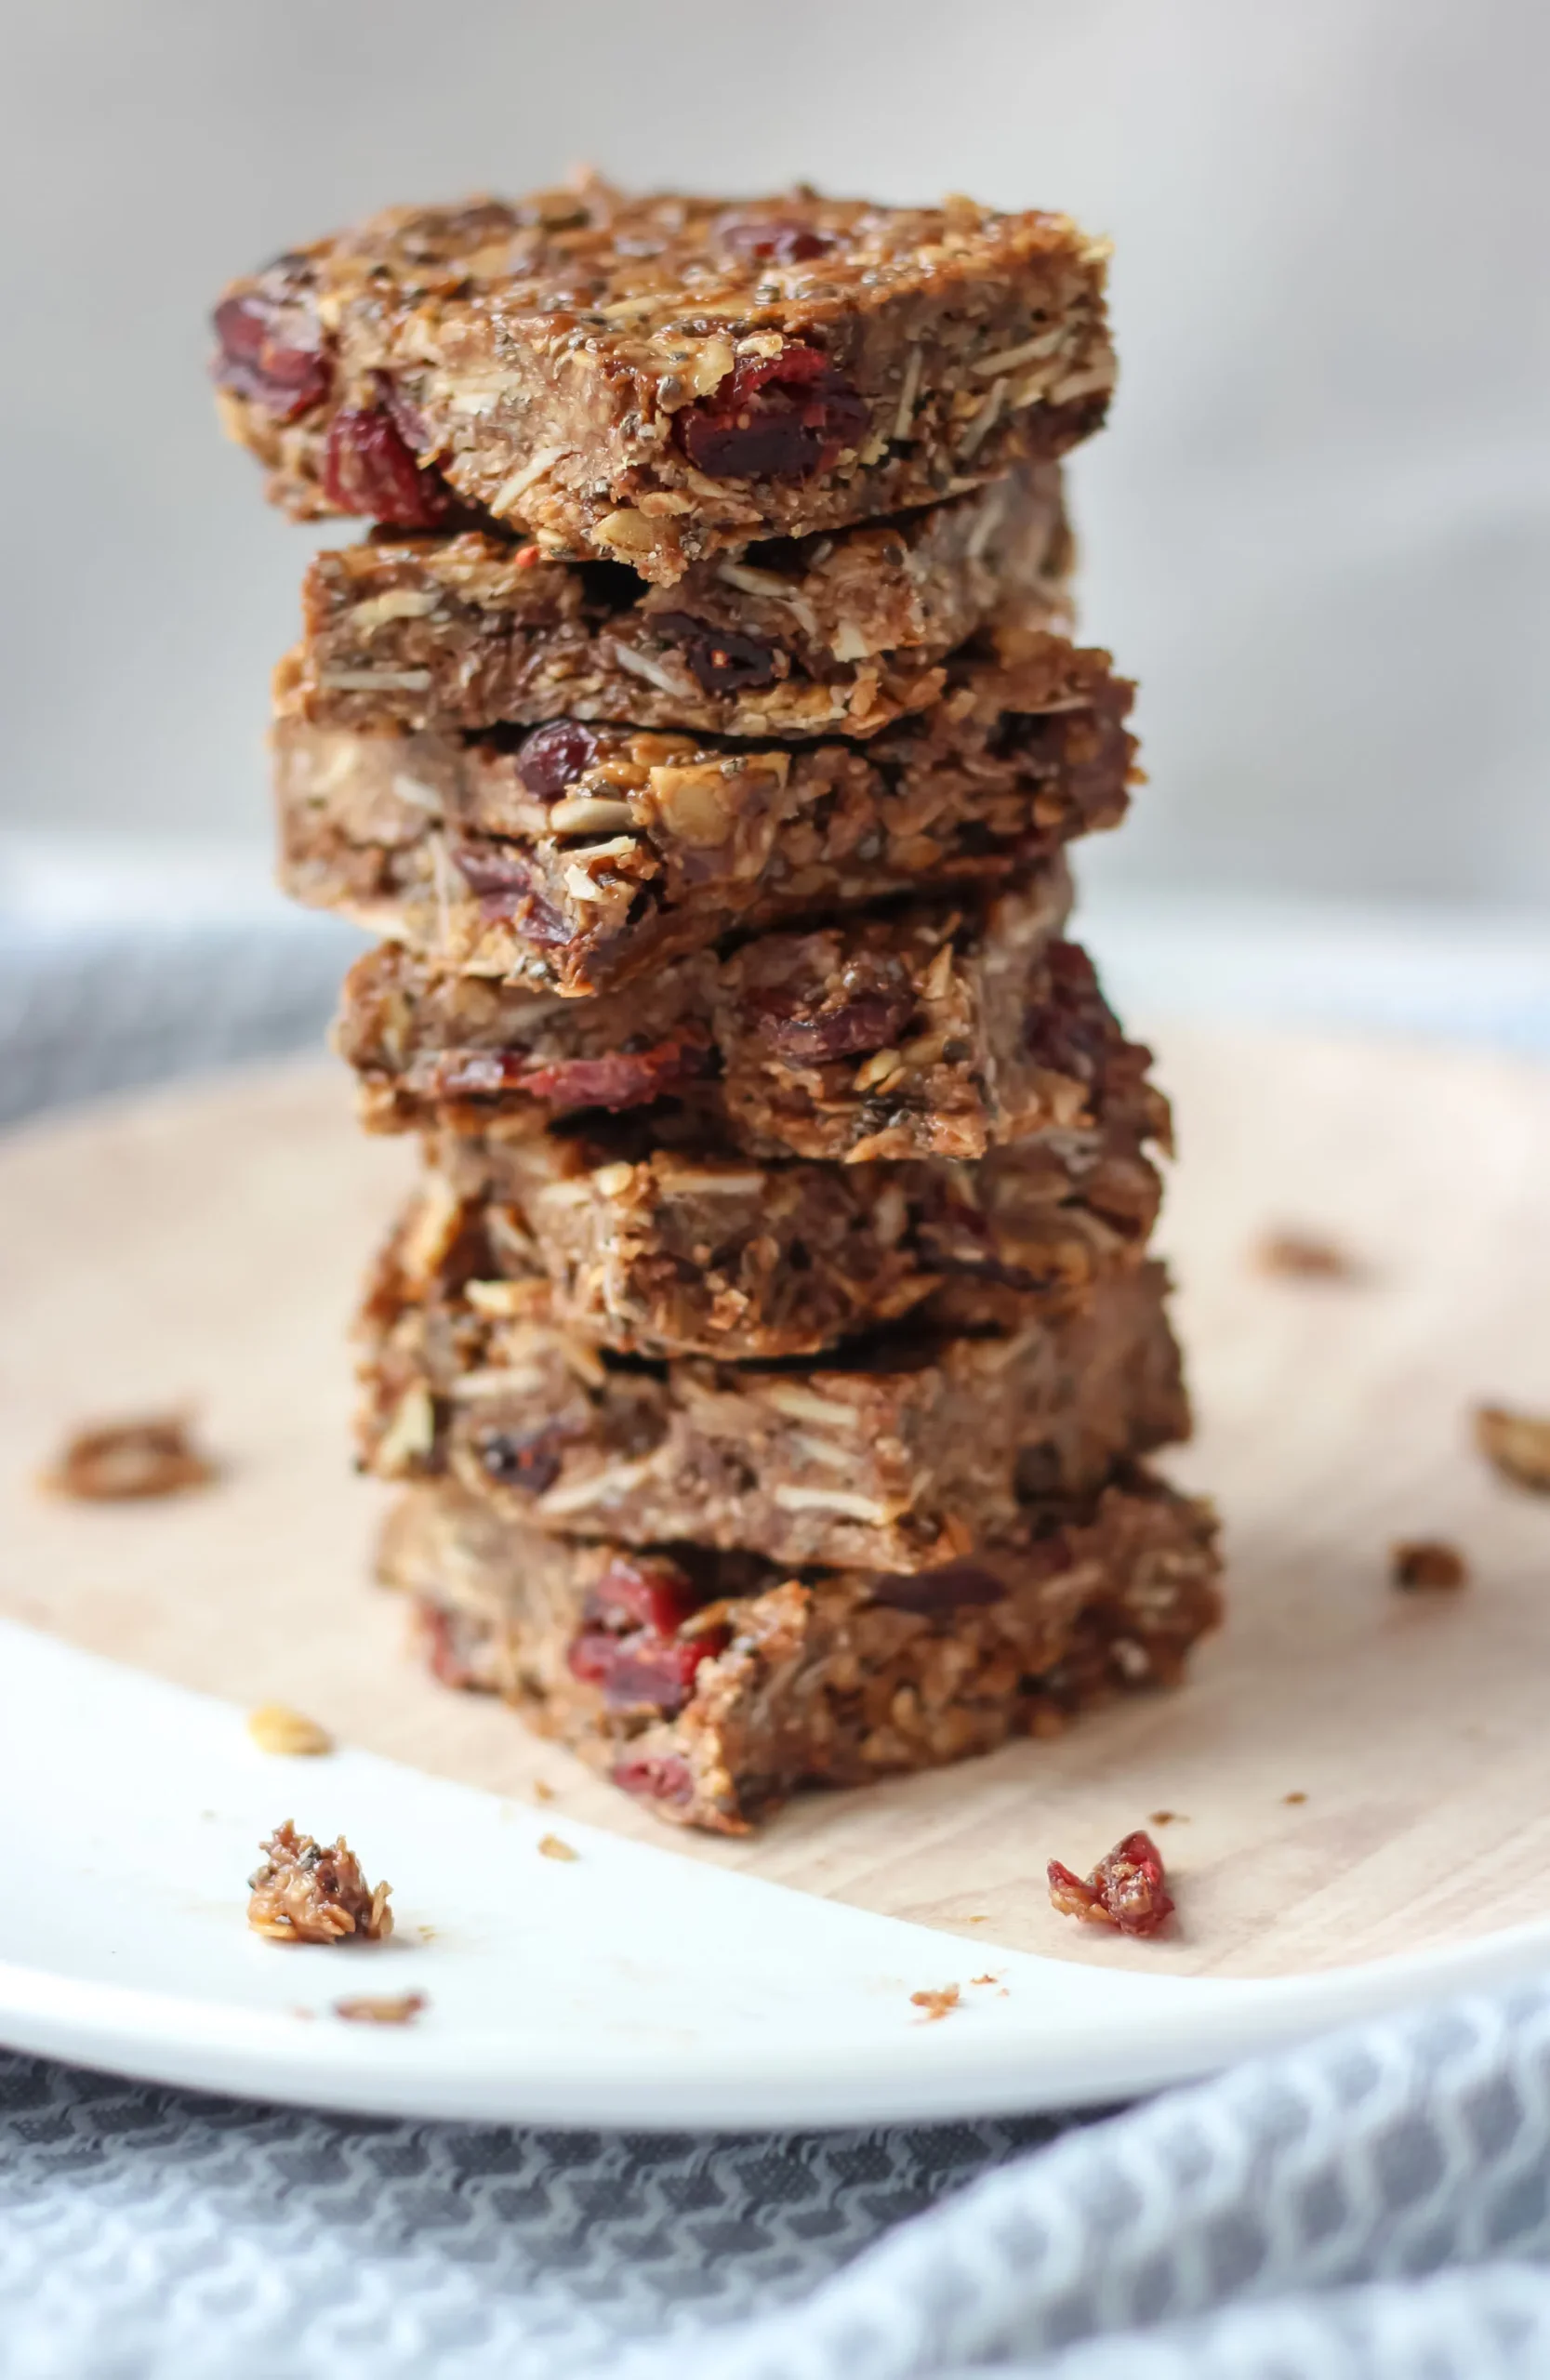
- 2 cups rolled oats
- 1 cup nut butter
- 1/2 cup honey or maple syrup
- 1/2 cup chocolate chips
- 1/4 cup chia seeds
Instructions
- Begin by gathering all your ingredients: 2 cups of rolled oats, 1 cup of nut butter (such as almond butter or peanut butter), 1/2 cup of honey or maple syrup, 1/2 cup of chocolate chips, and 1/4 cup of chia seeds. Make sure all ingredients are measured and ready to use.
- In a large mixing bowl, combine the rolled oats, chia seeds, and chocolate chips. Stir these dry ingredients together until they are evenly mixed.
- In a separate bowl, mix together the nut butter and honey (or maple syrup) until they are well combined. You can use a whisk or a spatula for this step. If your nut butter is too thick, consider warming it slightly in the microwave for about 15-20 seconds to make it easier to mix.
- Pour the nut butter and honey mixture into the bowl with the dry ingredients. Stir everything together until the oats and chia seeds are fully coated with the nut butter and sweetener. The mixture should be sticky and hold together well.
- Line an 8x8 inch baking pan with parchment paper, leaving some overhang on the sides for easy removal later. Transfer the mixture into the prepared pan, pressing it down firmly with your hands or a spatula to create an even layer.
- Once the mixture is packed tightly into the pan, you can sprinkle a few extra chocolate chips on top for decoration, if desired. Press them down gently into the mixture.
- Place the pan in the refrigerator for at least 1 hour to allow the bars to firm up. This step is important for achieving the right texture.
- After the bars have chilled, remove the pan from the refrigerator. Use the parchment paper overhang to lift the entire slab out of the pan. Place it on a cutting board.
- Using a sharp knife, cut the slab into 12 equal bars. You can adjust the size of the bars based on your preference.
- Store the bars in an airtight container in the refrigerator for up to a week, or freeze them for longer storage. Enjoy your healthy no-bake snack bars as a quick snack or a nutritious treat!
Tips
- Ingredient Substitutions: Feel free to customize the recipe by swapping out the nut butter for your favorite variety, such as cashew or sunflower seed butter. You can also use agave syrup instead of honey or maple syrup for a vegan option.
- Add-Ins Galore: Make your snack bars even more exciting by adding in extras like dried fruits, seeds, or nuts. Consider incorporating cranberries, pumpkin seeds, or chopped almonds for added texture and flavor.
- Mixing Technique: If your nut butter is too thick, warm it slightly in the microwave for 15-20 seconds to make it easier to mix. This will ensure a smooth and even coating over your dry ingredients.
- Pressing the Mixture: Make sure to press the mixture firmly into the baking pan to help the bars hold their shape once chilled. Use a spatula or the back of a measuring cup for an even surface.
- Chilling Time: Allow the bars to chill in the refrigerator for at least 1 hour before cutting. This step is crucial for achieving the perfect texture, making them easier to slice and enjoy.
- Storage Tips: Store your no-bake snack bars in an airtight container in the refrigerator for up to a week. For longer storage, you can freeze them and enjoy a quick snack whenever you need it.
- Serving Suggestions: These bars are delicious on their own, but you can also serve them with a dollop of yogurt or a drizzle of extra honey for an indulgent treat!
Nutrition Facts
Calories: 250kcal
Carbohydrates: 25g
Protein: 8g
Fat: 15g
Saturated Fat: 4g
Cholesterol: 0mg