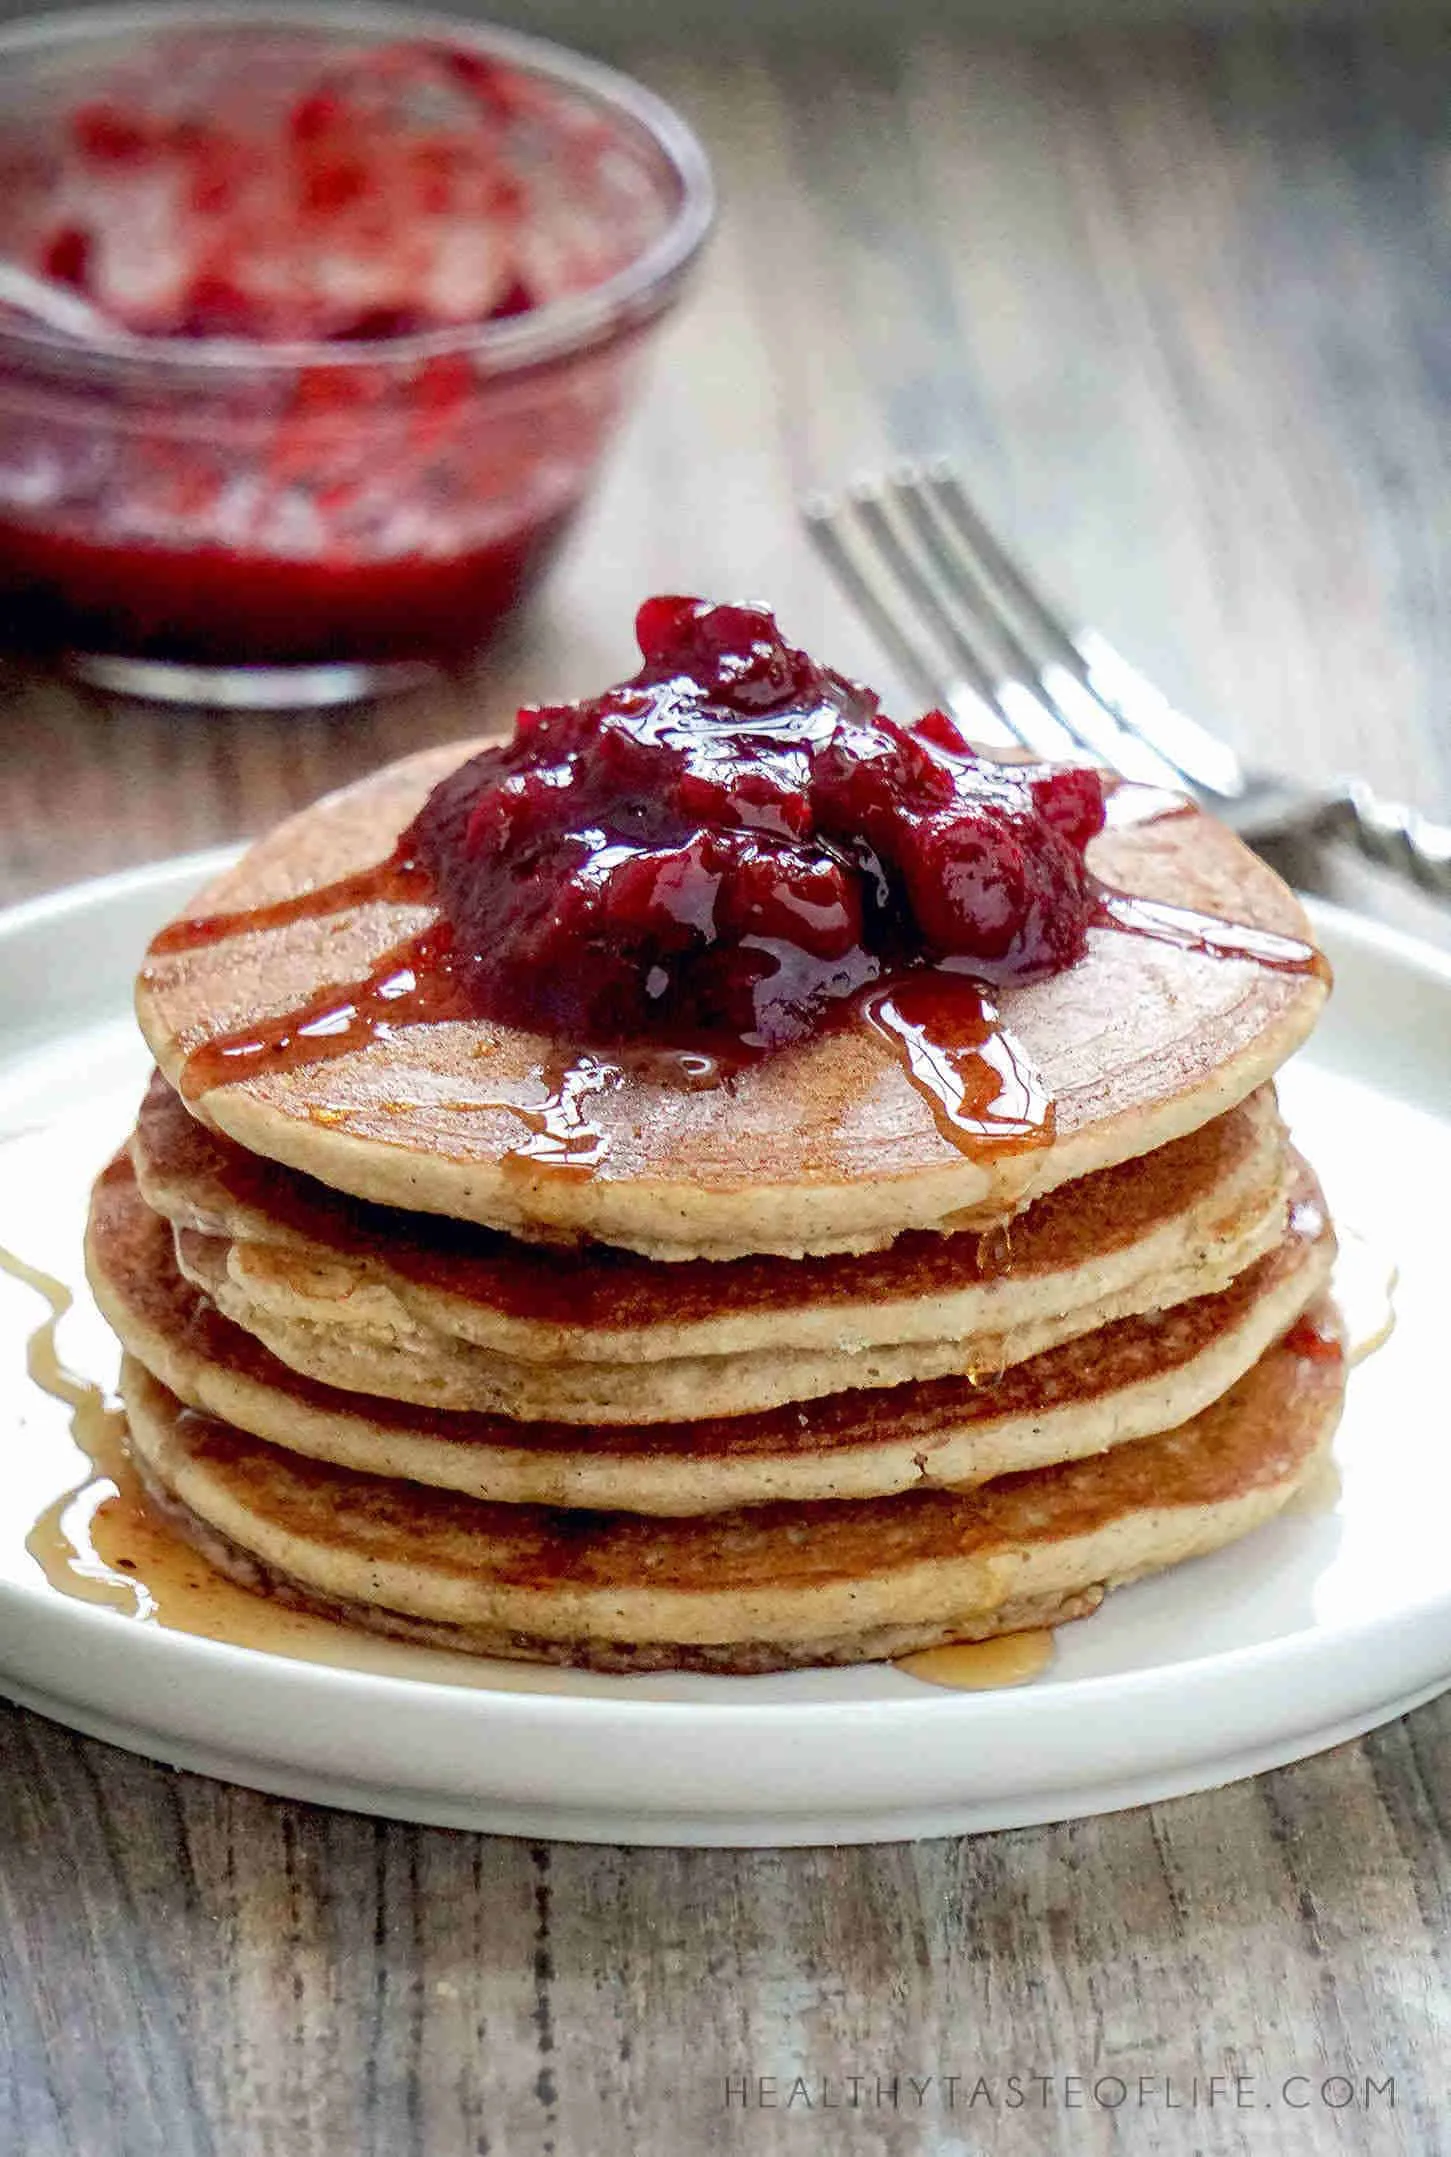
Indulge in the fluffy goodness of Sourdough Pancakes that are not only gluten-free but also offer a delightful dairy-free option! Imagine waking up to the enticing aroma of pancakes sizzling on the griddle, each bite bursting with flavor and the perfect texture. These pancakes are a game-changer for breakfast lovers who want to enjoy a classic favorite without the gluten or dairy. With just a few simple ingredients and a little bit of time, you can whip up a batch that will impress everyone at the breakfast table. Ready to elevate your morning routine? Let’s dive into this delicious recipe that’s bound to become a family favorite!
Prep Time: 10 mins
Cook Time: 20 mins
Total Time: 30 mins
Cuisine: American
Serves: 4 servings
Ingredients
- 1 cup gluten-free sourdough starter
- 1 cup almond milk or any dairy-free milk
- 2 eggs
- 2 tbsp maple syrup
- 1 cup gluten-free flour blend
- 1 tsp baking powder
- 1/2 tsp baking soda
- Pinch of salt
Instructions
- Activate your gluten-free sourdough starter by ensuring it's room temperature and bubbling with active fermentation.
- In a large mixing bowl, combine the sourdough starter, almond milk, eggs, and maple syrup. Whisk thoroughly until all ingredients are well incorporated and smooth.
- In a separate bowl, sift together the gluten-free flour blend, baking powder, baking soda, and salt to eliminate any potential lumps.
- Gradually fold the dry ingredient mixture into the wet ingredients, stirring gently until just combined. Be careful not to overmix, as this can make the pancakes tough.
- Allow the batter to rest for 5-10 minutes, which helps the gluten-free flour hydrate and improves pancake texture.
- Heat a non-stick skillet or griddle over medium heat. Lightly grease with coconut oil or dairy-free butter alternative.
- Pour approximately 1/4 cup of batter for each pancake, leaving space between them for easy flipping.
- Cook until bubbles form on the surface and edges look slightly dry, typically 2-3 minutes.
- Flip pancakes and cook the other side for an additional 1-2 minutes until golden brown.
- Transfer cooked pancakes to a warming plate and continue with remaining batter.
- Serve warm with additional maple syrup, fresh berries, or dairy-free whipped cream if desired.
Tips
- Activate Your Starter: Make sure your gluten-free sourdough starter is at room temperature and bubbly before you begin; this ensures the pancakes rise beautifully.
- Whisk Well: When combining the wet ingredients, whisk thoroughly to ensure a smooth batter. This helps the flavors meld together perfectly.
- Sift Dry Ingredients: Sifting the gluten-free flour blend, baking powder, and baking soda can help eliminate lumps and create a lighter pancake.
- Don’t Overmix: Gently fold the dry ingredients into the wet ones until just combined. Overmixing can lead to tough pancakes, so be careful!
- Let It Rest: Allowing the batter to rest for 5-10 minutes is crucial for achieving the best texture. This helps the gluten-free flour hydrate and results in fluffier pancakes.
- Perfect Heat: Preheat your skillet or griddle over medium heat. If it’s too hot, the pancakes may burn on the outside while remaining raw on the inside.
- Watch for Bubbles: Cook each pancake until bubbles form on the surface and the edges look dry—this typically takes 2-3 minutes. This is your cue to flip!
- Keep Them Warm: As you cook each pancake, transfer them to a warming plate to keep them hot and ready to serve.
- Serve with Style: Top your pancakes with a drizzle of maple syrup, fresh berries, or a dollop of dairy-free whipped cream for an extra special touch.
- Experiment with Flavors: Feel free to add in your favorite mix-ins like chocolate chips, nuts, or spices to customize your pancakes to your liking!
Nutrition Facts
Calories: 150kcal
Carbohydrates: g
Protein: g
Fat: g
Saturated Fat: g
Cholesterol: 93mg