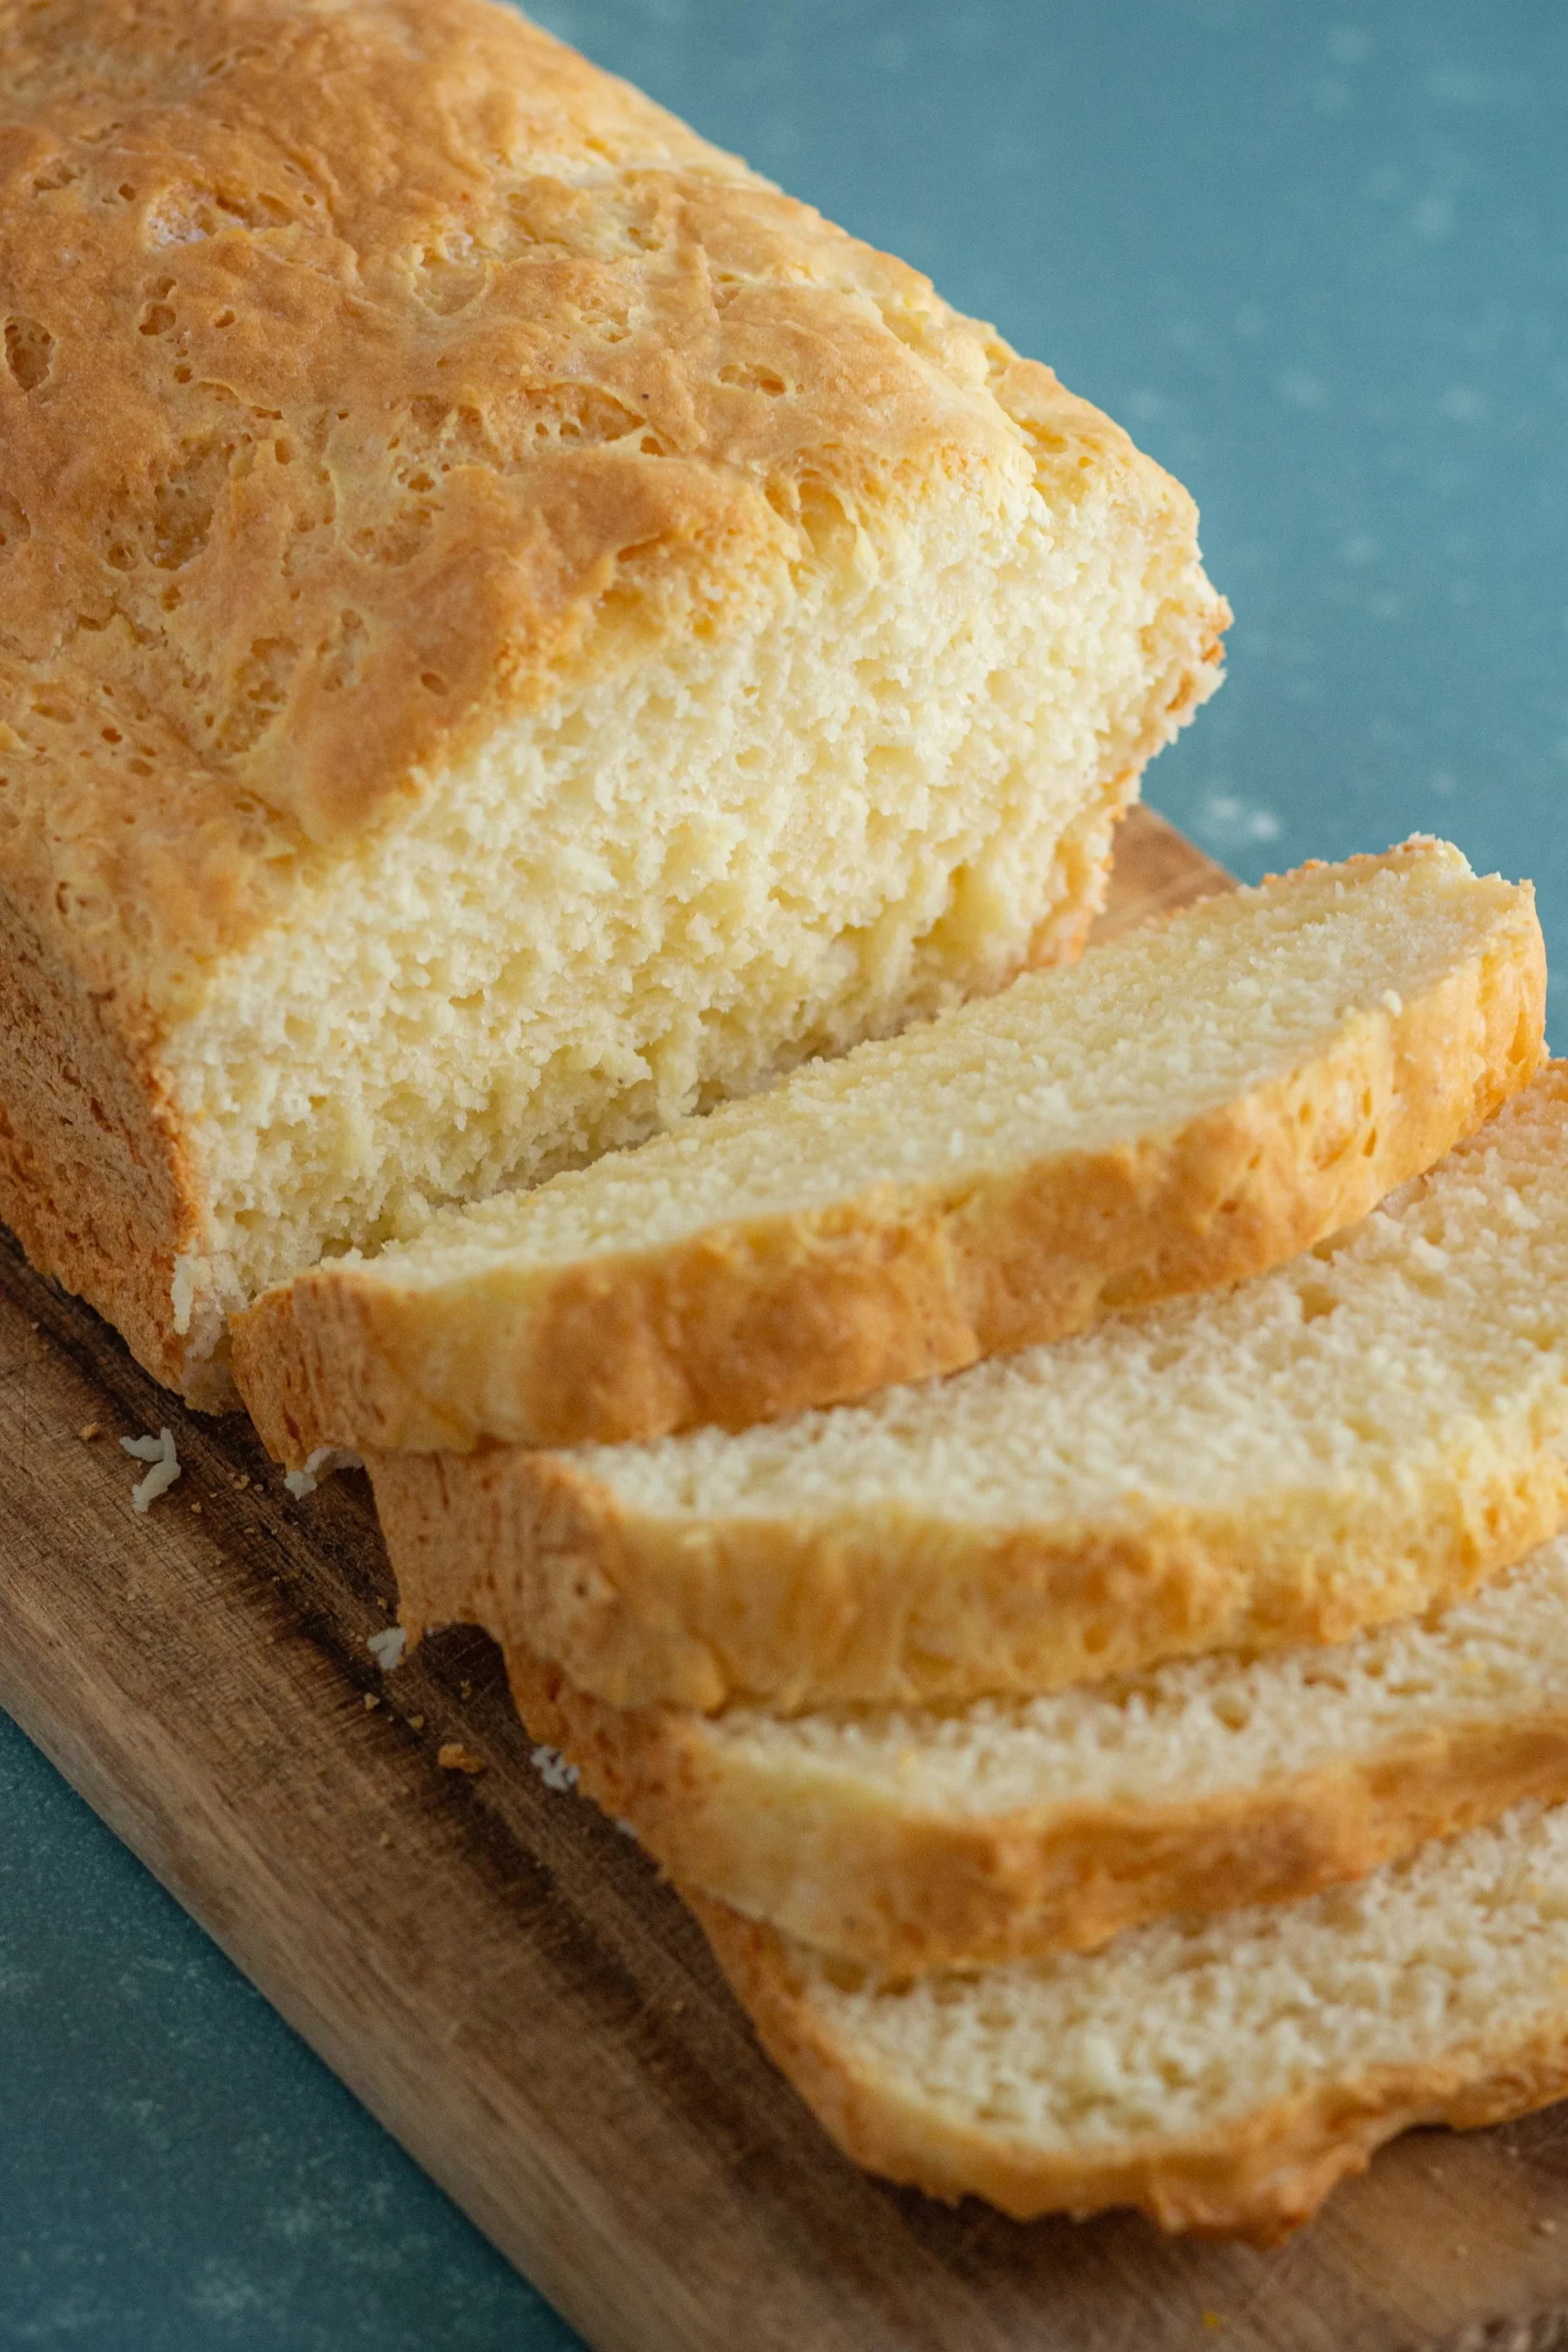
Are you tired of gluten-free bread that crumbles and lacks flavor? Discover the secret to baking a deliciously soft and hearty gluten-free loaf right in your own kitchen! With just a handful of simple ingredients and a little bit of love, you can create a mouthwatering bread that rivals traditional recipes. This easy-to-follow guide will walk you through each step, ensuring that your homemade gluten-free bread is not only satisfying but also a delightful addition to any meal. Say goodbye to store-bought bread and hello to the warm, inviting aroma of freshly baked goodness!
Prep Time: 15 mins
Cook Time: 45 mins
Total Time: 1 hrs
Cuisine: Gluten Free
Serves: 1 loaf
Ingredients
- 2 cups gluten free flour blend
- 1 cup warm water
- 1 tablespoon sugar
- 1 tablespoon yeast
- 1/4 cup olive oil
- 1 teaspoon salt
- 1 teaspoon xanthan gum
Instructions
- In a small bowl, combine the warm water, sugar, and yeast. Stir gently and let it sit for about 5-10 minutes until it becomes frothy. This indicates that the yeast is active.
- In a large mixing bowl, combine the gluten-free flour blend, xanthan gum, and salt. Mix well to ensure that the dry ingredients are evenly distributed.
- Once the yeast mixture is frothy, add it to the dry ingredients along with the olive oil. Mix everything together using a wooden spoon or a spatula until a thick, sticky dough forms.
- If you have a stand mixer, you can use the dough hook attachment to knead the dough for about 5 minutes. If you are mixing by hand, continue to stir until all ingredients are well combined.
- Cover the bowl with a clean kitchen towel or plastic wrap and let the dough rise in a warm place for about 30 minutes. The dough should increase in size, but it may not double like traditional bread dough.
- Preheat your oven to 375°F (190°C) while the dough is rising.
- After the dough has risen, transfer it to a greased 9x5-inch loaf pan. Use a spatula or your hands to smooth the top of the dough, ensuring it is evenly distributed in the pan.
- Cover the loaf pan with the kitchen towel again and let it rise for an additional 15-20 minutes, allowing it to puff up slightly.
- Once the dough has risen, place the loaf pan in the preheated oven and bake for 40-45 minutes, or until the bread is golden brown on top and sounds hollow when tapped on the bottom.
- Remove the bread from the oven and let it cool in the pan for about 10 minutes. Then, transfer it to a wire rack to cool completely before slicing.
- Enjoy your freshly baked gluten-free bread as a sandwich, toast, or simply with your favorite spread!
Tips
- Choose the Right Flour Blend: Not all gluten-free flour blends are created equal. Look for a blend that includes a mix of flours like rice, tapioca, and potato starch for the best texture and flavor.
- Activate Your Yeast: Ensure your water is warm, not hot, to properly activate the yeast. If it’s too hot, it can kill the yeast, and if it’s too cold, it won’t activate.
- Knead with Care: If you're using a stand mixer, knead the dough for about 5 minutes. If mixing by hand, be gentle but thorough to ensure all ingredients are well combined.
- Rising Time: Gluten-free dough doesn’t rise as much as regular dough, so don’t worry if it doesn’t double in size. Just let it puff up a bit before baking.
- Check for Doneness: To ensure your bread is perfectly baked, tap the bottom of the loaf. If it sounds hollow, it’s ready to come out of the oven!
- Cooling is Key: Allow the bread to cool completely on a wire rack before slicing to maintain its structure and moisture.
- Storage Tips: Store leftover bread in an airtight container at room temperature for up to 3 days, or freeze slices for longer freshness.With these tips in mind, you’ll be well on your way to mastering the art of gluten-free bread making! Enjoy every slice!
Nutrition Facts
Calories: 250kcal
Carbohydrates: 35g
Protein: 3g
Fat: 12g
Saturated Fat: 2g
Cholesterol: 0mg


