Are you ready to indulge in a delightful treat that combines the nostalgic flavors of s'mores with the irresistible charm of cookies? Look no further than these Easy Hershey Kiss S'mores Cookies! With a gooey marshmallow center and a rich chocolate Hershey's Kiss topping, these cookies are the ultimate dessert that will transport you straight to your favorite campfire memories. Perfect for any occasion, these cookies are not just a sweet indulgence; they're a conversation starter that will leave your friends and family craving more. So grab your apron and prepare to bake a batch of happiness in just 25 minutes!
Prep Time: 15 mins
Cook Time: 10 mins
Total Time: 25 mins
Cuisine: American
Serves: 24 cookies
Ingredients
- 1 cup unsalted butter, softened
- 1 cup granulated sugar
- 1 cup brown sugar
- 2 large eggs
- 2 teaspoons vanilla extract
- 2 3/4 cups all-purpose flour
- 1 teaspoon baking soda
- 1/2 teaspoon salt
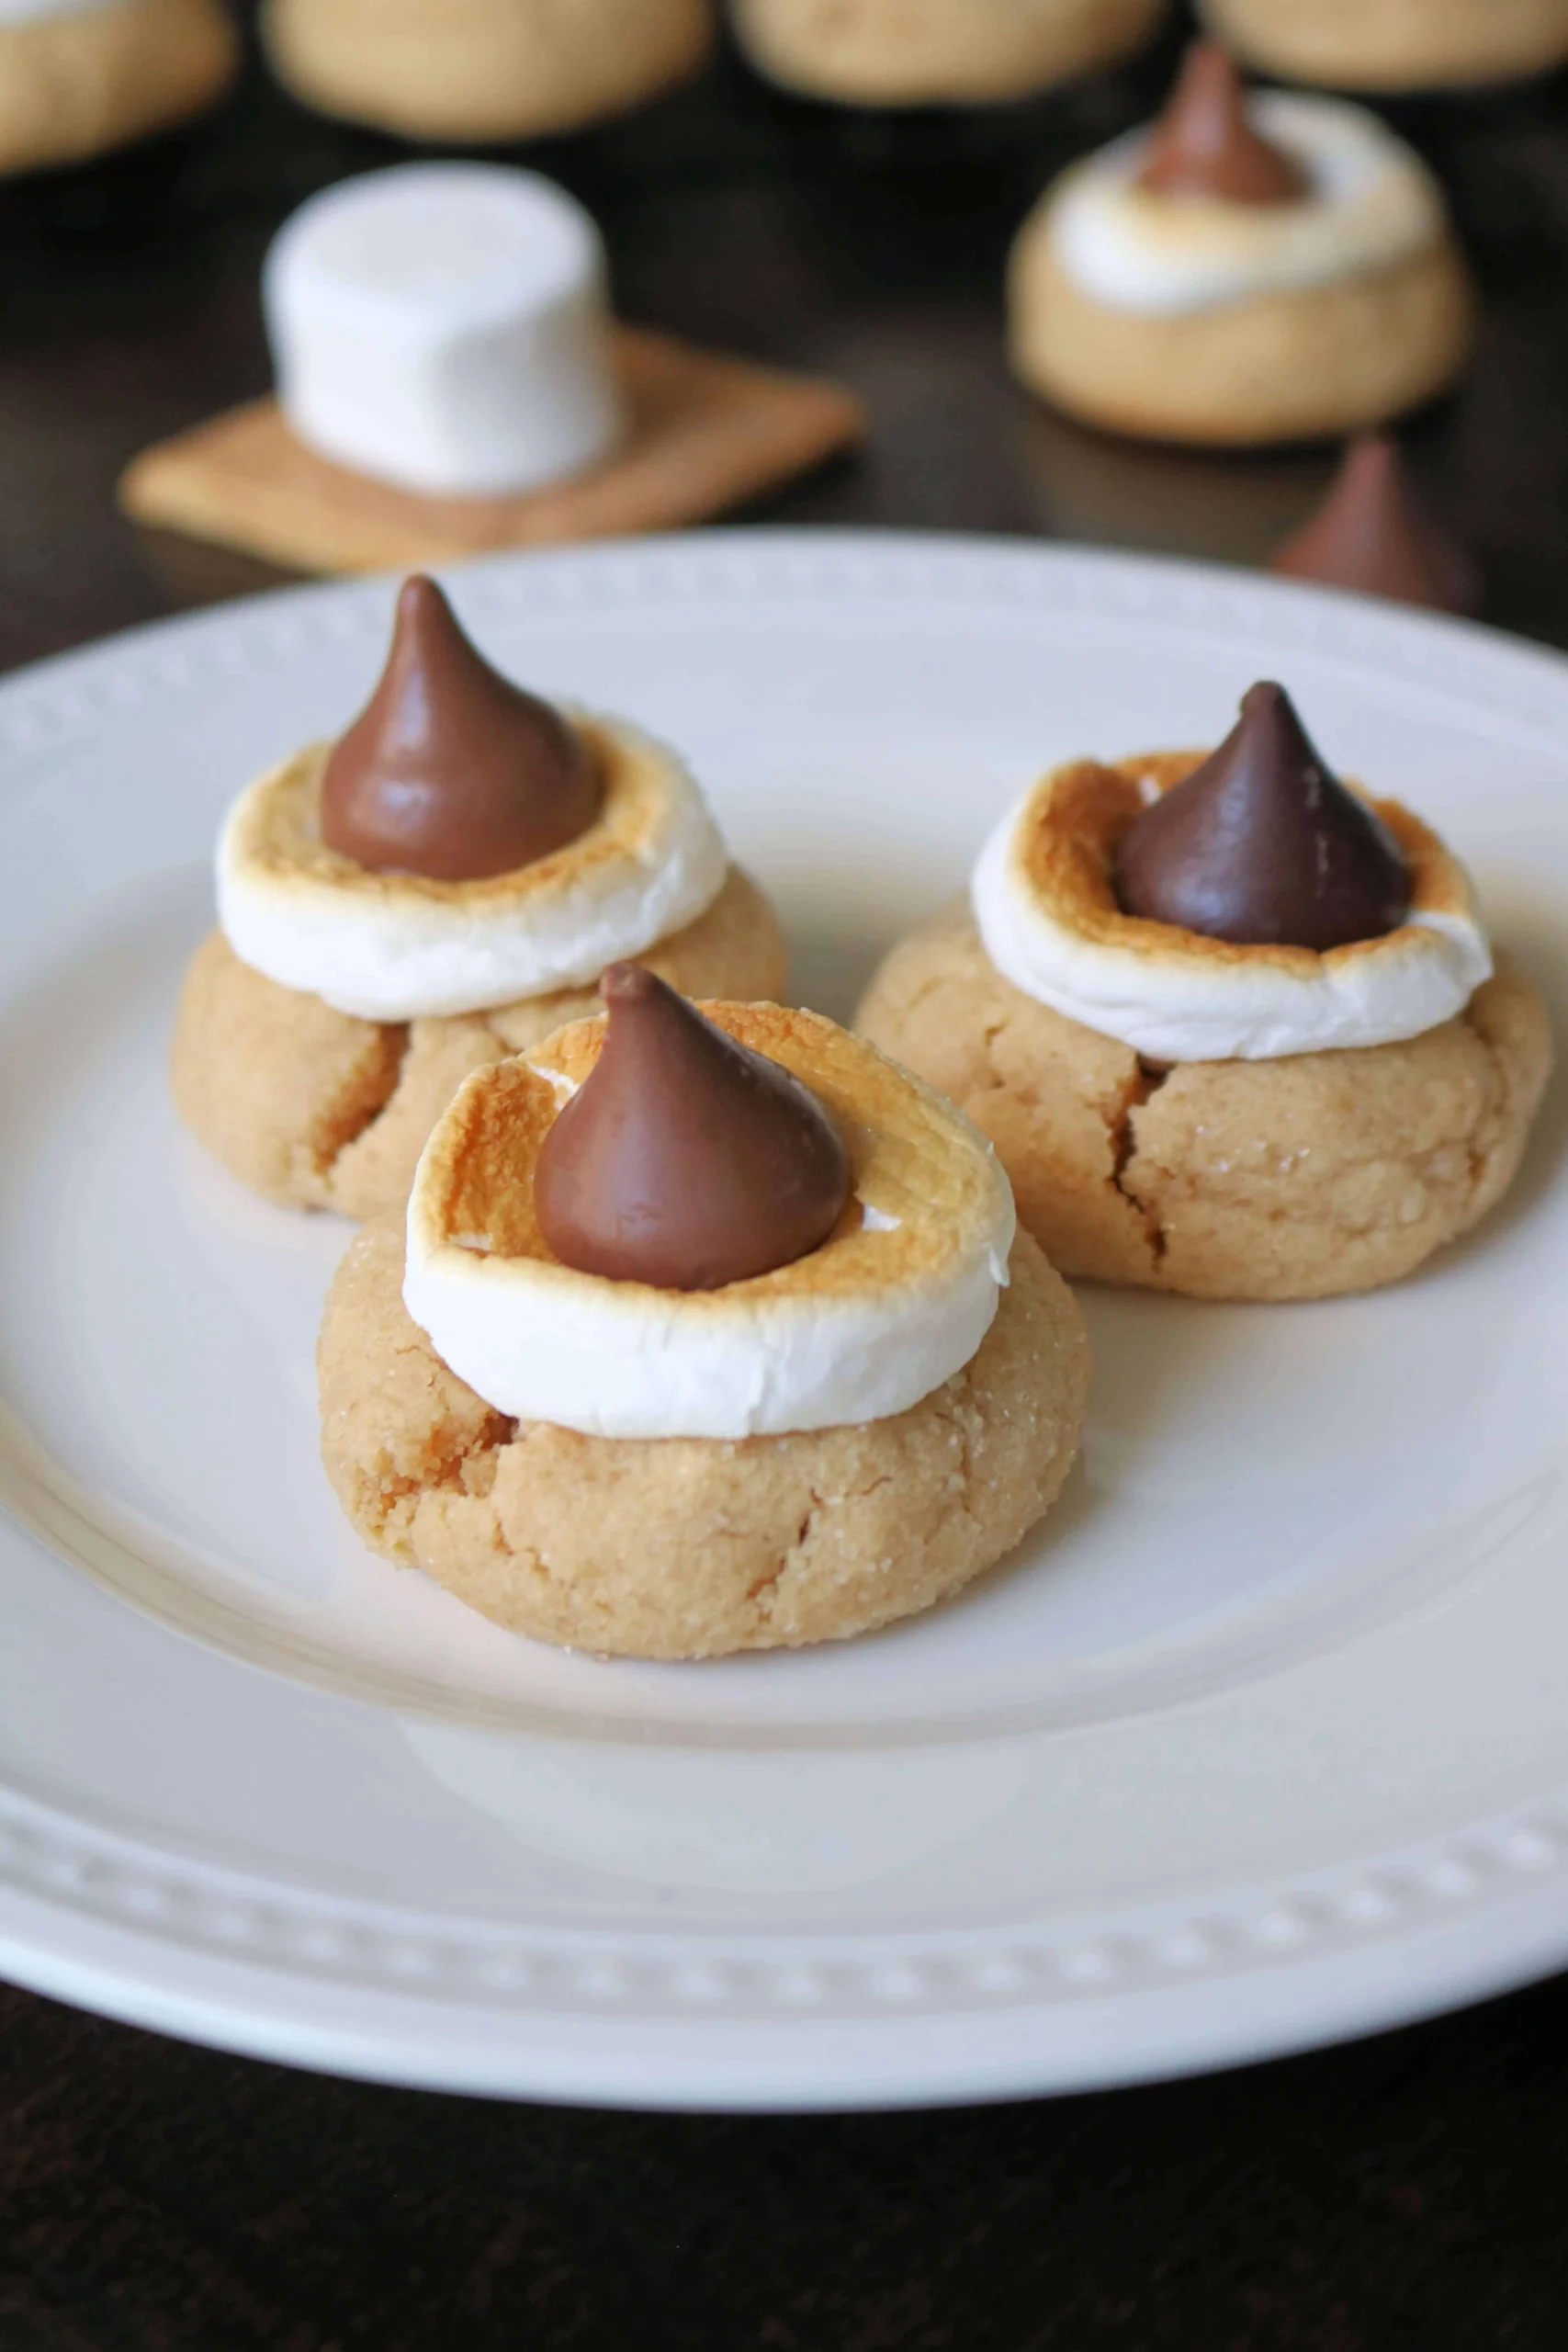
- 24 Hershey's Kisses
- 1 cup graham cracker crumbs
- 1 cup mini marshmallows
Instructions
- Preheat the oven to 350°F (175°C). Line two baking sheets with parchment paper or silicone baking mats.
- In a large mixing bowl, cream together the softened butter, granulated sugar, and brown sugar until light and fluffy, using an electric mixer on medium speed. This should take about 3-4 minutes.
- Add eggs one at a time, beating well after each addition. Mix in the vanilla extract until fully incorporated.
- In a separate bowl, whisk together the all-purpose flour, baking soda, and salt. Gradually add the dry ingredients to the wet mixture, mixing on low speed until just combined.
- Fold in the graham cracker crumbs, ensuring they are evenly distributed throughout the cookie dough.
- Scoop out tablespoon-sized balls of dough and roll them between your palms to create smooth balls. Place the dough balls about 2 inches apart on the prepared baking sheets.
- Bake for 8-10 minutes, or until the edges are lightly golden but the centers still look slightly soft.
- Remove the cookies from the oven and immediately press a few mini marshmallows onto the top of each cookie.
- Return the cookies to the oven for an additional 1-2 minutes, just until the marshmallows begin to soften and slightly melt.
- Remove from the oven and immediately press a Hershey's Kiss into the center of each cookie, gently pushing down so the Kiss slightly embeds into the warm cookie.
- Allow the cookies to cool on the baking sheet for 5 minutes, then transfer to a wire rack to cool completely.
- Once cooled, the Hershey's Kisses will set and the cookies will be ready to serve. Store in an airtight container at room temperature for up to 5 days.
Tips
- Room Temperature Ingredients: Make sure your butter and eggs are at room temperature for the best texture. This helps create a creamy mixture that will yield soft, chewy cookies.
- Don’t Overmix: When combining the dry ingredients with the wet mixture, mix until just combined. Overmixing can lead to tough cookies.
- Chill the Dough: If you have time, chill the cookie dough for about 30 minutes before baking. This helps the cookies maintain their shape and enhances the flavors.
- Watch the Bake Time: Keep a close eye on your cookies in the oven. They should be lightly golden around the edges while remaining soft in the center. Remember, they will continue to cook a bit after being removed from the oven.
- Marshmallow Melting Magic: For an extra gooey s'mores experience, use a kitchen torch to lightly toast the mini marshmallows after they’ve been pressed into the cookies.
- Storage Tips: Store your cookies in an airtight container at room temperature to keep them fresh for up to 5 days. You can also freeze the baked cookies for longer storage—just thaw and enjoy whenever a sweet craving strikes!
Nutrition Facts
Calories: 280kcal
Carbohydrates: 38g
Protein: 3g
Fat: 14g
Saturated Fat: 8g
Cholesterol: 45mg